
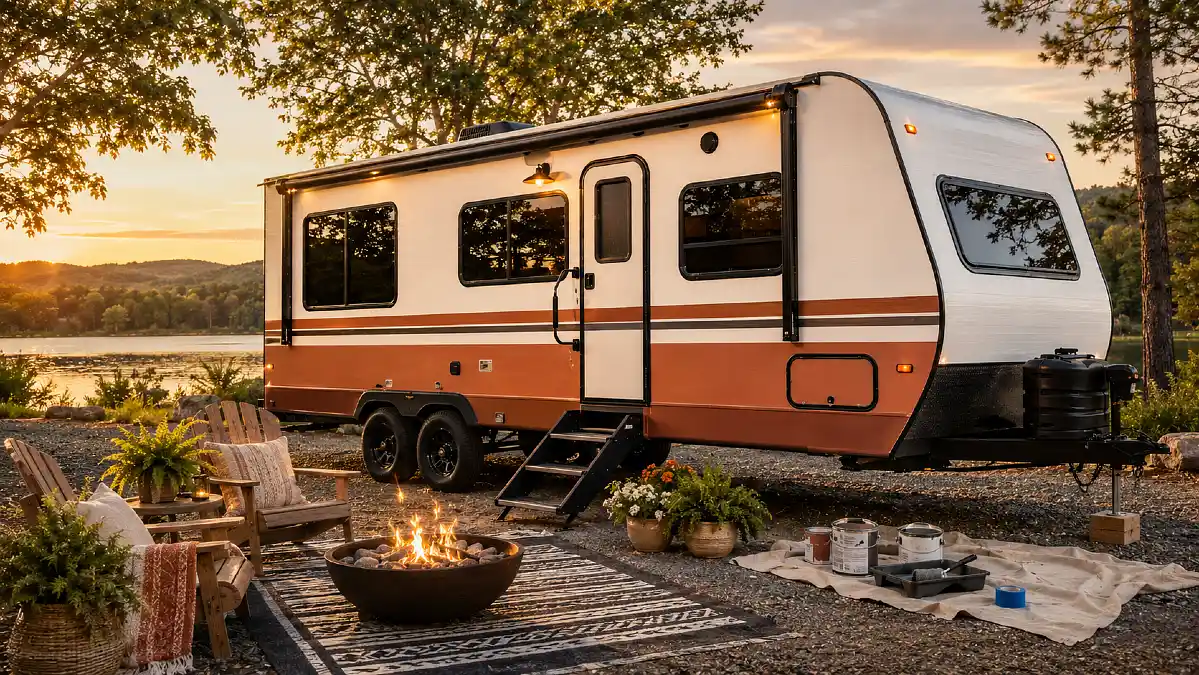
Your RV may work perfectly inside, yet the outside can make it look twenty years older. Faded swoosh decals, yellowing white panels, worn trim, and too many brown graphics can hide everything you still love about the rig.
The good news is that you may not need a professional body shop to change that.
Real RV owners have transformed older campers by removing decals, cleaning the body, sanding when needed, priming, painting, and adding simpler graphics. RV Inspiration has documented several exterior makeovers using many of these same methods.
The best RV exterior ideas are usually simpler than the factory design they replace. Two colors can look better than six. One strong stripe can beat a collection of swooshes.
1. Warm White With Black Trim Makes an Old RV Look Cleaner
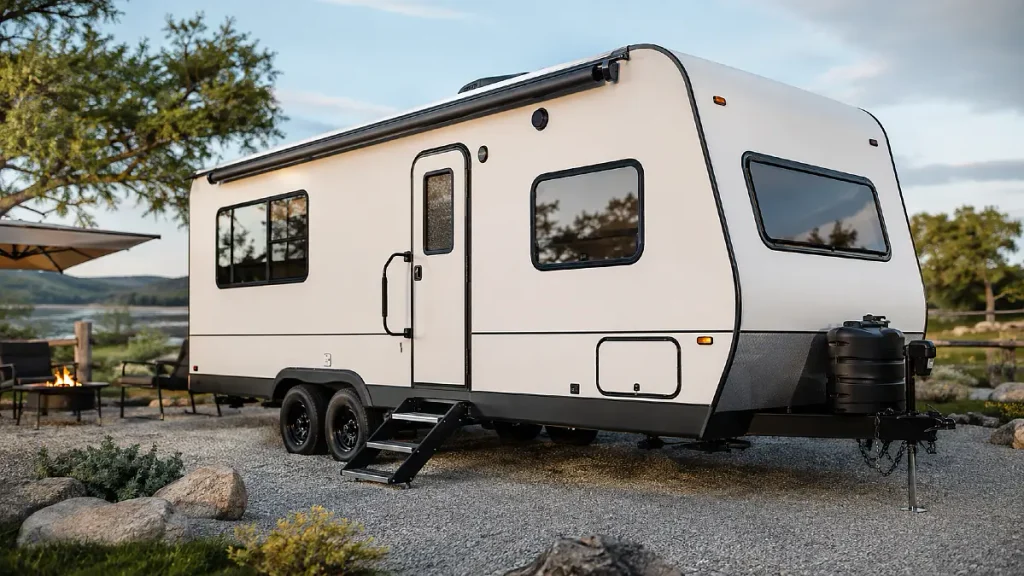
If your RV is covered in faded brown and gray graphics, removing some of that visual noise may make the biggest difference.
Start with warm white as the main color. Then let black appear around the door, steps, wheels, handles, or a few trim pieces.
The result feels cleaner because your eye is no longer trying to follow several graphics at once.
Warm whites also fit current exterior color direction. 2026 exterior design coverage has highlighted classic warm whites, nature based neutrals, and darker accent colors rather than covering every surface with strong contrast.
You do not need to make every trim piece black. That can turn a simple idea into another busy design.
Try this formula:
- Warm white main body
- Existing black windows
- Black or charcoal lower trim
- One simple graphic, if any
This works especially well when the original white fiberglass is still in good condition. You may be able to remove graphics, polish the body, and repaint only selected parts.
That saves work while still creating a major change.
2. Sage Green Helps a Camper Blend Into Outdoor Settings
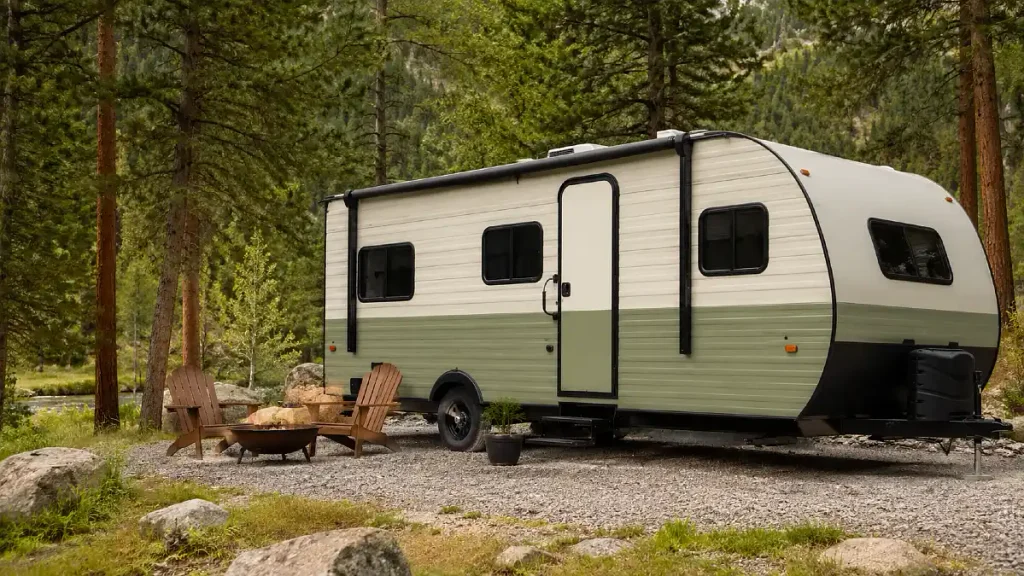
Soft green is one of the easiest ways to give a camper personality without making it loud.
Picture a small travel trailer with a muted green lower body, creamy upper panels, black windows, and simple wheels. The color feels right near trees, gravel campsites, and natural wood furniture.
Sherwin Williams featured Liveable Green SW 6176 in July 2026. The shade has soft yellow and gray notes rather than the sharp look of a bright green.
Use that idea as color inspiration rather than assuming ordinary house paint is right for your RV.
For a balanced palette, try:
- Soft sage green
- Cream or warm white
- Black hardware
Keep the green slightly dusty rather than bright.
There is one practical issue. Every RV surface is different. Fiberglass, painted aluminum, bare aluminum, gelcoat, and plastic trim can require different preparation and coating products.
Check your RV manual and the coating maker’s instructions before buying paint.
The pretty part is choosing green. The important part is making sure it stays there.
3. Desert Tan Makes a Large RV Feel Less Bulky
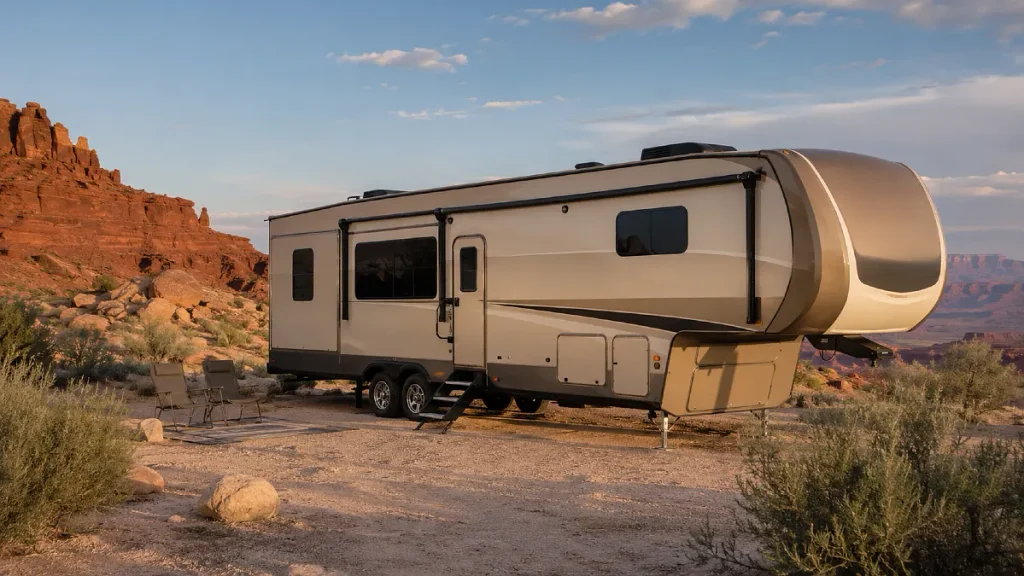
Large fifth wheels and motorhomes can look even bigger when every panel has a different graphic.
A warm tan can calm the whole body.
Sherwin Williams chose Universal Khaki SW 6150 as its 2026 Color of the Year. It is a warm midtone neutral with a slight yellow note.
That color direction works well for RV inspiration because many rigs already have tan awnings, beige storage doors, bronze graphics, or brown trim.
Instead of fighting those parts, you can build around them.
Try a warm tan body with charcoal, dark brown, or cream details. Keep the graphics broad and simple.
This approach can also save money.
If the existing tan plastic parts are still solid, you may not need to replace them simply because they do not match a bright white makeover.
A good exterior plan often uses what you already have.
The final result can feel more planned because the existing pieces suddenly look like part of the palette.
4. Paint the Lower Half Dark to Hide Exterior Clutter
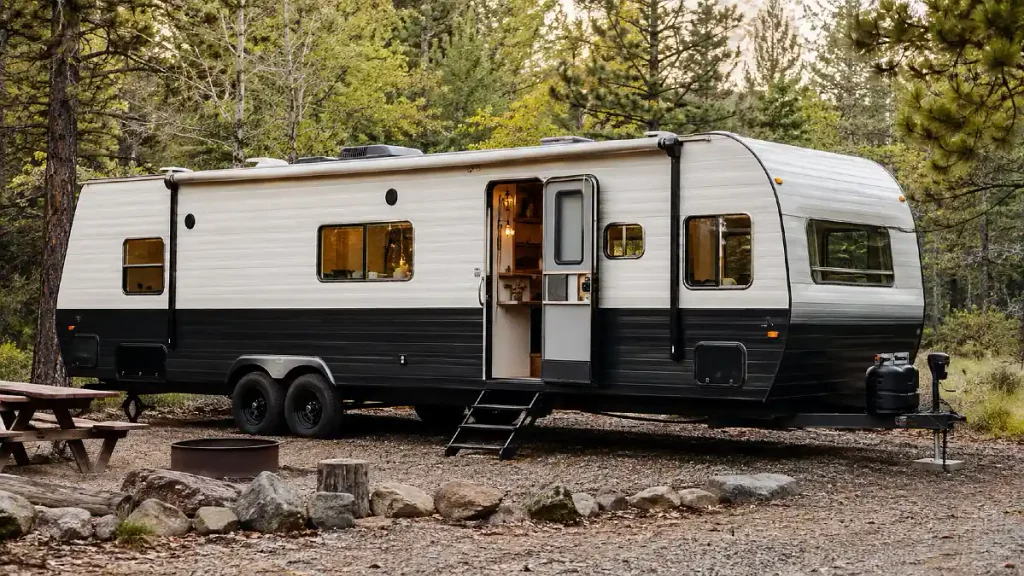
Storage doors, vents, access panels, wheel openings, and utility connections can make the bottom half of an RV look busy.
A darker lower section can visually group those pieces together.
Use the RV’s existing body lines as your guide. A horizontal trim rail or natural panel break can become the point where the color changes.
One simple combination is a creamy upper body with charcoal or deep brown below.
Benjamin Moore’s 2026 palette offers a similar color lesson. It pairs lighter shades such as Swiss Coffee OC 45 with much deeper colors including Silhouette AF 655.
You are borrowing the color relationship, not the coating system.
Avoid adding several extra stripes between the two main colors. Let the contrast do the work.
This idea is especially useful on an RV with many lower storage compartments.
From a distance, the darker section reads as one large band rather than ten little doors.
That can make even a big rig feel much calmer.
5. Cream and Muted Blue Bring Back Retro Camper Style
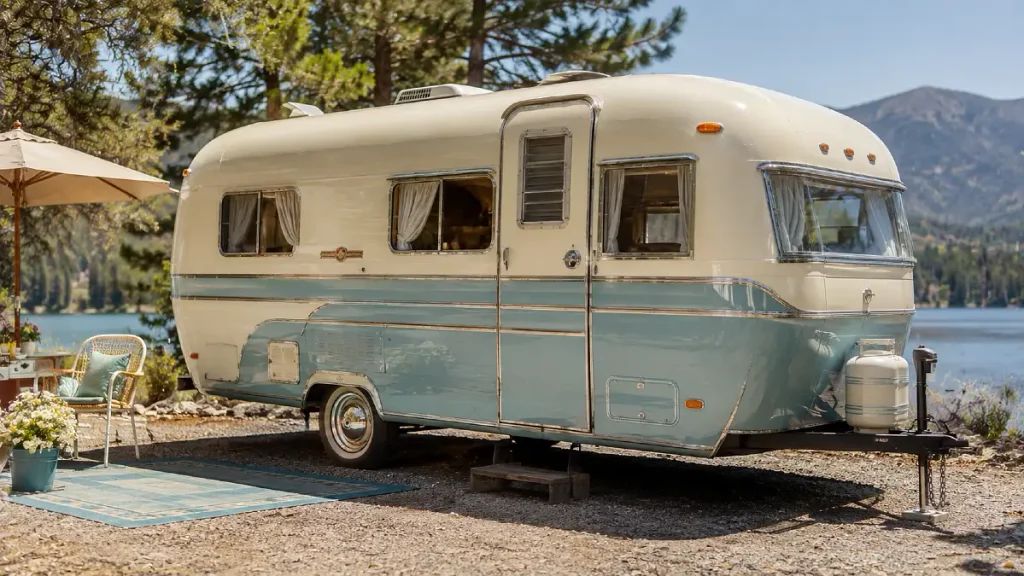
A vintage camper does not need fake rust or distressed paint to feel retro.
Color can do the job.
Start with cream rather than stark white. Add one muted blue band around the body. Then keep the original aluminum trim if it is still in good condition.
Sherwin Williams featured Tradewind SW 6218 in May 2026. It is a soft blue with a hint of green and works well as inspiration for this kind of palette.
For a small rounded camper, the stripe can follow the longest horizontal line.
That makes the trailer appear longer and gives the design some order.
Avoid packing the body with extra vintage symbols, lettering, stars, or random decals.
The shape of an older camper already carries plenty of character.
A simple palette lets that shape stand out.
Cream, muted blue, polished metal, and black tires may be all you need.
It feels retro without looking like a movie prop.
6. One Terracotta Stripe Can Warm Up a Plain White Trailer
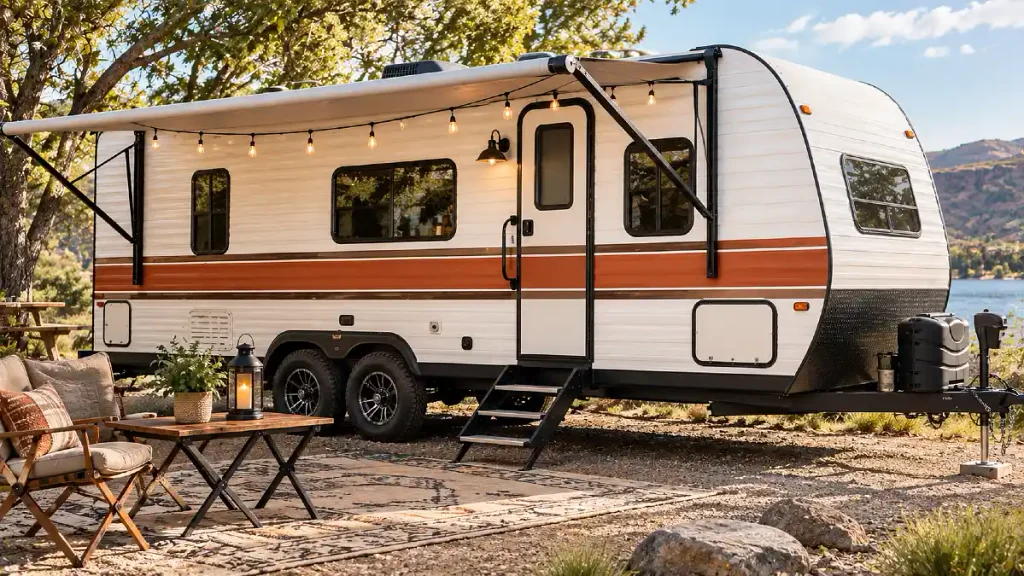
You may not need to paint your entire RV.
If the factory white is still clean and solid, use it.
Remove tired graphics and replace them with one broad stripe in a warm clay or terracotta shade. A smaller brown detail can finish the palette.
Benjamin Moore included Southwest Pottery 048 in its 2026 color collection, which shows how warm earthy colors continue to sit comfortably beside softer neutrals.
The key is stripe placement.
Line it up with something that already exists, such as:
- The bottom of the windows
- A body seam
- The center of the door
- A long trim rail
Random stripe placement can make the exterior feel more complicated.
A clean horizontal line makes it feel planned.
This is also a good option if a full repaint feels like too much work.
You still get a strong change, but most of the original exterior remains untouched.
7. Deep Green and Cream Can Give a Camper a Cabin Feel
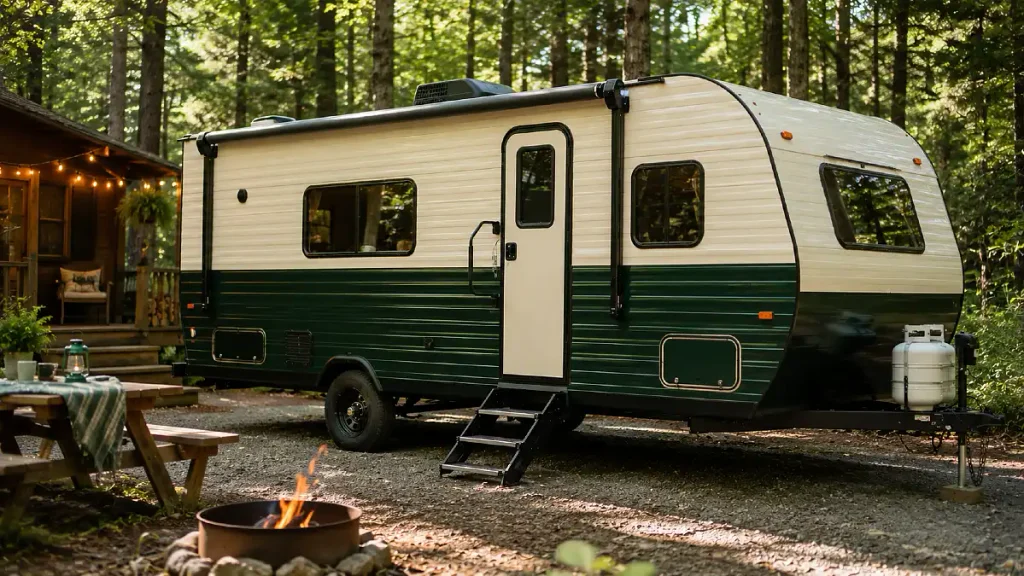
For a smaller trailer, deep green can be striking.
Pair it with cream trim and the exterior starts to feel closer to a tiny cabin than a standard white camper.
Benjamin Moore’s 2026 palette includes Narragansett Green HC 157, a deep green that offers useful inspiration for this look.
You do not need to cover every panel with green.
Consider using it on the lower body, door, or one broad side section while keeping the roof area light.
Add wood tones carefully.
A wood step, removable camp table, or small exterior accessory can support the cabin look. Covering the RV with fake wood graphics usually has the opposite effect.
Dark colors also deserve more testing.
A deep color can look very different in direct afternoon sun than it does on a small sample.
Test the visual effect first. Then check the coating maker’s guidance and your RV manufacturer’s recommendations before applying anything to a large exterior surface.
8. Add One Navy Band Instead of Repainting the Whole RV
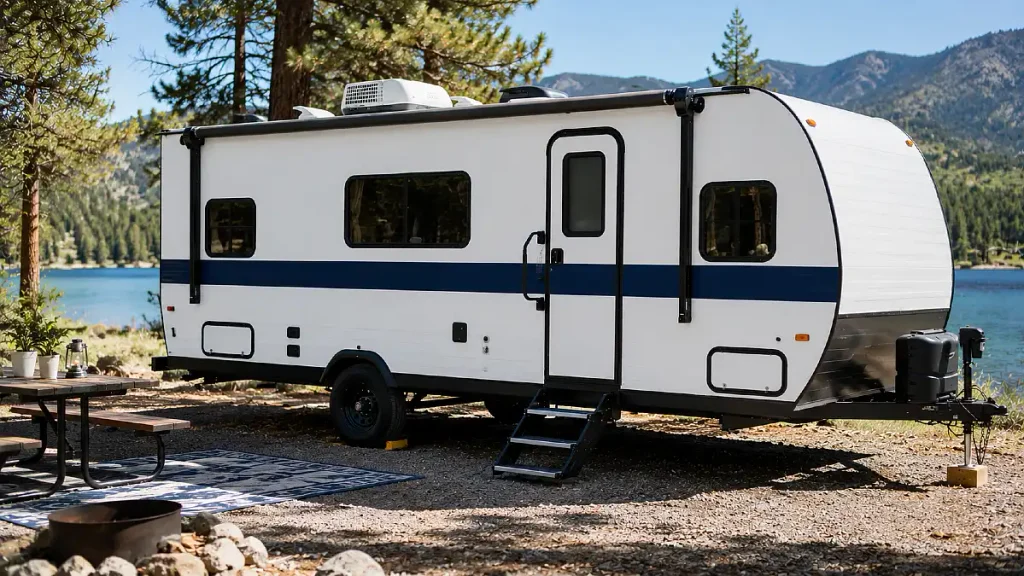
Here is one of the most useful ideas for a white fiberglass trailer.
Leave the white.
Remove the dated graphics and add one navy stripe.
That alone can change the personality of the rig.
Benjamin Moore currently lists several deep blues among its popular colors, including Hale Navy and Van Deusen Blue.
A similar dark blue can work well beside clean white, aluminum, and black window frames.
You could also paint or wrap the entry door in the same color.
Now the door and stripe relate to each other, which makes the design look planned.
This is much less work than changing every square foot of the exterior.
It also gives you an easier exit if your taste changes later, especially if the band is made from suitable vehicle vinyl rather than paint.
Sometimes the smartest DIY RV exterior makeover is the one that leaves most of the RV alone.
9. Replace Factory Swooshes With Simple Vinyl Graphics
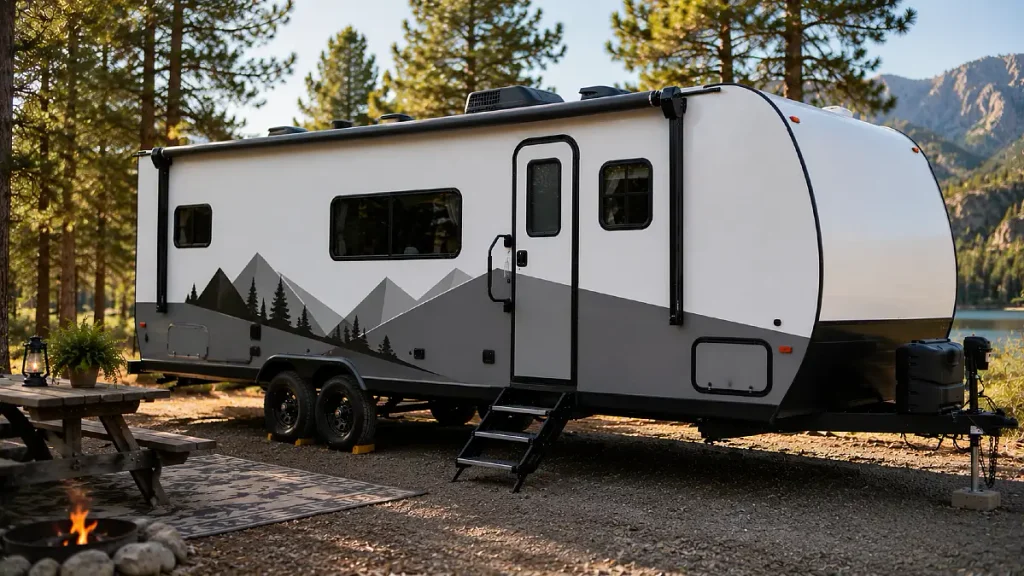
You do not have to paint every design.
Vinyl can create a cleaner look while giving you more flexibility.
3M makes graphic films specifically for vehicles. Its IJ180mC film is designed for vehicle graphics and can conform to curves and contours, while other 3M vehicle films are designed with removability in mind.
That opens up several possibilities:
- One broad diagonal
- A simple mountain shape
- Two narrow stripes
- A large color block
- A small graphic near the rear
Keep it restrained.
The goal is to replace visual clutter, not create new clutter.
Large flat areas may look easy, but RV walls can contain seams, corrugations, vents, rivets, doors, and curves.
A professional wrap installer may be worth the cost on difficult sections.
Also keep safety labels, vents, lights, access doors, and required markings clear.
Good graphics work with the RV.
They should never interfere with how it functions.
10. Paint or Wrap the Door for a Fast Pop of Color
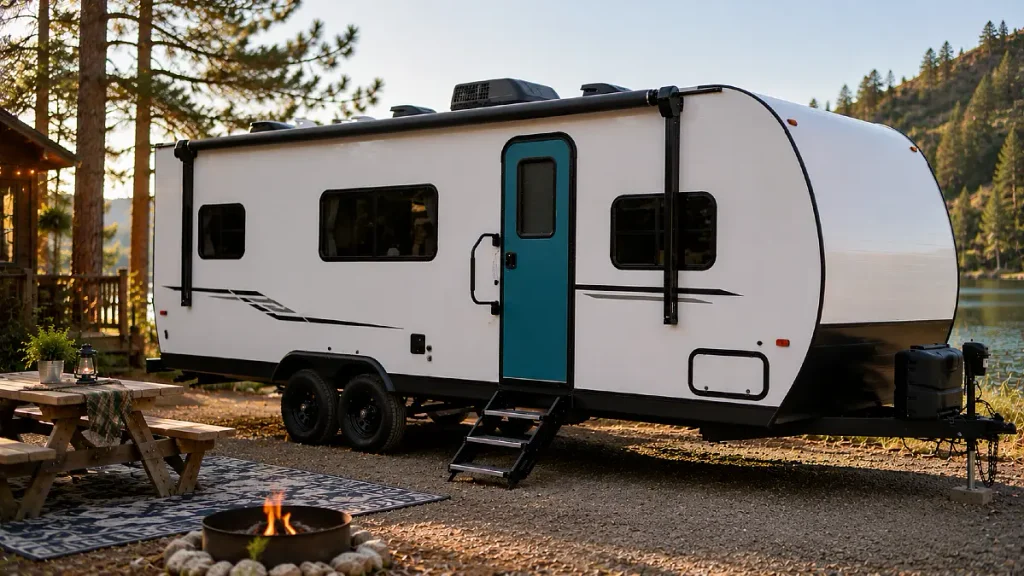
Maybe the rest of your RV looks fine.
The easiest answer could be one colorful door.
Keep the body cream, white, gray, or tan. Then make the entry door the focal point.
Pinterest’s 2026 Palette includes colors such as Cool Blue, Jade, Plum Noir, Wasabi, and Persimmon.
You do not need to copy those colors exactly.
Use them as proof that stronger color can work in a controlled dose.
Jade or muted blue can suit a calm camper. Warm clay or persimmon can work for someone who wants more energy.
Repeat the door color once somewhere small.
It might appear in a thin stripe or removable accessory.
Then stop.
Repeating one accent helps the color feel connected to the rest of the rig.
This is one of the best RV exterior ideas if you want a visible change without spending weeks working on the camper.
11. Soft Taupe Can Rescue an Old Beige RV
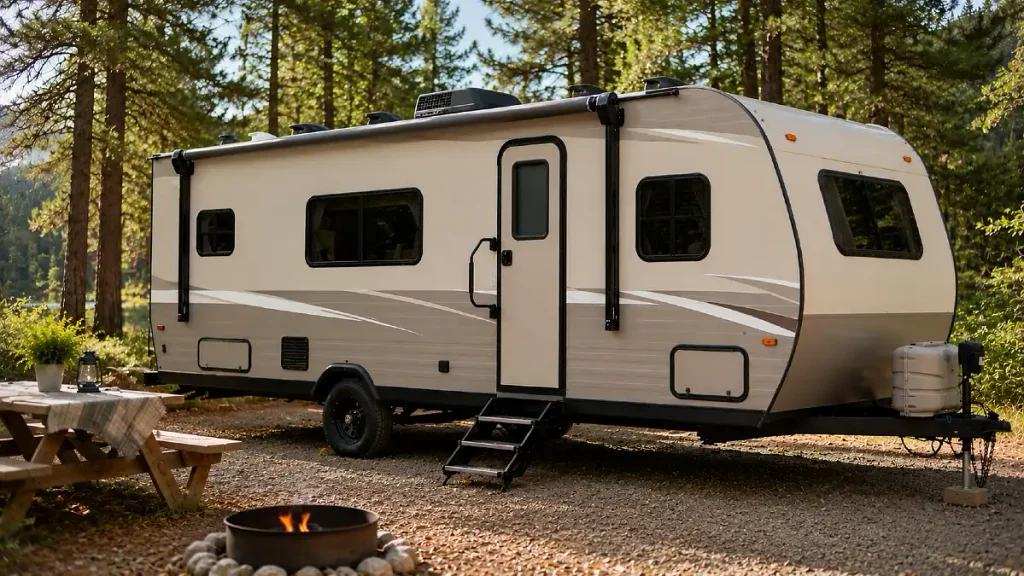
Some older RVs have so much beige plastic that a crisp black and white makeover becomes a battle.
You do not have to fight it.
Use a softer taupe or warm neutral that makes those existing pieces feel intentional.
Current 2026 exterior color coverage points to warmer neutrals, softer taupes, and off whites as alternatives to colder gray schemes. Sherwin Williams has also described a move toward warmer neutral families.
This can work especially well on larger motorhomes.
Try:
- Warm taupe body
- Cream upper sections
- Dark bronze or charcoal accents
- Existing tan components where practical
Suddenly the old awning housing or storage trim may look like part of the plan.
This is a useful lesson for any makeover.
You do not have to replace every part that shows its age.
Sometimes a better color palette makes old pieces look right again.
12. Thin Retro Stripes Can Make a Small Camper More Fun
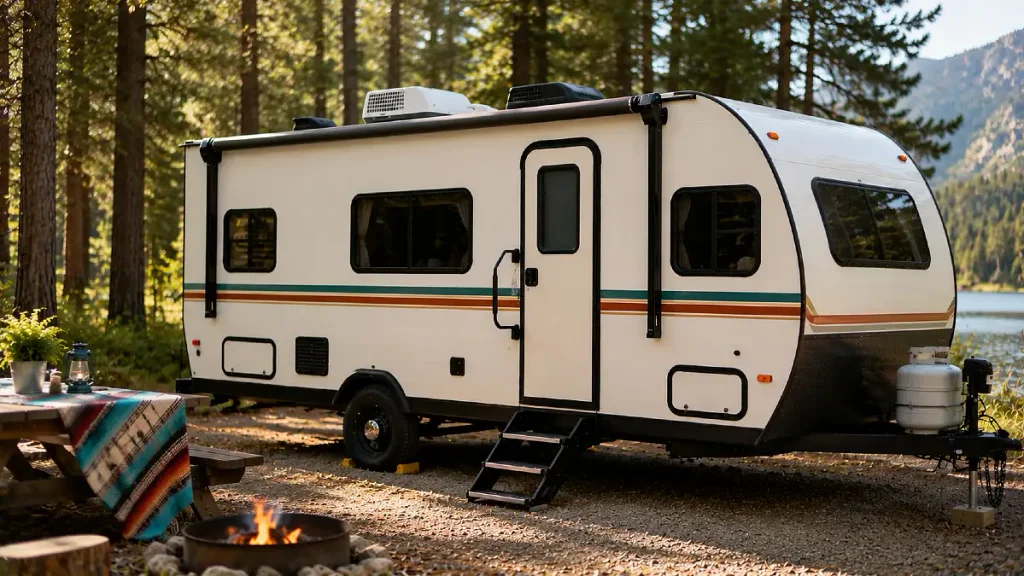
Small trailers can handle a little more personality.
Try two or three thin horizontal stripes rather than one huge graphic.
A warm retro palette might combine cream with rust, muted gold, and brown. A cooler version could use cream, dusty blue, and deep green.
The important word is thin.
The stripes should support the shape of the camper instead of taking over every panel.
Vinyl is worth considering here because narrow lines can be hard to paint cleanly across doors, seams, and uneven surfaces.
You can also replace the graphics more easily later.
Keep the stripe group in one part of the body.
Do not add another pattern at the front, another one at the rear, and a third around the door.
One visual idea is enough.
That restraint is what separates a fun retro camper from an exterior that feels busy again.
13. One Large Color Block Can Make a Boxy RV Look Modern
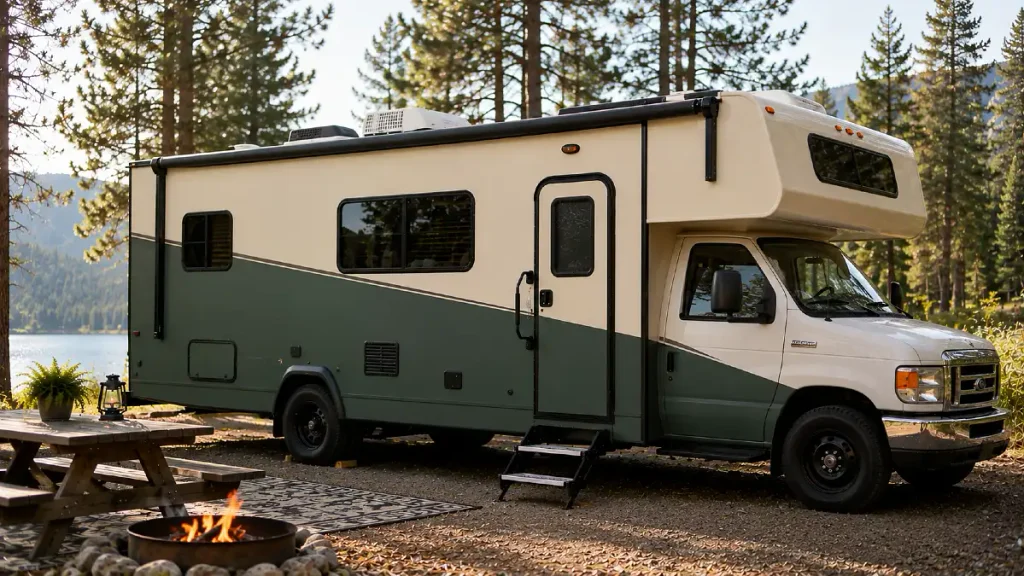
Many factory RV graphics try to hide the boxy shape with swirls.
You can go in the opposite direction.
Use the shape.
A single oversized color block can run across part of the side, wrap around the rear, or sit behind the window area.
Pinterest’s 2026 color data includes stronger shades such as Cool Blue, Jade, and Persimmon, so bolder color is easy to find in current design inspiration.
Choose one strong shade and pair it with a neutral.
For example:
- Warm white and jade
- Cream and clay
- Tan and dark green
- White and dusty blue
Paint can create the effect, but vehicle vinyl may make more sense if you want a sharp geometric shape.
The trick is scale.
One large block can feel cleaner than eight little graphics because your eye reads it as one decision.
Simple can still be bold.
14. Clean the Trim Before Deciding the RV Needs Paint
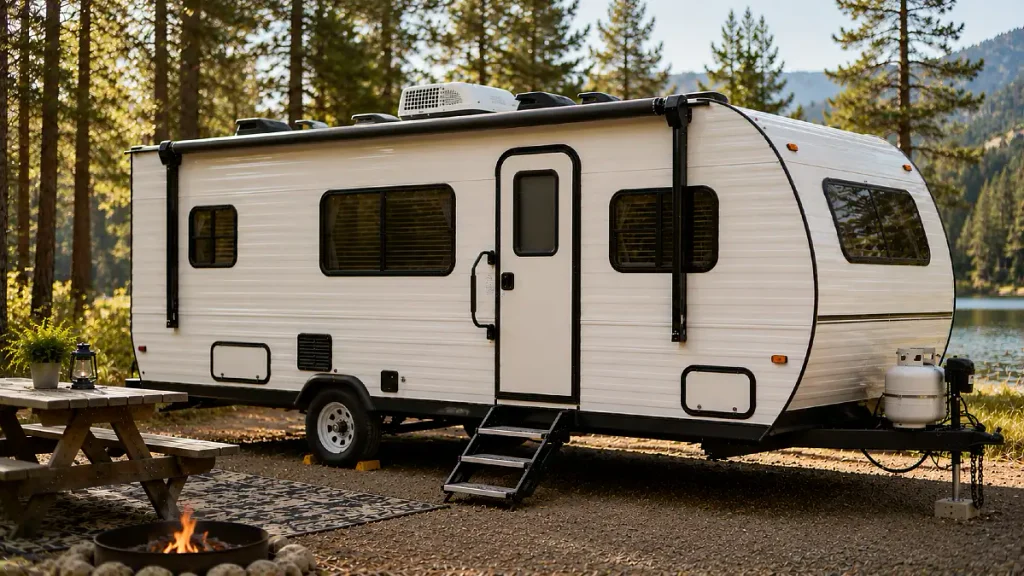
Before ordering gallons of coating, wash the RV properly.
You may be surprised.
Road film, oxidation, dirt around trim, stained wheels, and grimy seals can make an exterior appear much worse than it really is.
Winnebago’s maintenance guidance includes regular cleaning of RV sidewalls and inspection of exterior seals. Keystone also advises checking areas around windows, doors, storage compartments, seams, and the roof for seal problems.
Start with the boring work:
- Wash the RV.
- Clean the wheels.
- Inspect exterior trim.
- Look for cracked or failing sealant.
- Check for damage.
- Remove surface dirt around doors and compartments.
Then stand back.
You may discover that the body color is fine and the graphics are the real problem.
A decal change, deep clean, trim cleanup, and wheel refresh may give you most of the visual improvement you wanted.
That is cheaper and much easier than repainting a sound exterior.
15. A Full DIY Repaint Can Work, but Prep Comes First
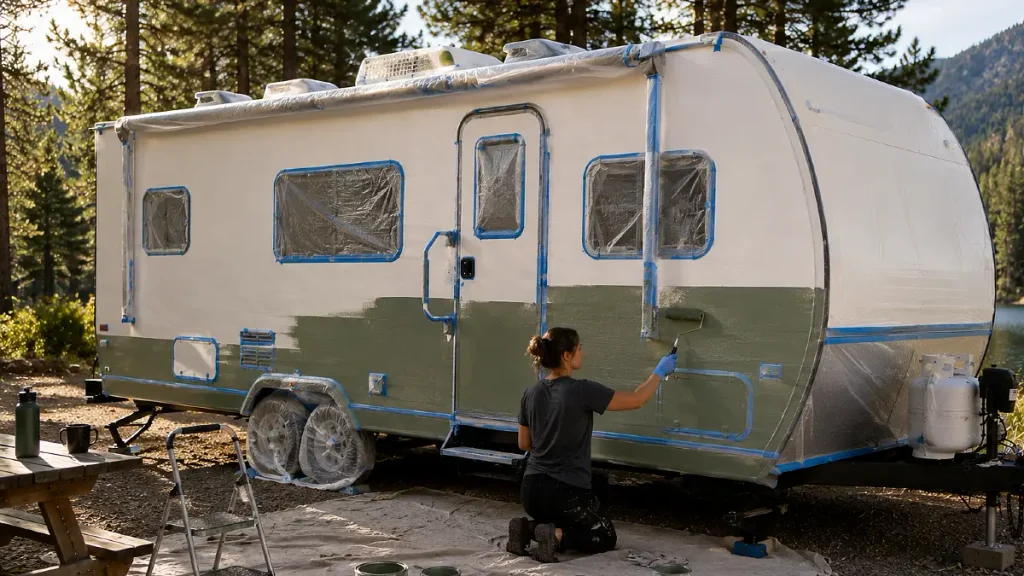
A complete repaint gives you the most freedom.
It also gives you the most ways to get the job wrong.
RV Inspiration’s documented makeover process includes removing decals, washing the exterior, cleaning grime, lightly sanding where appropriate, priming, and painting. Do It Yourself RV also puts heavy emphasis on surface preparation before coating.
Surface type matters.
Rust Oleum’s Marine Topside Paint, for example, is listed for compatible fiberglass, wood, and metal surfaces above the waterline and requires proper surface preparation. That does not mean it is automatically the right product for every RV.
Fiberglass, gelcoat, painted aluminum, bare aluminum, plastic parts, roofs, and sealants may need different products.
Before painting, identify exactly what you are coating.
Protect:
- Windows
- Lights
- Vents
- Seams
- Manufacturer labels
- Storage hardware
- Weather seals
And deal with leaks or bad sealant before making the RV pretty.
Winnebago’s 2026 towable manual says exterior sealants should be checked every three months and recommends preventative resealing at least once each year.
Paint should be the finishing step, not a cover for maintenance problems.
Which RV Exterior Idea Should You Try?
The best RV makeover does not have to be the biggest one.
Start by cleaning the exterior and removing whatever makes it feel dated. Then choose two or three colors that work with the windows, roof, awning, wheels, and trim you plan to keep.
Take a straight photo of your RV and test colors digitally before buying materials. Sherwin Williams offers ColorSnap visualization tools, while Benjamin Moore offers its Color Portfolio app for testing color ideas.
You may end up repainting the whole camper.
Or you may discover that one stripe and a cleaner door are enough.
That is the real value of these RV exterior ideas. You can make an older rig feel personal again without covering it in another set of factory style graphics.