The power cuts out. Cell service drops. Roads are blocked. You’re trapped at home without any way to get supplies. Most people panic in this scenario—but not you.
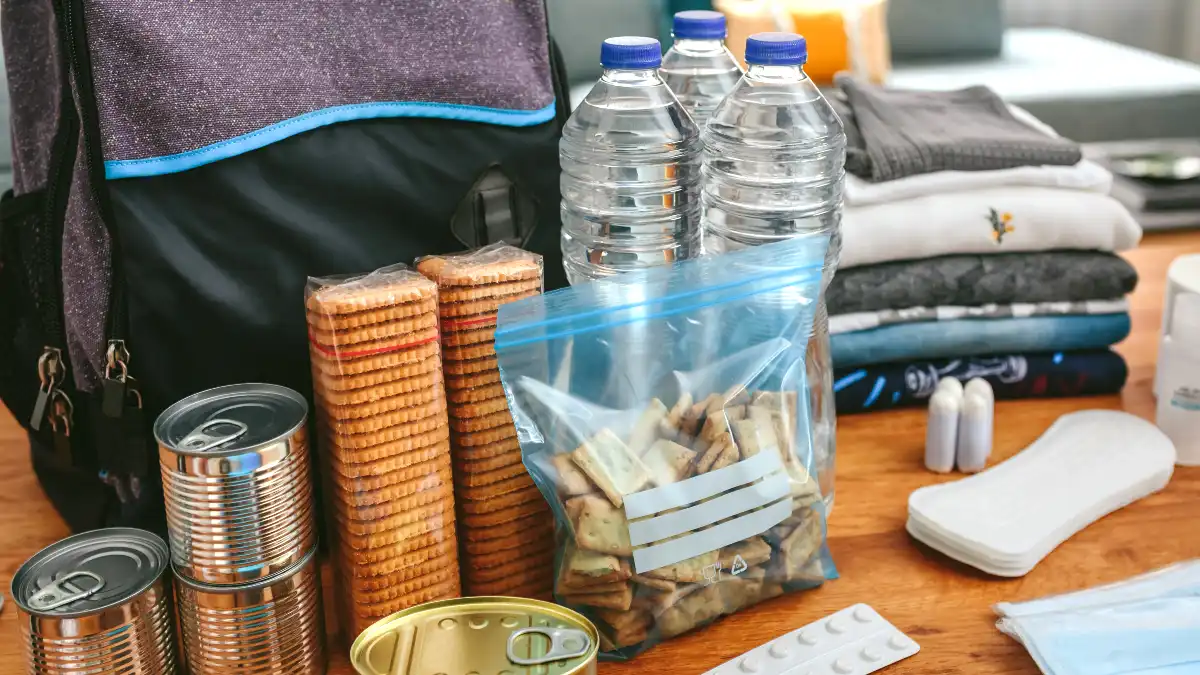
Why? Because your home already contains everything you need to survive. Right now, sitting in your kitchen drawers, bathroom cabinets, and storage closets are 15 ordinary items that transform into survival tools during an emergency.
The difference between disaster and safety often hinges not on expensive gear, but on knowing how to use what you already have.
With climate disasters increasing by 7X since the 1980s and only 54% of Americans prepared for emergencies, mastering these household survival hacks puts you ahead of nearly half the population.
These aren’t just clever tricks—they’re field-tested techniques recommended by survival experts, emergency responders, and disaster relief organizations. Your trash bags, aluminum foil, and dental floss might save your life when everything else fails.
1. Heavy-Duty Garbage Bags
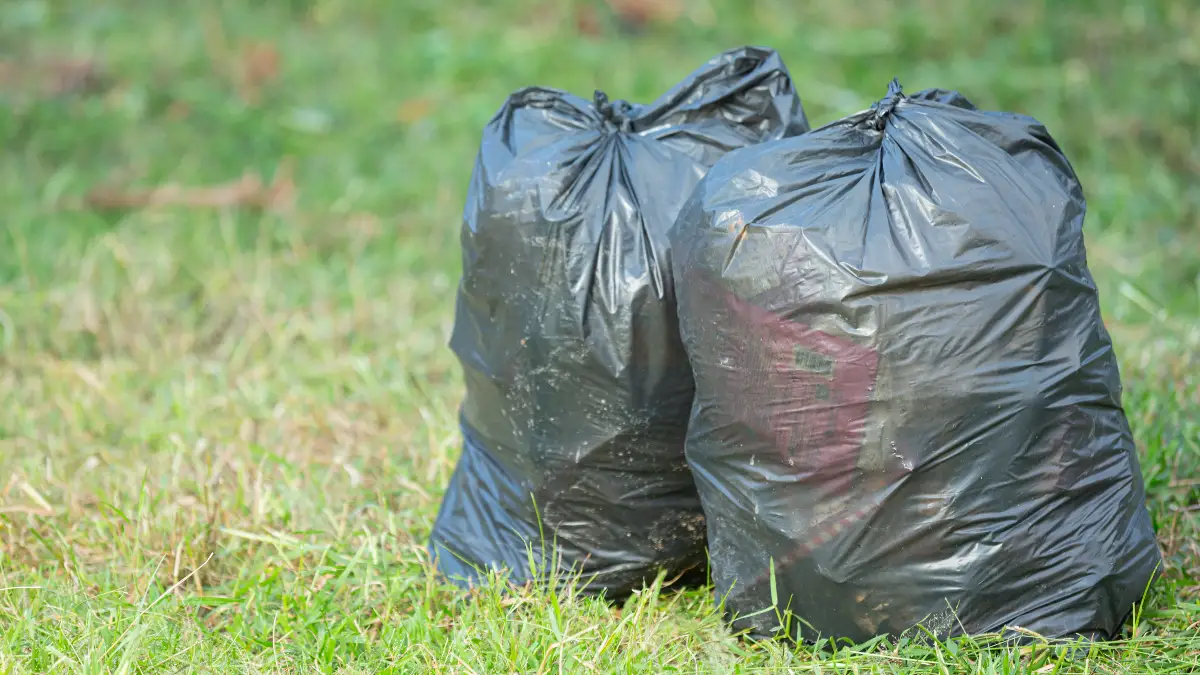
When disaster strikes, ordinary household items can become lifesaving tools. Among these, heavy-duty garbage bags stand out as one of the most versatile survival resources you already have at home.
Primary Value: Multi-purpose shelter, water collection, and waterproofing solution
Critical Applications:
- Emergency shelter construction (lean-to, poncho, ground cover)
- Rainwater collection and water storage
- Thermal insulation (stuff with leaves or wear as layer)
- Emergency sanitation and waste management
- Waterproof clothing improvisation
Detailed Technique – Emergency Poncho
Cut or tear a hole in the closed end of a heavy-duty garbage bag for your head, then cut openings on the sides for your arms. This creates instant rain protection.
For enhanced insulation during cold weather, wear the bag between clothing layers, or stuff multiple bags with dry leaves, newspaper, or pine needles to create insulated bedding or a sleeping bag liner.
For water collection, tie the bag to a frame or suspend it to catch rainwater—a single 55-gallon drum liner can collect several gallons.
Expert Recommendation
Master Woodsman survival instructors recommend 55-gallon drum liners for superior durability.
The National Association for Search and Rescue includes garbage bags in their Hug-A-Tree program for lost children ages 7-11, demonstrating their critical value for emergency shelter.
Safety Considerations
Never place bags over your head in an enclosed manner—always ensure adequate ventilation to prevent suffocation. Bags can tear on sharp objects, so handle carefully in survival situations.
2. Duct Tape
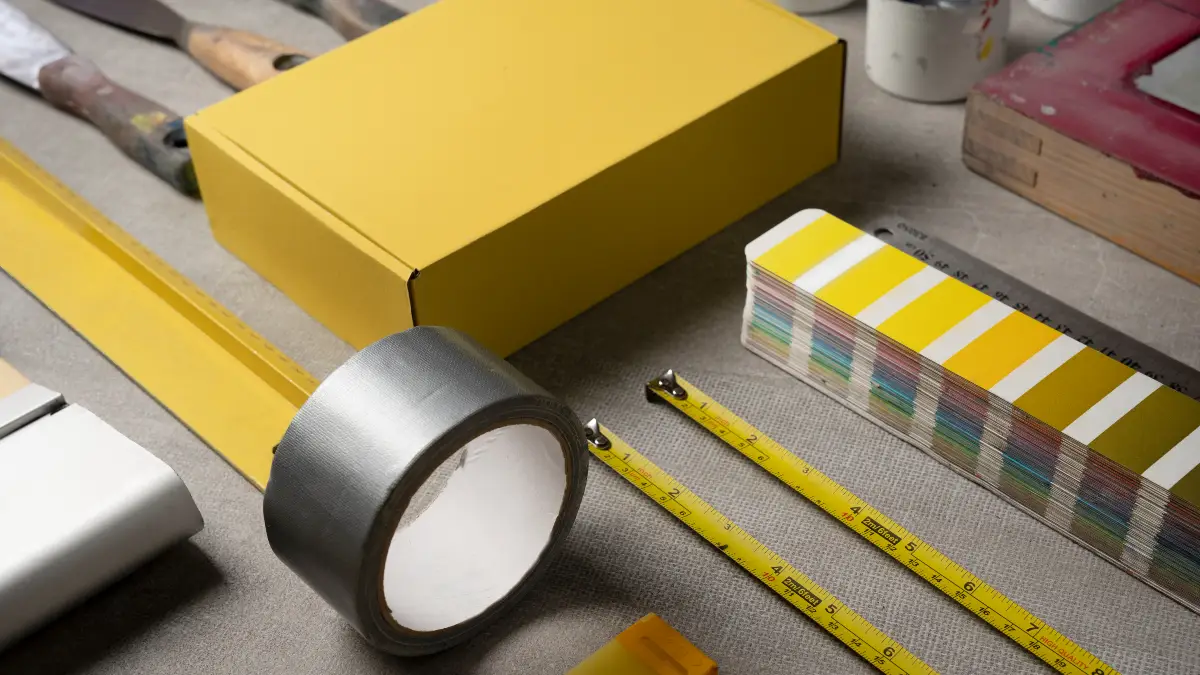
Few household items match the versatility of duct tape in emergency situations. This common product becomes an essential survival resource when traditional supplies aren’t available.
Primary Value: Universal repair tool with medical, shelter, and fire-starting capabilities
Critical Applications:
- Shelter repairs and waterproofing
- Medical applications (securing splints, creating bandages, holding dressings)
- Creating cordage and rope (twist or braid strips)
- Fire starting (crumple into ball, burns slowly)
- Clothing and equipment repairs
Detailed Technique – Fire Starting
Crumple 2-3 feet of duct tape into a large, loose ball. Light the edges with an open flame or spark.
The tape will burn slowly for several minutes, providing sustained heat to ignite larger tinder and kindling. For cordage, cut or tear long strips and twist them tightly, or braid 2-3 strips together for added strength—this creates surprisingly strong rope suitable for securing shelters or hanging supplies.
Medical Application
Create butterfly bandages for wound closure by cutting small strips with a narrow connecting piece in the middle. Secure splints to broken limbs, or use as compression bandages for sprains and strains.
Expert Recommendation
Survival experts identify duct tape as having 50+ survival applications. FEMA’s Ready.gov specifically recommends duct tape combined with plastic sheeting for shelter-in-place situations during biological or chemical threats.
Safety Considerations
Remove carefully from skin to avoid injury. When burning for fire starting, ensure adequate ventilation as it produces smoke.
3. Aluminum Foil
This kitchen staple transforms into a versatile survival tool with applications ranging from signaling to cooking and fire starting.
Primary Value: Signaling, cooking, insulation, and fire-starting tool
Critical Applications:
- Signal mirror for rescue (reflective signaling visible for miles)
- Cooking vessels and heat reflectors
- Fire starting with battery (creates spark)
- Trail markers and navigation aids
- Shelter insulation (reflects body heat)
- Fishing lures (resembles fish scales)
Detailed Technique – Rescue Signaling
Smooth out aluminum foil to create a large reflective surface, removing creases for maximum reflection. Use the foil to reflect sunlight toward aircraft or rescue teams—this signal can be seen for miles in daylight conditions.
For nighttime navigation, tie reflective strips to tree branches to mark your trail back to camp; they’ll reflect flashlight or moonlight.
Fire Starting Method
Cut a thin strip of aluminum foil (about ¼ inch wide and 3-4 inches long). Touch one end to the positive terminal of an AA battery and the other end to the negative terminal.
The electrical resistance will heat the foil rapidly, creating a spark or flame that can ignite tinder. Work quickly, as the foil heats in seconds.
Cooking Application
Mold multiple layers of foil into a bowl or pot shape. Suspend over hot coals (never direct flame, as foil melts easily) to boil water or heat food.
Expert Recommendation
Survival experts document over 20 distinct uses for aluminum foil. Backpacker Magazine recommends it as one of the most weight-efficient items for bug-out bags.
Safety Considerations
Foil melts in direct flame—use only with coals. When making electrical connections with batteries, work quickly as foil heats rapidly and can burn fingers.
4. Cotton Balls with Petroleum Jelly
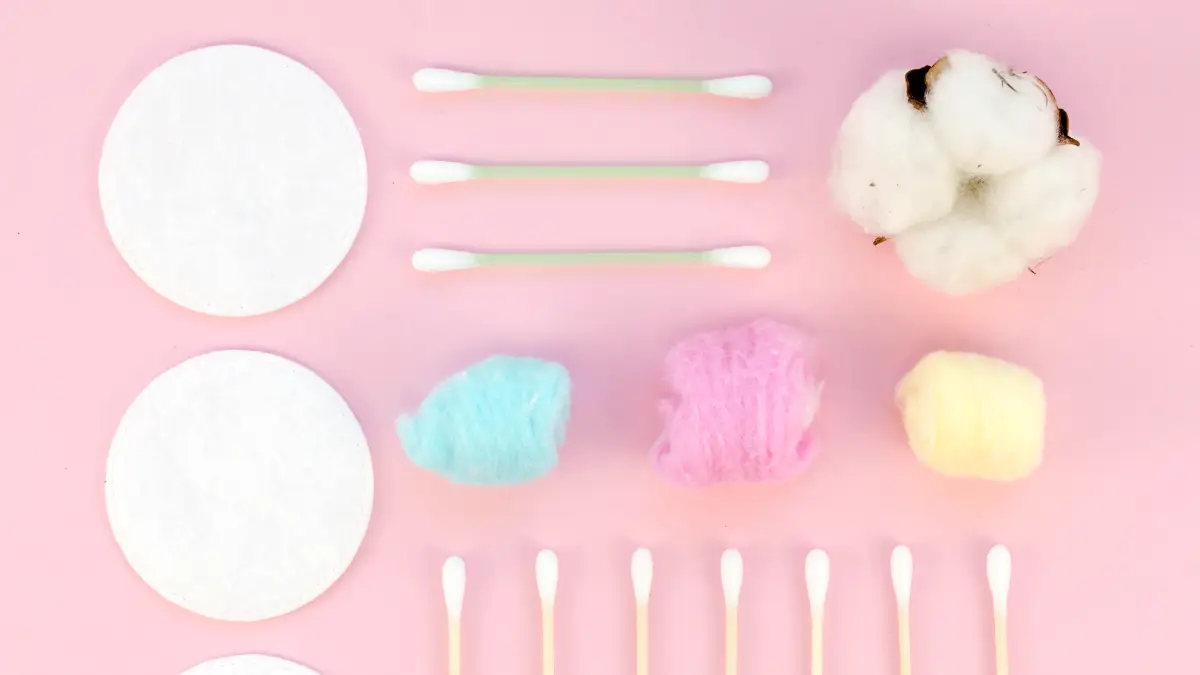
When it comes to reliable fire starting in survival situations, few homemade options beat this simple yet effective combination.
Primary Value: Best combination fire starter that works in damp conditions
Critical Applications:
- Primary fire-starting tinder (burns 5-10 minutes per ball)
- Extended burn time in wet or windy conditions
- Pre-made fire starters for emergency kits
Detailed Technique
Thoroughly coat cotton balls with petroleum jelly (Vaseline), working the jelly into all fibers. Fluff the cotton slightly to expose fibers, creating more surface area for ignition. Store in a waterproof container (pill bottle or mint tin). To use, place the prepared cotton ball in your fire lay and ignite with spark, flame, or ferrocerium rod. Each ball burns for 5-10 minutes with a hot flame, giving ample time to ignite larger tinder and kindling. These work even in damp conditions because the petroleum jelly is waterproof.
Preparation Strategy
Pre-make 20-30 cotton balls at home and store in your bug-out bag, vehicle emergency kit, and home supplies. One small container of these can provide fire-starting capability for weeks.
Expert Recommendation
Wilderness College survival instructors identify petroleum jelly-coated cotton balls as the single most reliable fire starter for emergency situations. Creek Stewart, Weather Channel survival expert and author of “Survival Hacks,” includes this in his top-5 household survival items.
Safety Considerations
Highly flammable—store away from heat sources and open flames until ready to use. Burns with hot flame, so exercise caution during ignition.
5. Clear Plastic Bottles
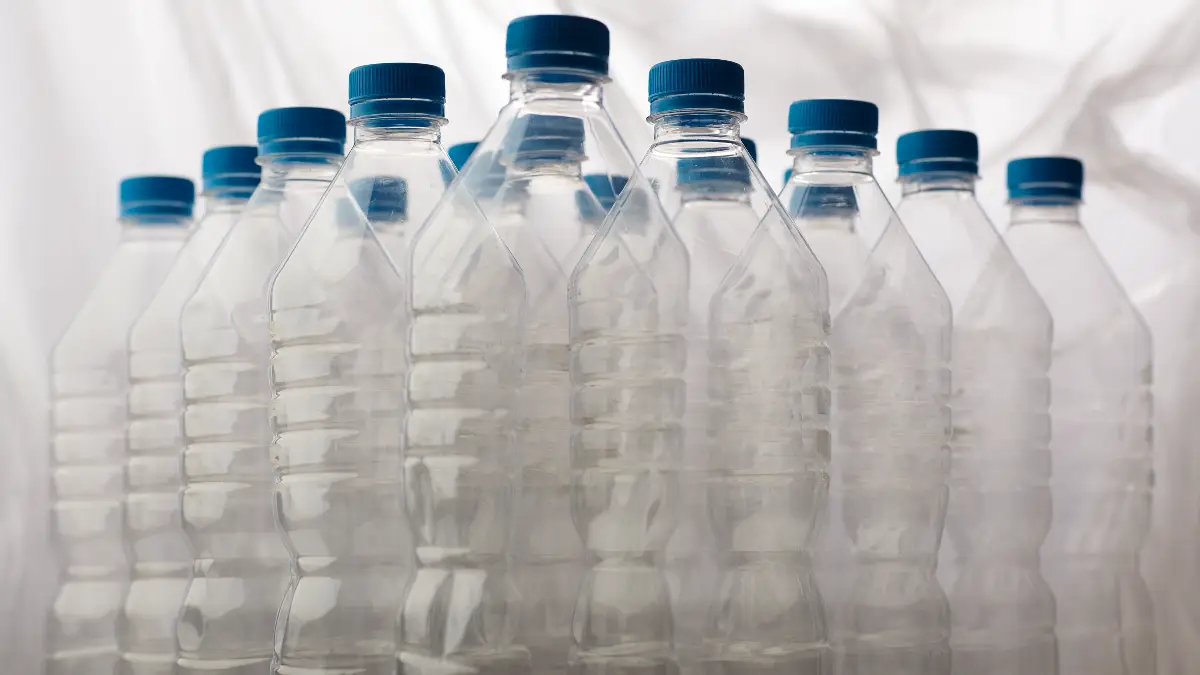
These common containers become survival assets with applications ranging from water purification to emergency lighting.
Primary Value: Multi-use water storage, purification, lighting, and shelter material
Critical Applications:
- Water storage and transportation
- Solar water purification (SODIS method)
- Fire starting (lens effect when filled with water)
- Emergency lighting (“Liter of Light” technology – equivalent to 40-60 watt bulb)
- Fish traps
- DIY water filtration
- Cordage (cut into strips)
Detailed Technique – Solar Water Purification (SODIS)
Fill a clear plastic bottle 3/4 full with water. If water is cloudy, pre-filter through cloth or coffee filter first. Place the bottle in direct sunlight on a reflective surface (aluminum foil or corrugated metal roofing) for minimum 6 hours on sunny days, or 2 consecutive days if cloudy.
UV radiation from the sun kills most bacteria, viruses, and parasites. The water should reach 50°C (122°F) for maximum effectiveness. This method is recommended by UNICEF and WHO for emergency situations.
Emergency Lighting Technique
Fill a clear 1.5-2 liter bottle with water and add 10ml (2 teaspoons) of bleach to prevent algae growth. Insert the bottle through a hole in your roof or ceiling, securing with waterproof sealant.
During daylight hours, the water refracts sunlight throughout the room, providing 55-60 watts equivalent of brightness. This “Liter of Light” technology has provided lighting to over 350,000 homes in 15+ countries.
Fire Starting
Fill a clear bottle with water and use it like a magnifying glass to focus sunlight onto dark tinder (char cloth, dry bark, or dark paper).
Hold the bottle 1-3 inches from the tinder and adjust until you see a focused point of light. The concentrated heat will eventually ignite the tinder.
Fish Trap Construction
Cut the top third off the bottle just below the taper. Invert the top section and insert it back into the base, creating a funnel entrance.
Punch small holes near the rim of both pieces and tie together with cordage. Add bait and small stones for weight, then submerge in shallow water.
Expert Recommendation
Creek Stewart’s Willow Haven Outdoor survival school and My Shelter Foundation (Philippines) have extensively documented plastic bottle applications.
The World Habitat Award recognized the Liter of Light initiative for disaster relief innovation. Rensselaer Polytechnic Institute research confirms bottles filled with sand can create emergency shelter walls after earthquakes.
Safety Considerations
Only use clear (#1 PET plastic) bottles for solar purification. For boiling over coals (emergency only), fill bottle 3/4 full and never cap it or use direct flame—the water prevents plastic from melting, but chemicals may leach. This is strictly for survival situations.
6. Household Bleach
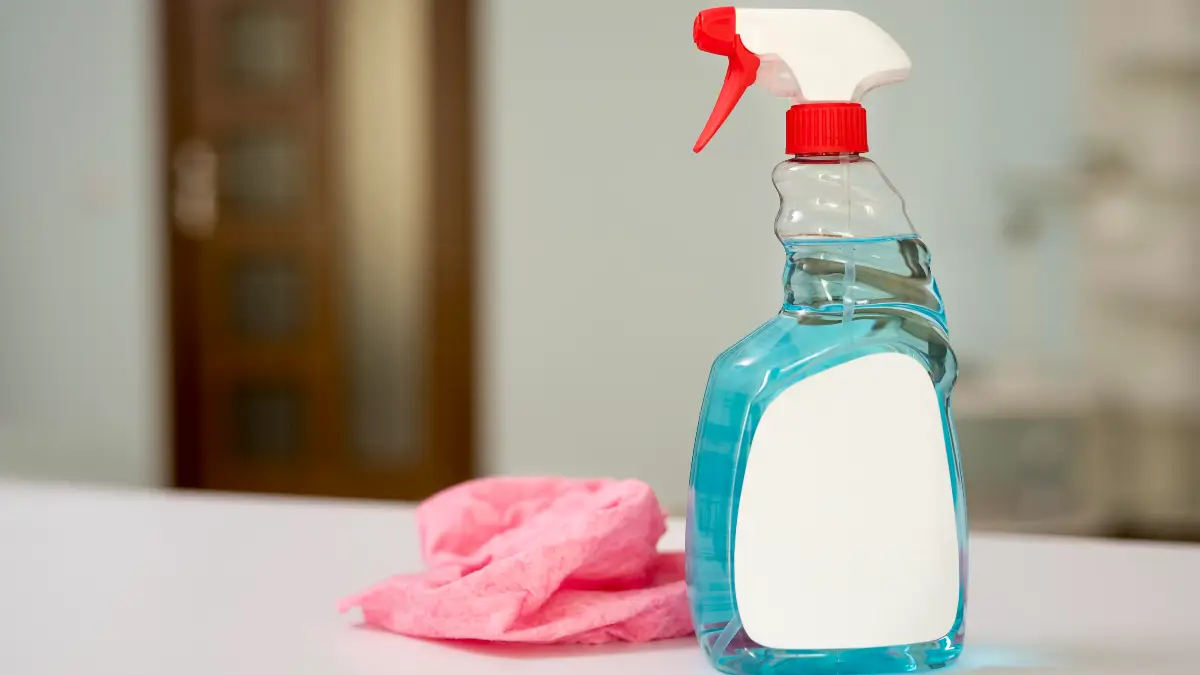
When safe drinking water becomes scarce, unscented household bleach can become a lifesaving tool for water purification.
Primary Value: Emergency water purification and disinfection
Critical Applications:
- Water purification when boiling isn’t available
- Surface and container disinfection
- Preventing disease spread during emergencies
Detailed Technique – Water Purification (EPA/CDC Guidelines)
Use ONLY regular, unscented bleach containing 5.25-8.25% sodium hypochlorite as the sole active ingredient (check label). For clear water, add 6 drops per gallon (or 2 drops per liter).
For cloudy water, pre-filter through cloth or coffee filter, then double the bleach amount to 12 drops per gallon. Mix thoroughly and let stand 30 minutes.
Water should have a slight chlorine odor after standing—if not, repeat the dosage and wait 15 more minutes. If water is at proper concentration, it’s safe to drink despite the chlorine taste.
Container Sanitization
Before storing water, sanitize containers by mixing 1 teaspoon bleach per quart of water. Fill container, shake well to contact all surfaces, let stand 30 seconds, then empty and air dry. Never reuse bleach bottles for water storage due to poisoning risk.
Expert Recommendation
FEMA, EPA, CDC, and Red Cross all recommend bleach as a last-resort emergency water disinfection method. The Provident Prepper emphasizes using only FRESH bleach (maximum 6-month shelf life), as chlorine content decreases with age.
Critical Limitations
- 6-month shelf life at room temperature
- Does NOT kill Cryptosporidium or Giardia parasites effectively
- Never use scented, color-safe, or thickened bleaches
- Can produce carcinogenic trihalomethanes—use only when boiling/filtration unavailable
- Can aggravate asthma and breathing conditions
Safety Considerations
Store in original container away from children. Label and date containers. Replace every 6 months. Use only in well-ventilated areas.
7. Hand Sanitizer
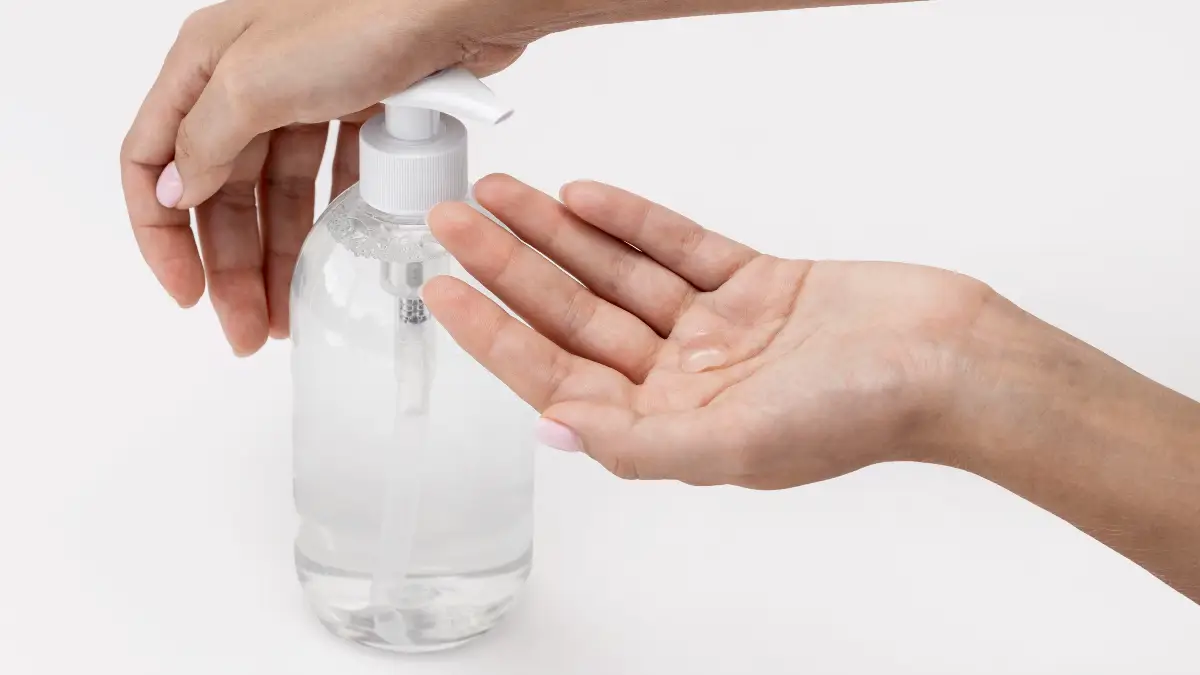
This modern convenience item serves double duty as both a hygiene essential and reliable fire starter in emergency situations.
Primary Value: Dual-purpose fire starter and hygiene maintenance
Critical Applications:
- Fire starting (ignites easily with high alcohol content)
- Hand and surface disinfection
- Minor wound cleaning
- Personal hygiene maintenance
Detailed Technique – Fire Starting
Squeeze a small amount (quarter-size) of alcohol-based hand sanitizer onto your tinder bundle or fire lay.
Light immediately before the alcohol evaporates—hand sanitizer ignites easily and burns with a clean, hot flame for 1-2 minutes, providing enough heat to establish your fire.
Works even in windy conditions because the gel consistency adheres to materials rather than evaporating.
Hygiene Application
During emergencies when soap and water aren’t available, hand sanitizer becomes critical for preventing disease transmission.
Use after bathroom use, before eating, and after handling potentially contaminated materials. Apply to hands and rub together until dry.
Expert Recommendation
Survival publications recommend carrying 2-3 small bottles in emergency kits. During COVID-19 pandemic response, CDC emphasized hand sanitizer’s role in emergency preparedness kits.
Safety Considerations
Must be alcohol-based with 60%+ alcohol content to ignite—alcohol-free versions won’t work as fire starters. Highly flammable when exposed to flame—store carefully away from heat sources. Keep away from eyes and open wounds.
8. Coffee Filters
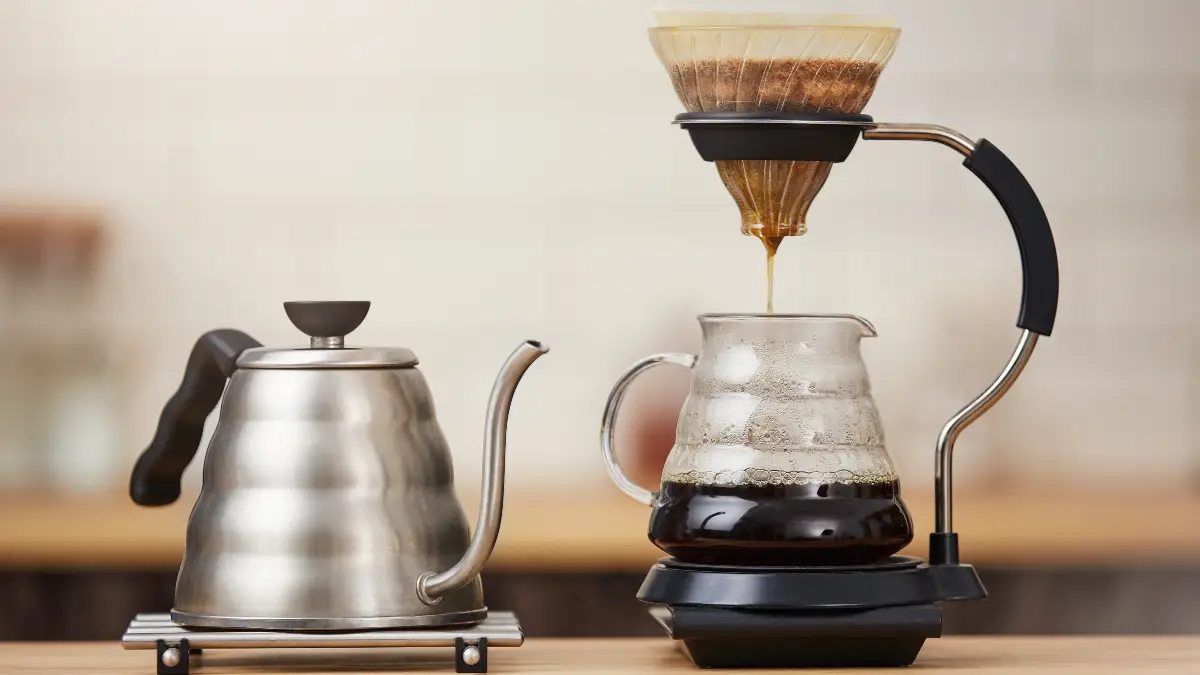
These ordinary kitchen items become surprisingly useful in survival situations, particularly for water filtration and hygiene.
Primary Value: Water pre-filtration and versatile hygiene tool
Critical Applications:
- Water pre-filtration (removes sediment and debris)
- Extends life of water filters
- Lint-free bandages and wound dressings
- Emergency toilet paper
- Food preparation (straining, covering)
- Moisture control and desiccant pouches
Detailed Technique – Water Pre-Filtration
Before treating water with purification methods, pre-filter through multiple layers of coffee filters (2-3 filters stacked together work best).
This removes visible debris, leaves, sediment, and larger particles, which extends the life of your primary water filter or makes chemical treatment more effective. Pour water slowly through the filters into a clean container.
This step is essential when collecting water from muddy sources like rivers or puddles.
Important Note
Coffee filters only remove visible particles and debris—they do NOT remove bacteria, viruses, or parasites. Always boil, chemically treat, or use a proper water filter after pre-filtering.
First Aid Application
Coffee filters are lint-free, making them superior to regular paper products for wound care. Use clean filters as bandages or to cover injuries, securing with duct tape or other adhesive. While not sterile, they’re cleaner than cloth in emergency situations.
Expert Recommendation
Backdoor Survival identifies 35+ survival applications for coffee filters. Ask a Prepper notes their value in maintaining hygiene during extended emergencies. FEMA-trained emergency managers recommend including coffee filters in water purification kits.
Safety Considerations
Never rely on coffee filters alone for water purification—they remove only visible contaminants, not microscopic pathogens that cause illness.
9. Dental Floss
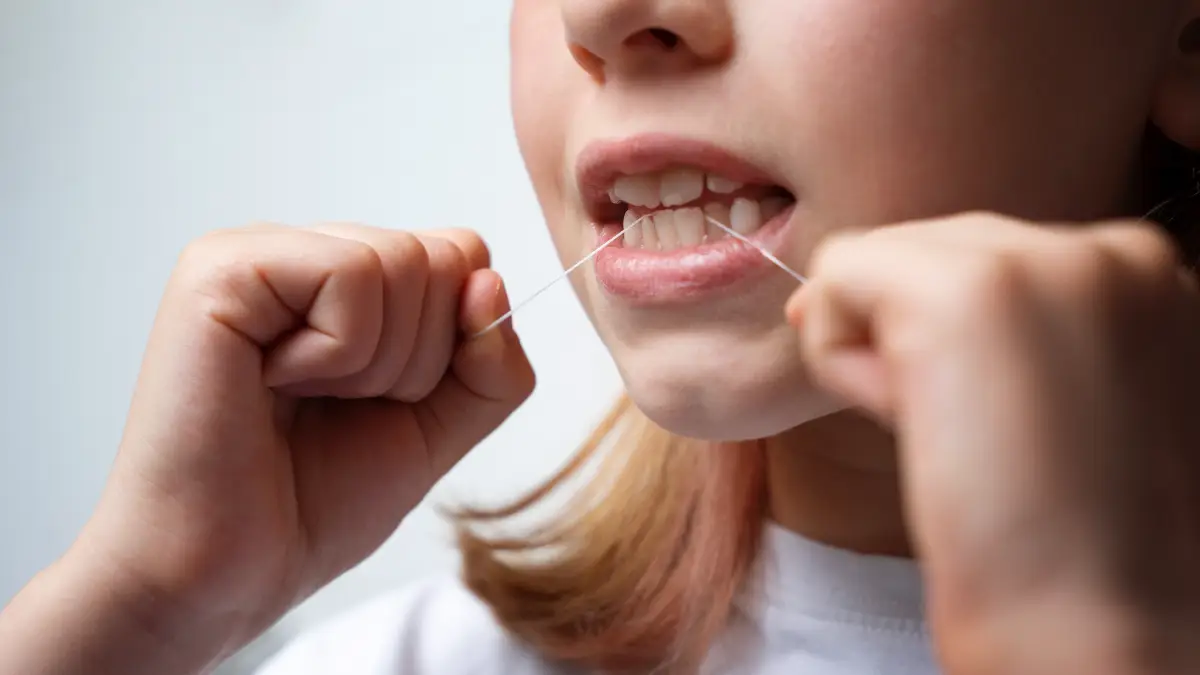
This bathroom essential transforms into a survival tool with remarkable strength and versatility.
Primary Value: Ultra-strong cordage for medical, fishing, and repair applications
Critical Applications:
- Emergency suturing for serious wounds
- Fishing line (surprisingly strong)
- Snare wire for small game traps
- Sewing and equipment repairs
- Emergency situations requiring strong, thin cordage
Detailed Technique – Fishing Line
Use unwaxed, unflavored dental floss as makeshift fishing line. It’s strong enough for small to medium fish and nearly invisible underwater. Tie a paper clip or improvised hook to one end and bait to attract fish.
Dental floss has a surprisingly high breaking strength (often 30+ pounds for quality brands) and doesn’t rot in water. A single container provides 100+ yards of usable line.
Medical Application
In life-threatening emergencies with deep lacerations, dental floss can be used for wound closure. Sterilize the floss by boiling or soaking in alcohol if possible. Use a needle (sterilized) to create stitches, tying knots to secure.
This should only be attempted when professional medical care is unavailable and the wound is severe enough to warrant the risk of infection versus blood loss.
Snare Construction
Create small game snares by making a loop with dental floss and positioning it along animal trails. The thin, strong nature of dental floss makes effective snares for survival hunting situations.
Expert Recommendation
Ask a Prepper contributor Rich M. (40+ years survival experience) identifies dental floss as one of the most overlooked survival items. Military survival manuals document dental floss for emergency suturing and equipment repairs.
Safety Considerations
Only attempt suturing in true emergencies—improper wound closure can lead to infection. Sterilize dental floss before any medical use if possible. Use unwaxed floss for traps (waxed version has scent that may deter animals).
10. Pantyhose/Nylon Stockings
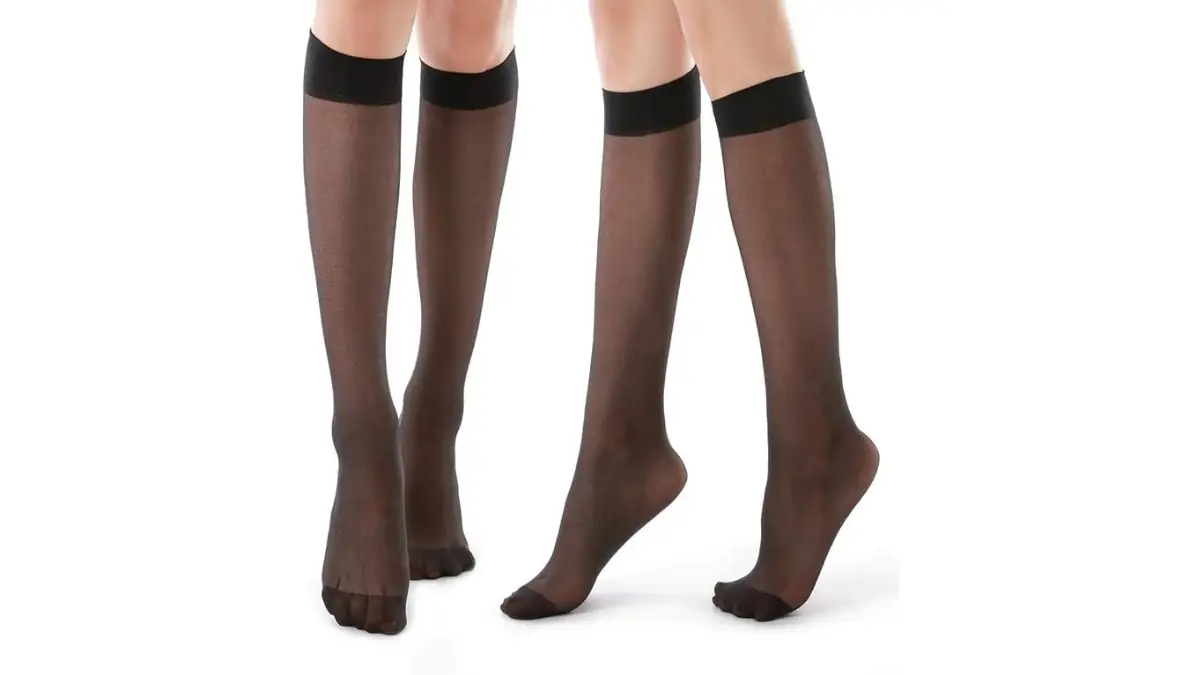
These common clothing items become surprisingly useful survival tools with multiple applications.
Primary Value: Multi-use filtering, fishing, and storage solution
Critical Applications:
- Fishing net when stretched over frame
- Water pre-filtration (removes large debris)
- Food storage (hang from trees away from predators)
- Strong cordage when twisted
- Small game snares
Detailed Technique – Improvised Fishing Net
Stretch pantyhose over a circular frame (bent wire coat hanger, forked branch, or tennis racket if available) to create a fishing net for catching minnows and small fish in shallow water.
The fine mesh traps small fish while allowing water to pass through. This provides an easier fishing method than hook-and-line in situations where small baitfish are abundant.
Water Pre-Filtration
Layer pantyhose material to create a pre-filter for water. Pour water through multiple times to catch debris, sand, and sediment. Like coffee filters, this only removes visible matter—not pathogens—so always purify water afterward.
Cordage Creation
Twist or braid pantyhose strips to create surprisingly strong cordage suitable for lashing poles, creating shelters, or securing equipment. The synthetic nylon material is waterproof and doesn’t rot.
Expert Recommendation
Survival guides identify pantyhose among the most versatile underrated household items. Preppers often stockpile cheap pantyhose specifically for emergency kits despite never wearing them normally.
Safety Considerations
As with all improvised water filters, pantyhose only remove large particles—never skip proper purification steps of boiling or chemical treatment.
11. Steel Wool with 9-Volt Battery

This combination creates one of the most reliable emergency fire-starting methods available with common household items.
Primary Value: Easiest and most reliable emergency fire-starting method
Critical Applications:
- Instant fire ignition (even in damp conditions)
- No matches, lighter, or friction needed
- Works when conventional methods fail
Detailed Technique
Use fine-grade steel wool (#0000 or similar fine grade works best—coarser grades also work but require more effort). Pull a small amount of steel wool into a loose, fluffy bundle.
Have your tinder nest completely prepared and ready before attempting ignition. Touch both terminals of a 9-volt battery to the steel wool simultaneously—the electrical current flows through the steel, creating resistance that causes instant ignition.
The steel wool will glow red and flame within 1-2 seconds. Immediately transfer to your prepared tinder nest and gently blow to establish flame.
Why It Works
Steel wool conducts electricity but has enough resistance to convert electrical energy into heat. The thin steel fibers heat rapidly and ignite, especially when exposed to oxygen. This method works even in wet conditions if you keep the battery and steel wool dry.
Preparation Strategy
Store a 9-volt battery and fine steel wool in separate waterproof bags within your emergency kit. Keep them separated until ready to use, as accidental contact can cause unexpected ignition.
Expert Recommendation
Wilderness College survival instructors and Camping Survival experts identify this as the easiest fire-starting method for novices. Military survival training includes this technique as a reliable backup to traditional methods.
Safety Considerations
Steel wool ignites INSTANTLY when touching battery terminals—have your tinder ready before starting. Store materials separately to prevent accidental ignition. Keep away from flammable materials during storage.
12. Crayons
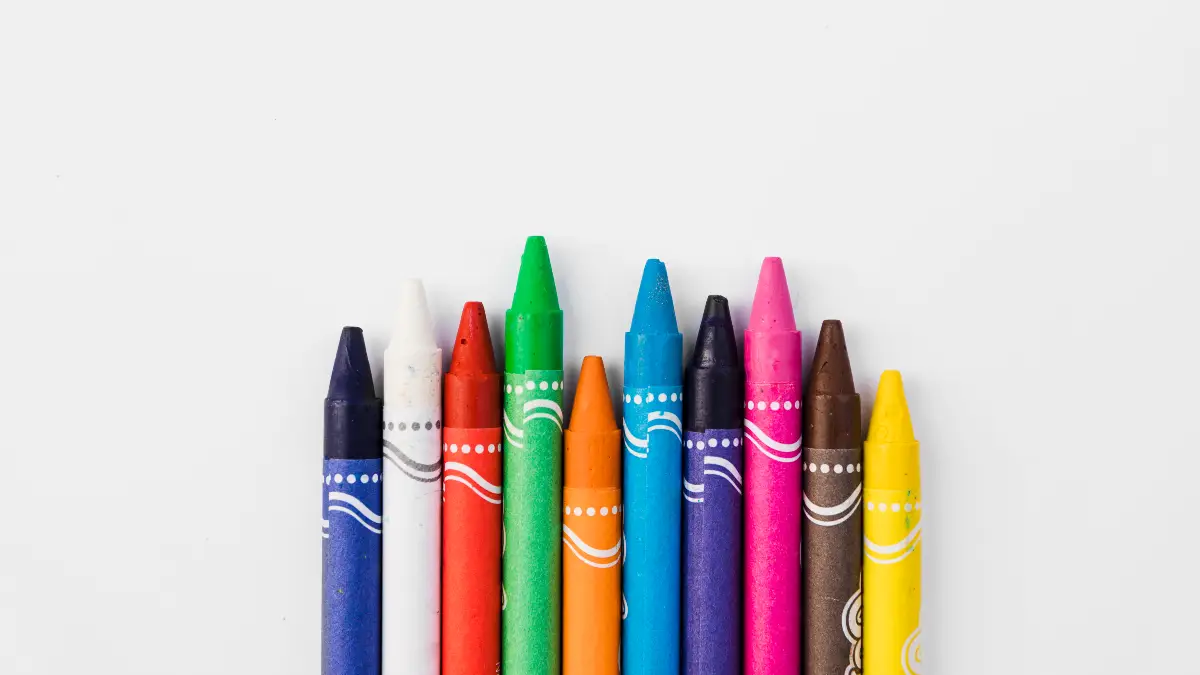
These childhood art supplies double as ready-made emergency candles when conventional lighting isn’t available.
Primary Value: Emergency candles providing 15-30 minutes of light per crayon
Critical Applications:
- Emergency lighting during power outages
- Fire starting material (paraffin wax composition)
- Candle wax for making larger candles
Detailed Technique – Emergency Candle
Stand a crayon upright on a non-flammable surface like a metal lid, ceramic plate, or stone. Light the paper wrapper at the top using matches or a lighter—the wrapper acts as a wick. Allow 10-15 seconds for the wax to begin melting and the paper to ignite fully. A single crayon burns for 15-30 minutes. The flame is bright enough for navigation in dark spaces and reading.
Making It Stand
If the crayon won’t stand upright, briefly heat the bottom with a flame, then press it onto a hard surface. The melted wax creates a base that holds the crayon vertical as it burns.
Candle Making
For longer-lasting candles, remove paper wrappers from broken crayons, melt them in a pot over low heat (double boiler preferred), and pour into containers with wicks. Multiple crayons can be combined for larger candles. Allow 4+ hours to harden before use.
Expert Recommendation
Survival experts confirm crayons are made of paraffin wax with paper wrappers that function as effective wicks. Emergency preparedness guides recommend storing crayons in vehicles, children’s rooms, and emergency kits for accessible emergency lighting.
Safety Considerations
Requires flame source to ignite—won’t work with sparks alone. Never leave burning crayons unattended. The flame can drip hot wax, so use a proper base to catch drips.
13. Baking Soda
This common kitchen ingredient serves multiple survival functions from hygiene to first aid and fire safety.
Primary Value: Multi-purpose hygiene, first aid, and fire suppression tool
Critical Applications:
- Emergency hygiene (toothpaste, deodorant, dry shampoo)
- First aid for acidic insect stings and minor burns
- Fire suppression for grease/electrical fires (Class B/C)
- Cleaning and odor control
- Splinter removal
Detailed Technique – Insect Sting Treatment (Acidic Stings Only)
For bee, ant, or yellow jacket stings (acidic venom), create a paste by mixing baking soda with a small amount of water. Apply directly to the sting site and leave for 15-20 minutes.
The alkaline baking soda neutralizes acidic venom, reducing pain and swelling. For faster application, dampen the skin and sprinkle baking soda powder directly over the affected area.
This only works for acidic stings (bees, ants). Alkaline stings from wasps and hornets require acidic treatment like vinegar—baking soda will make them worse.
Fire Suppression
For grease fires or electrical fires, pour baking soda liberally over the flames to smother them. Never use water on grease or electrical fires. Keep an open box of baking soda near your stove and electrical panel for quick access.
Oral Hygiene
Mix 1 teaspoon baking soda with 1 glass of water for emergency mouthwash. Use sparingly as toothpaste substitute (too abrasive for daily use, but acceptable for emergencies).
For dry shampoo, work small amounts into scalp, then rinse with water (3 parts baking soda to 1 part water).
Splinter Removal
Mix 1 tablespoon baking soda with 1 cup warm water and soak affected area twice daily. Alternatively, create a paste, apply to splinter site, cover with bandage for up to 24 hours.
The splinter is typically expelled naturally within days while the area becomes disinfected.
Expert Recommendation
Crisis Equipped documents 50+ emergency uses for baking soda. Arm & Hammer confirms its alkaline pH makes it an effective cleaner and neutralizer for acidic substances.
Safety Considerations
Too alkaline for long-term use on hair/scalp. Can disrupt stomach acid balance if overused for heartburn. Not effective on alkaline stings. Can damage marble and aluminum surfaces with prolonged exposure.
14. Salt
This kitchen staple becomes a critical survival tool for food preservation and emergency first aid.
Primary Value: Food preservation and emergency first aid
Critical Applications:
- Food preservation (critical for long-term survival)
- Emergency antiseptic for wounds
- Stopping bleeding when applied to cuts
- Sore throat treatment (salt water gargle)
- Ice melting and traction in winter
Detailed Technique – Food Preservation
For meat preservation in survival situations without refrigeration, rub salt thoroughly into all surfaces of the meat or create a brine solution (1 cup salt per 1 gallon water) and submerge the meat completely.
Salt draws moisture out of food and creates an inhospitable environment for bacteria, preventing spoilage. This technique has preserved food for thousands of years and remains effective in emergencies.
Preserved meat can last weeks to months depending on conditions.
Wound Treatment
For emergency bleeding control, apply salt directly to wounds. This is extremely painful but effective—salt draws out moisture, slowing blood flow and helping clotting.
The antiseptic properties of salt reduce infection risk. Rinse with clean water after bleeding stops. Use only in emergencies when proper medical supplies aren’t available.
Oral Care
Gargle with salt water (1/2 teaspoon salt in 1 cup warm water) to treat sore throats, mouth sores, and tooth infections. Salt water reduces inflammation and kills some bacteria.
Expert Recommendation
Survival experts document salt’s critical role in long-term survival situations, particularly for food preservation when electricity is unavailable. The CDC recommends salt water gargles for oral health maintenance.
Safety Considerations
Causes significant pain when applied to open wounds—only use when medical supplies unavailable and situation is serious.
High sodium intake can cause health issues—use preserved foods as backup, not primary nutrition. Salt doesn’t purify water or kill all bacteria—it only preserves food by dehydration.
15. Paracord
Found in many homes from camping equipment to keychains, paracord is a lifesaver in emergency situations.
Primary Value: Strongest multi-purpose cordage for shelter building, rescue, and emergency repairs
Critical Applications:
- Shelter construction (lashing poles, securing tarps)
- Making snares and fishing lines
- Creating makeshift belts, slings, and tourniquets
- Replacing broken shoelaces or drawstrings
- Securing gear and emergency repairs
Detailed Technique – Inner Strand Separation
Standard 550 paracord contains seven inner strands inside the outer sheath. Each inner strand can hold about 35-40 pounds, while the complete cord handles 550 pounds.
To maximize usage, carefully remove the outer sheath to access these inner strands. Use them for fishing line, sewing thread, or trip wires. The outer sheath alone still provides useful cordage.
Emergency Medical Application
In life-threatening situations, paracord can be used to create an improvised tourniquet. Wrap the cord around the limb above the wound, tie a knot, place a stick through the knot, and twist to tighten.
This should only be used for severe bleeding that cannot be stopped by direct pressure. Mark the time applied—tourniquets should be removed by medical professionals within 2 hours when possible.
Shelter Building
Create a basic survival shelter by stringing paracord between two trees and draping a tarp, poncho, or garbage bags over it.
The high strength-to-weight ratio makes paracord ideal for shelters that must withstand wind and weather. Paracord can also secure natural materials like branches and bark for wilderness shelters.
Expert Recommendation
Military survival experts have relied on paracord since its development for parachute suspension lines in WWII. Modern emergency preparedness professionals recommend including at least 50 feet of paracord in every bug-out bag and vehicle emergency kit.
Safety Considerations
Inspect for fraying or damage before critical use. For weight-bearing applications, test gradually rather than applying full weight suddenly. Never use paracord for climbing or as a safety line—it’s not designed for dynamic loads or falls.