The power went out last summer for three days, and I watched $200 worth of meat spoil in my freezer. That’s when I realized how dependent I’d become on electricity for something as basic as keeping food safe.
Our ancestors preserved food for thousands of years without refrigerators or freezers—and these methods still work perfectly today.
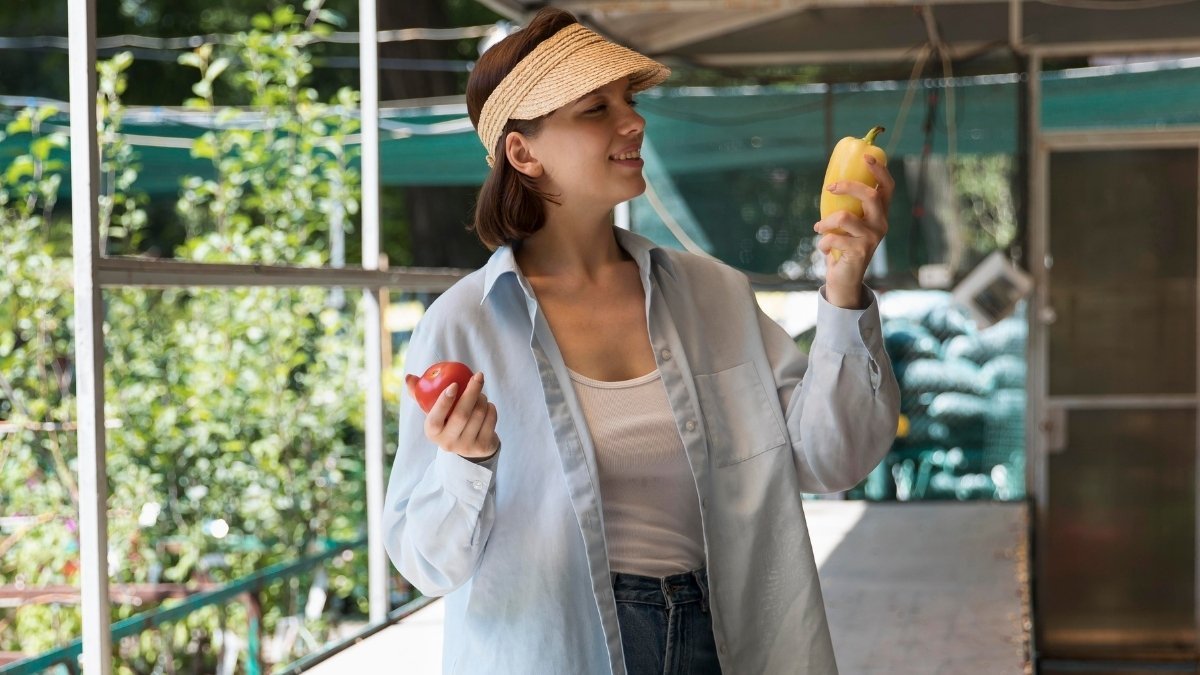
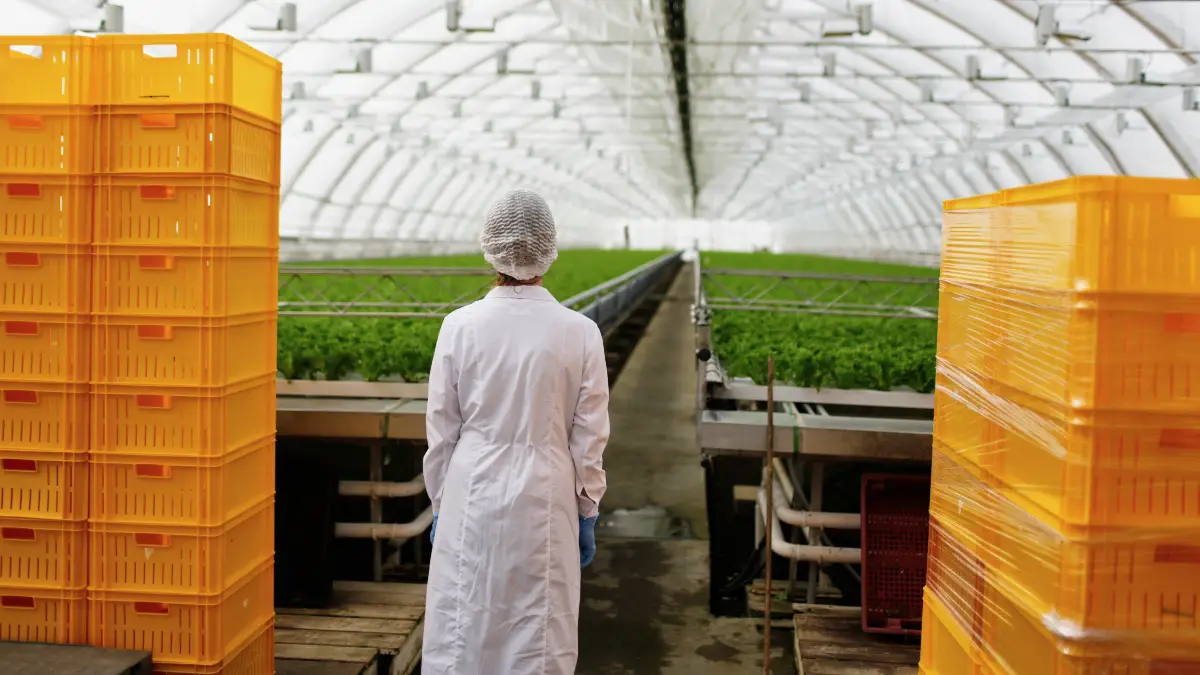
Whether you’re homesteading, preparing for emergencies, or just want to lower your bills, these 12 food preservation techniques require zero electricity. From simple fermentation to root cellars that store hundreds of pounds of produce, you’ll discover practical methods anyone can start using immediately.
1. Root Cellaring

Root cellaring uses the earth’s natural insulation to maintain cool temperatures (32-40°F) and high humidity (85-95%) – perfect conditions for long-term food storage. This ancient technique works because earth maintains a constant 50-60°F temperature at 4+ feet depth, while proper ventilation prevents mold growth.
It’s ideal for storing potatoes (5-8 months), carrots, beets, cabbage, apples, and winter squash. You can store $500-2,000 worth of produce annually with zero electricity.
The cost varies widely, from DIY basement conversions ($200-500) to standalone structures ($5,000-25,000). While construction is Medium-High difficulty, daily maintenance is Easy.
Pro tip: Use dirt floors for natural humidity—just sprinkle with water when needed. The most common mistake? Mixing apples with other produce. Apples release ethylene gas that damages other crops, so store them separately.
2. Water Bath Canning
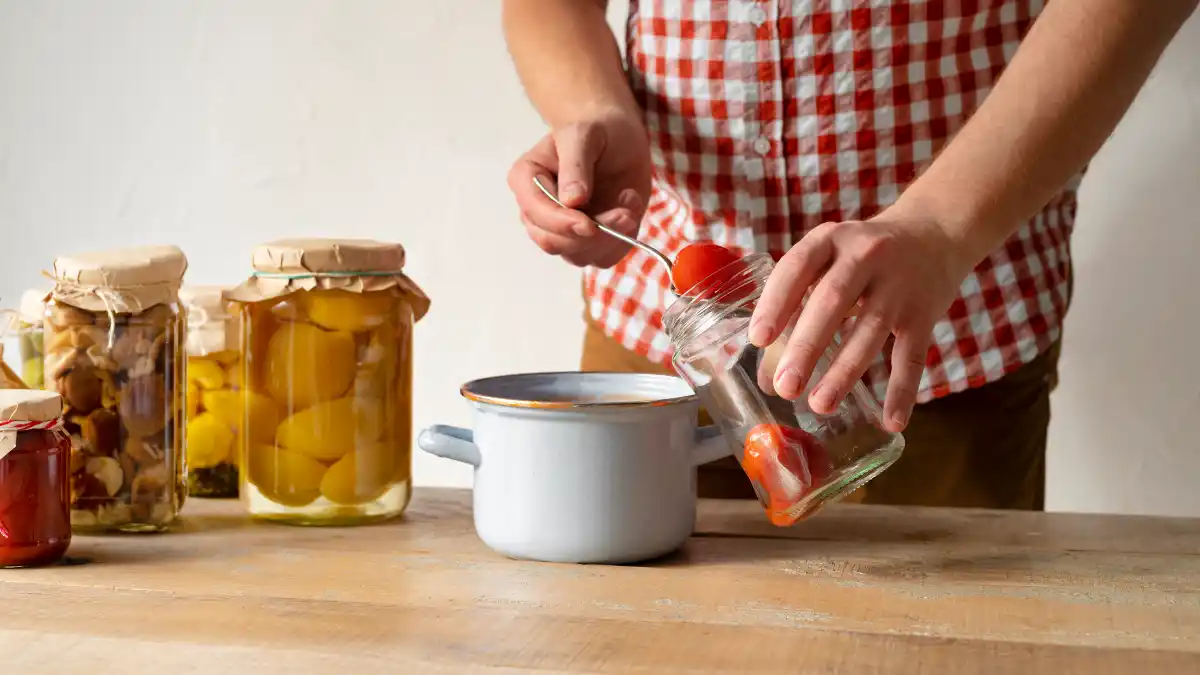
Water bath canning heats high-acid foods to 212°F in boiling water to create a vacuum seal. This method works by destroying microbes with heat while the vacuum seal prevents recontamination, and the acidity stops botulism growth.
Perfect for fruits, tomatoes (when acidified), jams, jellies, pickles, and salsas. Properly canned foods maintain quality for 1+ years at room temperature.
Starting costs run $50-150 (canner, jars, tools) with ongoing expenses of $0.50-1.50 per jar. The difficulty is Medium since you must follow tested recipes exactly.
Safety note: Only can high-acid foods (pH below 4.6) in a water bath; low-acid foods require a pressure canner to prevent botulism.
Pro tip: Buy jar lids in bulk (100 for $25-30) and reuse jars and rings indefinitely to save money.
The best part for off-grid living? You can do this over any heat source—wood fire, propane stove, or camp stove—and no electricity is needed for storage.
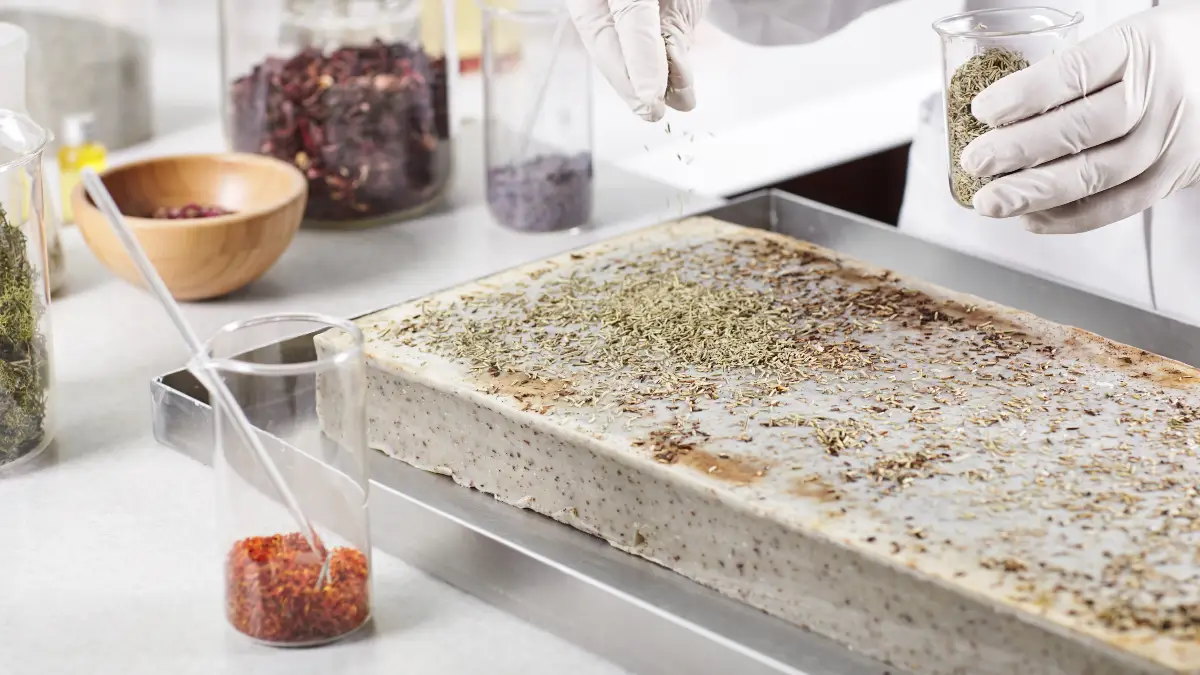
3. Solar and Air Dehydration
Dehydration removes moisture to 10-20% (fruits ~20%, vegetables ~10%) using sun and air. Low heat (110-140°F solar) evaporates water, which prevents microbial growth.
Excellent for fruits, vegetables, herbs, mushrooms, tomatoes, and meat jerky. This method retains 80-90% of nutrients—better than canning. Fruits last 1 year, while vegetables remain good for 6 months when stored at 60°F.
Build a DIY solar dehydrator for $200-300 (20-40 hour project) with zero ongoing costs. The process is Low-Medium difficulty, simple but weather-dependent.
Pro tip: Pre-freeze high-sugar foods to prevent browning and adjust your dehydrator angle to match your latitude for maximum sun exposure.
While electric dehydrators cost $70-500, they require power. Solar dehydration is truly off-grid and works just as well when the sun shines.
4. Lacto-Fermentation
Lacto-fermentation uses beneficial bacteria to create lactic acid (pH below 4.6), which preserves food while adding probiotics. Salt creates an environment that favors lactobacilli over harmful bacteria, and the acid prevents spoilage.
Best for cabbage (sauerkraut, kimchi), cucumbers (pickles), carrots, beets, and peppers. Fermented foods contain 10⁶-10⁹ CFU/g probiotics and actually increase B vitamins and mineral bioavailability.
The cost is minimal—$25-75 initial investment (jars, weights, salt) with essentially free ongoing costs. Difficulty is Low-Medium as it requires monitoring but follows a simple process.
Pro tip: Use 2-3% salt by weight (20-30g per kg vegetables) and chlorine-free water for best results.
The safety factor is high—properly fermented vegetables are very safe because the acidic environment prevents harmful pathogens from growing.
5. Smoking and Curing
Smoking and curing use salt to draw moisture from meat while wood smoke deposits antimicrobial compounds. The process works through osmosis removing water, with smoke adding phenols (natural preservatives) using either cold smoking (<100°F) or hot smoking (165-225°F).
This method shines with meats (pork, beef, fish, poultry) and cheese. Hot-smoked meats last 1-2 weeks refrigerated, while dry-cured products can last 6-12+ months.
Setup costs range from $200-3,000 with ongoing expenses of $50-150 per year. The difficulty is Medium-High because it requires precision and patience.
Pro tip: Use equilibrium curing with 2.5-3.5% salt plus 0.25% Curing Salt #1 by weight for consistent results.
Cold smoking requires zero electricity and can use solar or wood heat, making it truly off-grid. Always follow tested recipes—proper curing salts prevent botulism.
6. Salt Preservation
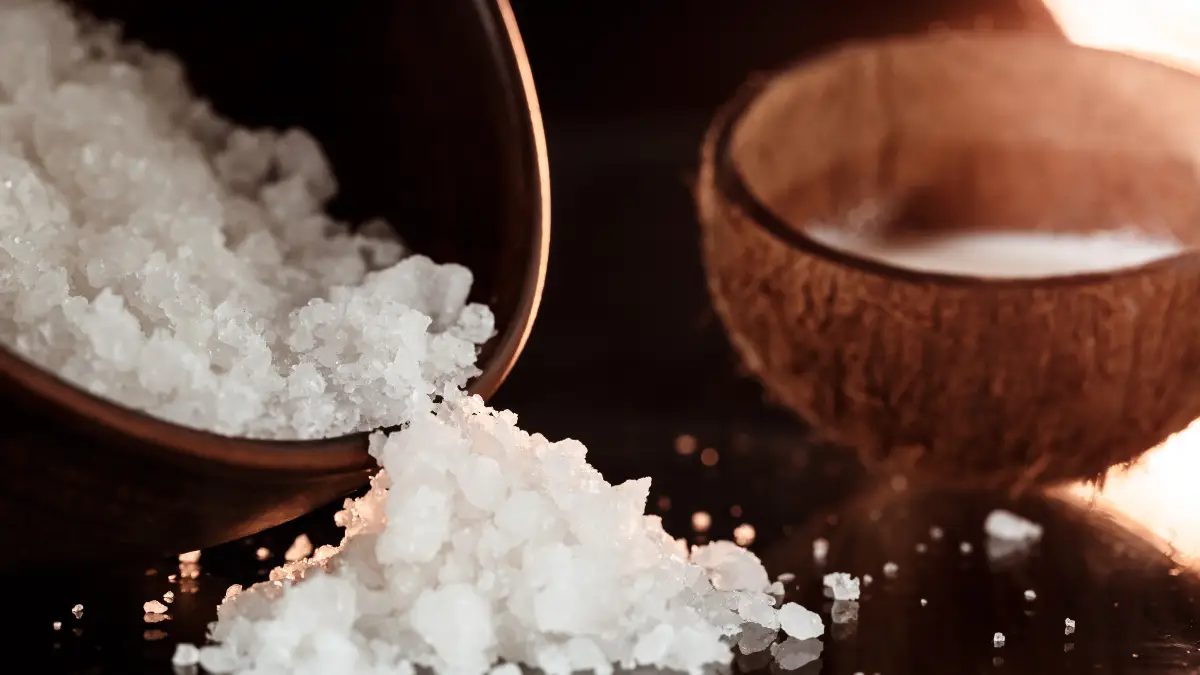
Salt preservation uses high concentrations of salt (20%) to create a hostile environment for bacteria through osmosis. The salt draws water from food and microbial cells, reducing water activity to levels below 0.91 where most bacteria can’t survive.
Ideal for meats (salt pork, corned beef, salt fish/bacalao) and vegetables. Light salting (2-3%) preserves food for about a week, while heavy salting (15-20%) extends shelf life to several months or even a year.
This is the lowest-cost method at $20-50 initial investment with $10-30 per year for salt. The difficulty is Low-Medium as the process is simple but requires precision.
Pro tip: Use only non-iodized salt (kosher, sea salt, pickling salt)—iodized salt causes off-flavors in preserved foods.
Remember, high sodium content means you should desalt before eating and consume these foods in moderation.
7. Vinegar Pickling
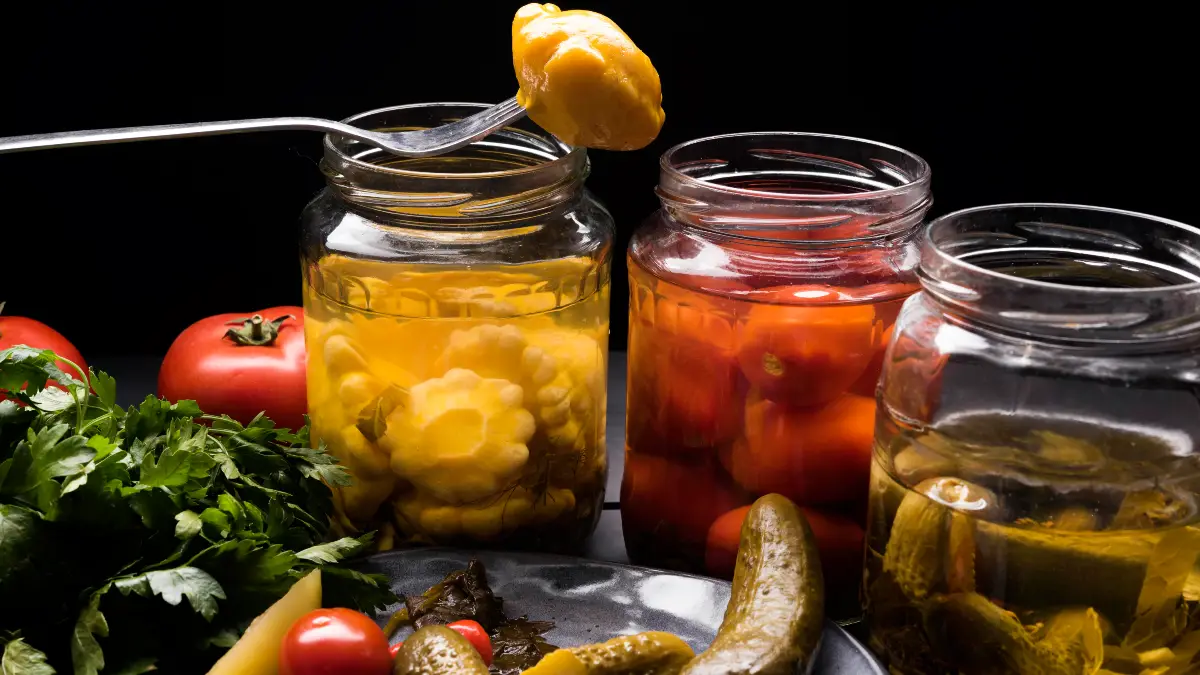
Vinegar pickling uses 5% acetic acid vinegar to lower pH below 4.6, combined with water bath canning. The acid prevents bacterial growth including botulism, while heat processing seals the jars.
Perfect for cucumbers, beets, peppers, onions, cauliflower, and carrots. Water bath canned pickles last 1-2 years unopened, and 1-2 months once opened in the fridge.
Initial costs run $100-200 (canner, jars, tools) with ongoing expenses of $35-60 per 20 pints. The difficulty is Medium since you must follow tested recipes exactly with no ratio changes.
Pro tip: Remove the cucumber blossom end (contains softening enzymes) and add Pickle Crisp for extra crunch.
Critical safety note: Use ONLY 5% acidity vinegar—never dilute unless a tested recipe specifically calls for it.
8. Oil Preservation
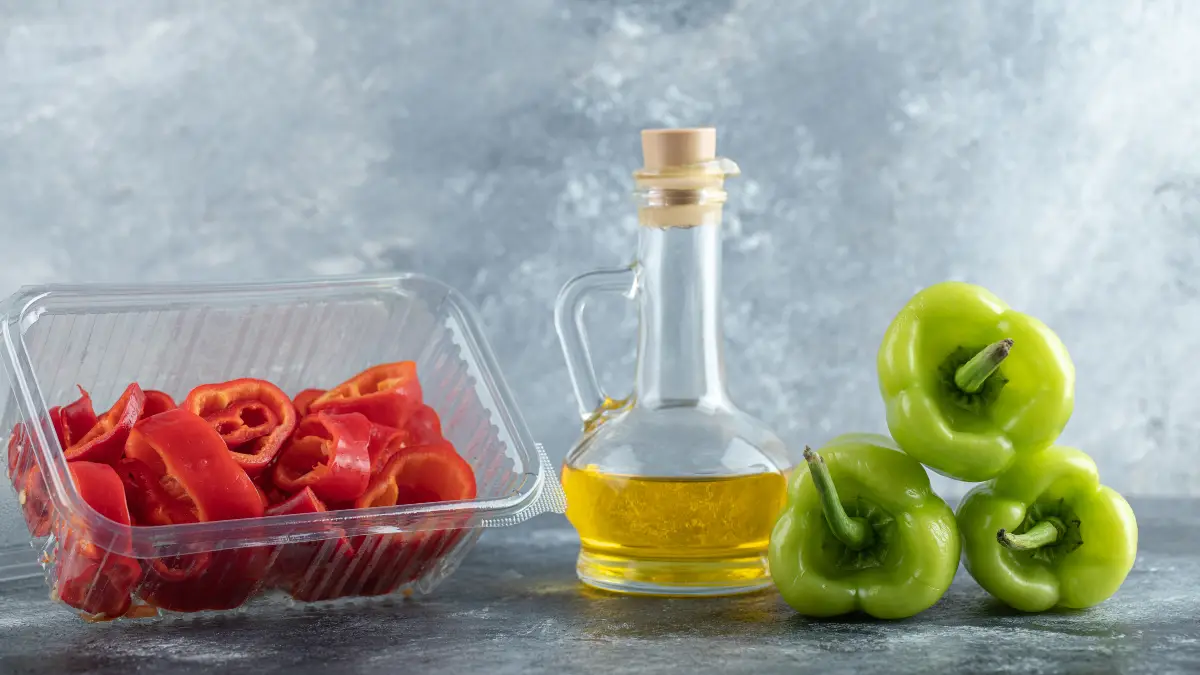
Oil preservation covers food in oil to create an oxygen-free barrier. This physical barrier prevents oxidation and blocks airborne microbes.
CRITICAL WARNING: This method is NOT suitable for off-grid long-term storage—it poses a major botulism risk. Maximum storage time is 4 days refrigerated, according to Cornell Extension guidelines.
The method is dangerous because Clostridium botulinum thrives in low-oxygen, low-acid, moist environments—exactly what oil preservation creates.
Cost is minimal at $10-30 (jars, oil) but requires refrigeration. Though the process is easy, there are extreme safety concerns.
As an alternative, traditional confit (meat slow-cooked IN fat) is safer—but it’s an entirely different process.
This method is NOT recommended for off-grid preservation due to high safety risks.
9. Honey Preservation

Honey preservation uses honey’s natural antimicrobial properties, including low pH, hydrogen peroxide production, and low water activity. The preservation power comes from honey’s 76-80% sugar content, pH of 3.2-4.5, natural hydrogen peroxide, and bee defensin-1 peptide.
Best for dried fruits, nuts, specialty meat cuts, and herbs. Honey itself lasts indefinitely (3,000-year-old Egyptian honey was still edible!), while foods preserved in honey typically last 3-12 months.
Costs range from $50-150+ initially (requires substantial honey at $8-20/lb). The difficulty is Medium as it requires proper preparation and sometimes canning for certain foods.
Pro tip: Use raw, unfiltered honey for active enzymes—heating above 70°C destroys the beneficial properties.
This method excels for medicinal preparations and preserved berries, combining preservation with flavor enhancement.
10. Freeze-Drying
Electric freeze-drying removes 98-99% water through sublimation, offering 25-30 year shelf life and 97% nutrient retention.
This method requires a $2,200-5,000 freeze dryer plus 17.5-20 kWh per cycle = NOT practical off-grid unless you invest in a massive solar system ($6,000-12,000+). For true off-grid alternatives, solar dehydration (covered in Method 3) is much more practical.
Electric freeze-drying gives premium long-term storage but depends on power; solar dehydration offers 6-12 months shelf life with zero power needs.
Cost breakdown: Freeze dryer $2,200-5,000 plus high electricity costs versus Solar DIY $200-300 with no ongoing costs.
The verdict for off-grid living? Stick with solar/air dehydration for practicality and sustainability.
11. Sand and Ash Storage
Sand and ash storage involves layering food in clean hardwood ash or sand. Ash works because its alkaline pH (9-12) creates a hostile environment for bacteria while acting as a desiccant; sand provides moisture control and temperature buffering.
Perfect for root vegetables in sand (4-8 months), hard cheese in ash (3-12+ months), and eggs in ash (3-6 months). African farmers preserve tomatoes for 5-6 months in ash, and traditional cheese aging in ash actually improves flavor.
Cost is minimal at $20-60 initial setup (virtually free if you own a wood stove). The difficulty is Low with a simple layering process.
Only use clean hardwood ash—NEVER use ash from treated lumber, painted wood, or charcoal briquettes (toxic).
Pro tip: Layer 1-2 inches of ash, place food items so they’re not touching, then cover completely with more ash.
12. Manual Vacuum Sealing
Manual vacuum sealing removes oxygen using hand pumps (no electricity needed) to prevent oxidation and inhibit aerobic bacteria. This method removes oxygen and reduces enzyme activity—but it’s not a standalone solution for fresh perishables.
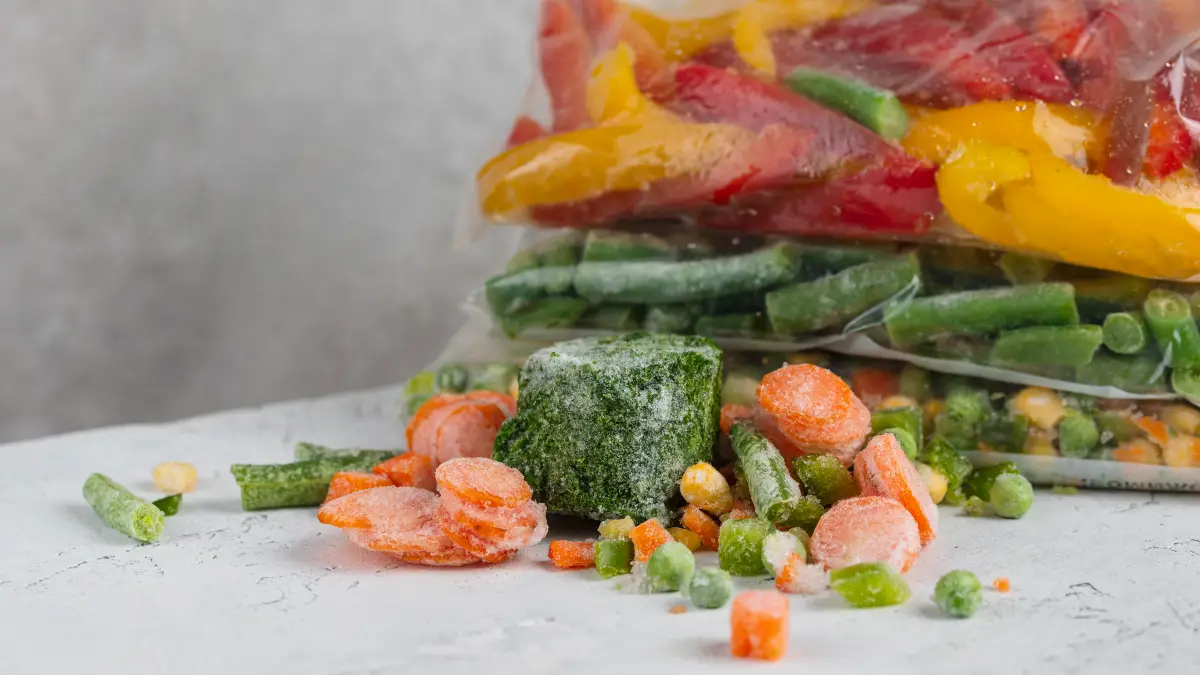
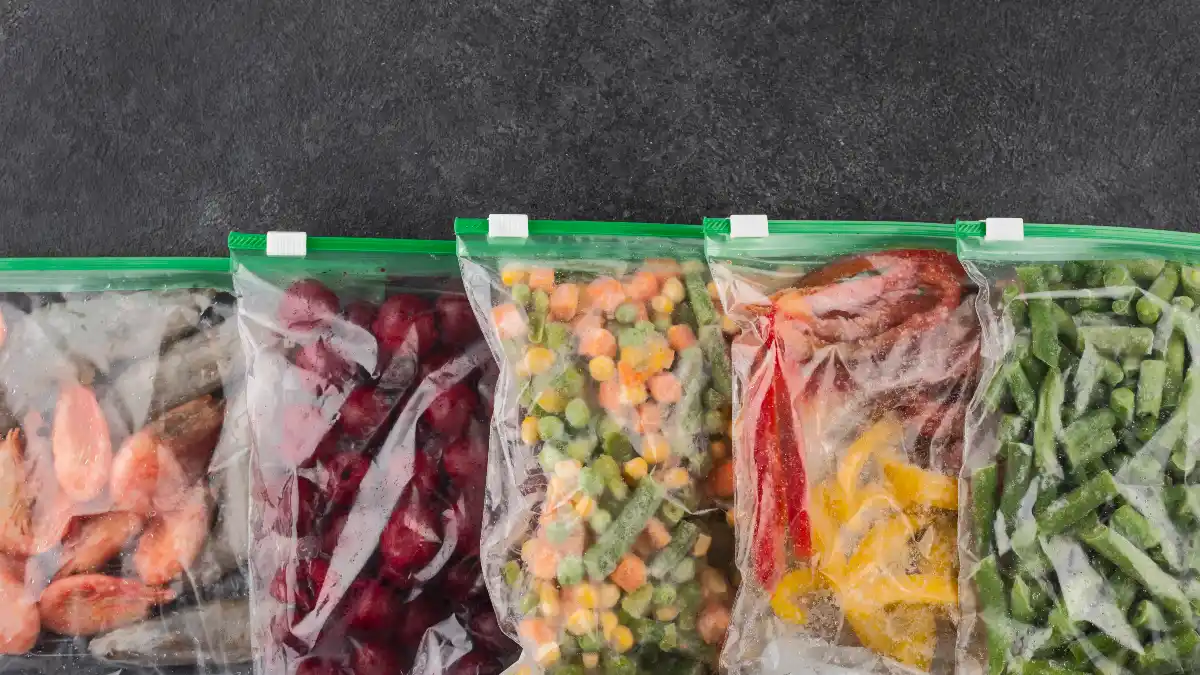
Best for dry goods, dehydrated foods, freeze-dried foods, and frozen items (prevents freezer burn). It extends the shelf life of dry goods from 1-2 years to 3-5 years, and frozen meats from 6 months to 2-3 years.
Cost runs $50-120 for a hand pump, reusable bags, jar attachments, and oxygen absorbers. The difficulty is Easy with simple pump operation.
Pro tip: Combine with oxygen absorbers for maximum shelf life—reusable bags last 50+ uses.
This modern off-grid technique works great with mason jars using special attachments—making it a practical addition to traditional preservation methods.