A single bag of trash left on a picnic table doesn’t just ruin your trip; it can be a death sentence for a bear. Most campers think food safety is about protecting their snacks from a few pesky raccoons.
They are wrong. Poor campsite habits create “problem” animals, and a “problem” animal almost always ends up dead, often by the hands of wildlife managers. This isn’t just about avoiding a nuisance; it’s a serious responsibility.
This guide goes beyond basic tips. You will learn the hard truth about what happens when wildlife gets a taste and, more importantly, master the complete, expert-level system for building a critter-proof fortress. Stop being a liability and start camping like a pro.
How a “Food-Conditioned” Bear Ends Up Dead
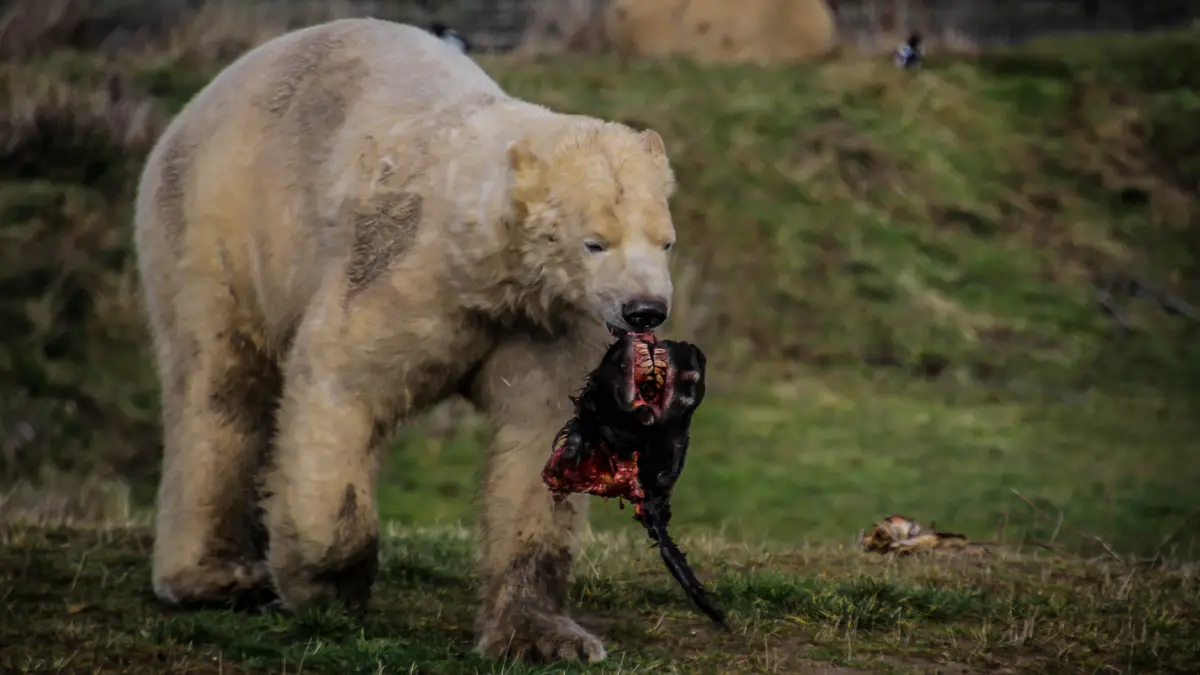
A single cooler left open, a backpack left alone, or a bag of trash on a picnic table can be a death sentence for a bear. To get why food storage is so important, you need to know what happens to a “food-conditioned” bear.
That’s a bear that has learned people and campsites are an easy place to get food. It starts when a bear gets used to being around people and loses its natural fear. When it gets a food reward, it becomes food-conditioned. This change almost always ends with the bear being killed.
It all starts with one small mistake. A bear smells something good, follows its nose to a campsite, and finds food or trash left out.
That first easy meal teaches the bear that human sites are a great place to eat. So, it comes back. Each time it finds food, it gets bolder.
Soon, it might show up in the daytime, tear up coolers and tents, or even break into cars looking for food. At that point, people call it a “problem bear,” and its fate is sealed.
Once a bear is seen as a threat, wildlife managers have to step in. Their first choice is often to move the bear. They trap it and take it far away, hoping it will stay there and eat natural food again.
But this usually doesn’t work. A study in Great Smoky Mountains National Park tracked bears that were moved. It found that about two-thirds of them die within a few months. They get hit by cars, shot by hunters, or killed by property owners.
Bears have a strong instinct to return home. One bear in the study traveled 1,000 miles across four states to get back. As one researcher said, “…relocation isn’t necessarily the best option for the bears and that we are the ones that must change our behaviors…”.
If a moved bear comes back or keeps causing trouble, the last option is to kill it. Wildlife officials euthanize the bear to keep people safe.
This sad ending is a direct result of human carelessness. The numbers show our impact: about 85% of all grizzly bear deaths are caused by humans.
When you leave food out, you’re not just making a small mistake. You are starting a chain of events that will likely end in a dead bear.
How to Set Up a Critter-Proof Camp
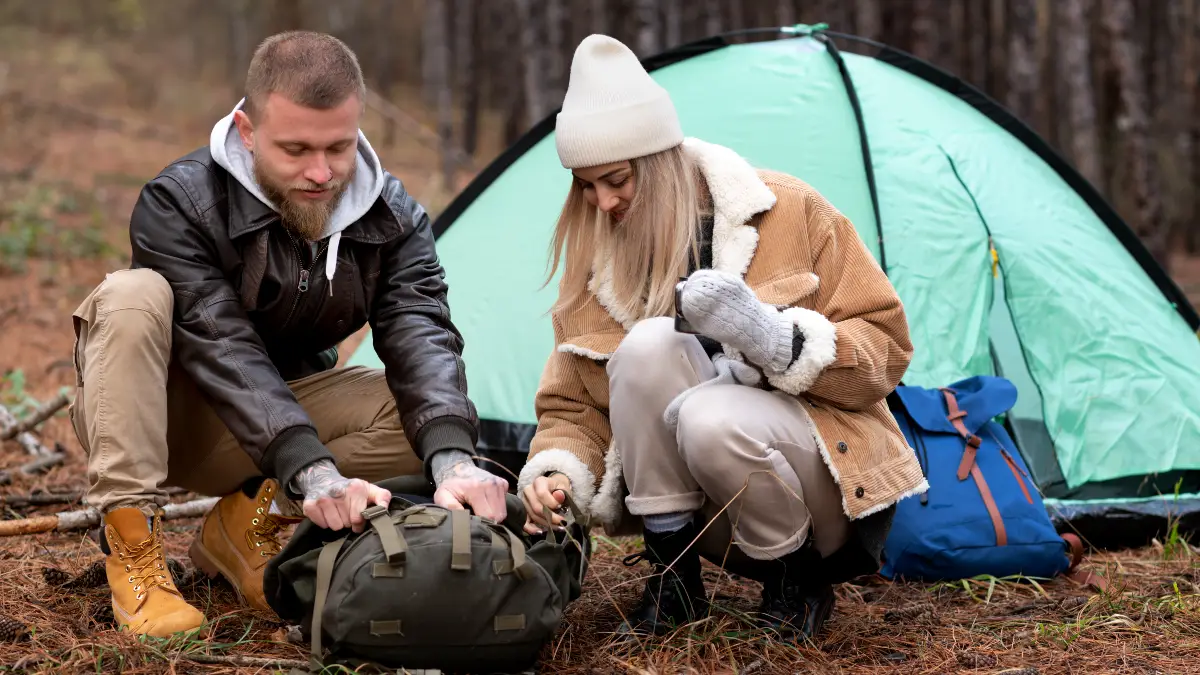
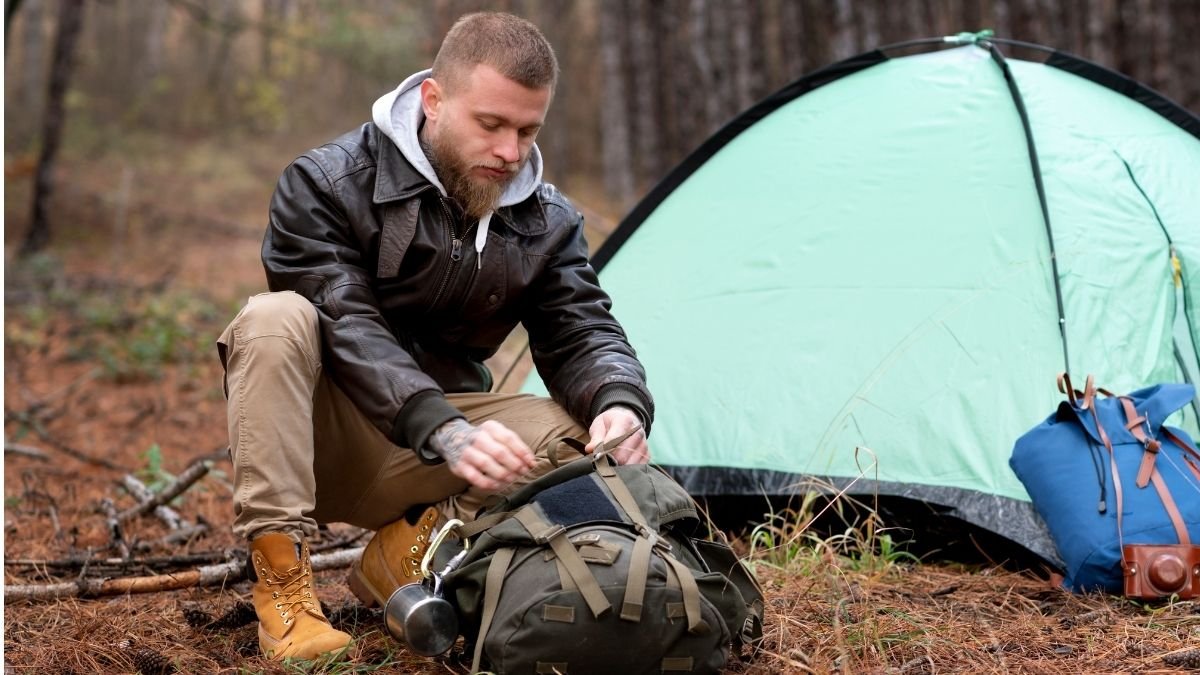
Good food storage is more than just a single piece of gear. It’s about how you manage your entire campsite from the moment you arrive.
The best way to avoid a run-in with wildlife is to be prepared. The best bear encounter is the one that never happens. This starts with following a few key rules from the Leave No Trace (LNT) way of thinking.
1. The “Bear-muda Triangle” Campsite Layout
How you set up your camp is your first line of defense. A smart layout keeps the places where you hang out separate from the places that smell interesting to animals. Think of it as a triangle.
- Cooking and Cleaning Area: This is where you cook and wash dishes. It has the strongest food smells.
- Sleeping Area: This is your tent. This spot should be as free of smells as possible.
- Food Storage Area: This is where you keep all food, trash, and anything with a scent when you’re asleep or away from camp.
Each point of the triangle should be at least 200 feet (about 70 big steps) away from the other two. If you can, set up your tent upwind from your cooking area.
If you don’t have that much space, 100 feet is the minimum distance. This setup makes sure that if an animal comes to check out food smells, it isn’t led right to your tent.
2. A Closer Look at Leave No Trace
The seven principles of Leave No Trace help us enjoy the outdoors without harming it. A few of them are key for wildlife safety.
Respect Wildlife:
This is the main reason for all these rules. It means you should watch animals from a distance and never feed them.
Securing your food and trash is one of the best ways to respect wildlife. It keeps them from getting used to people and protects their health.
Dispose of Waste Properly:
The rule is simple: “Pack it in, pack it out”. This means everything. That includes apple cores, orange peels, and nutshells. They may be natural, but they can take months to break down and attract animals to campsites.
Store your trash just like you store your food. Strain your dishwater to get rid of food bits (pack these out with your trash), and then throw the water far away from any stream, trail, or campsite.
3. How to Manage Smells
Bears and other animals follow their noses. So, you have to be strict about managing smells. An “attractant” is anything with a scent, not just food. Here is a list of things you must store safely:
- All food and drinks
- All trash
- Cookware and utensils (even if they’re clean)
- Toiletries like toothpaste, deodorant, soap, and sunscreen
- Bug spray
- Lip balm
- First-aid kits
- Any clothes you wore while cooking or eating
Never leave any of these items out. And never bring them into your tent.9 Thinking about your camp in terms of smells is what will keep you and the wildlife safe.
How to Choose Your Food Storage Method
The right way to store your food depends on your trip. The gear a family needs for car camping is very different from what a solo backpacker needs deep in the woods. Figuring out which type of camper you are is the first step to picking the right tools.
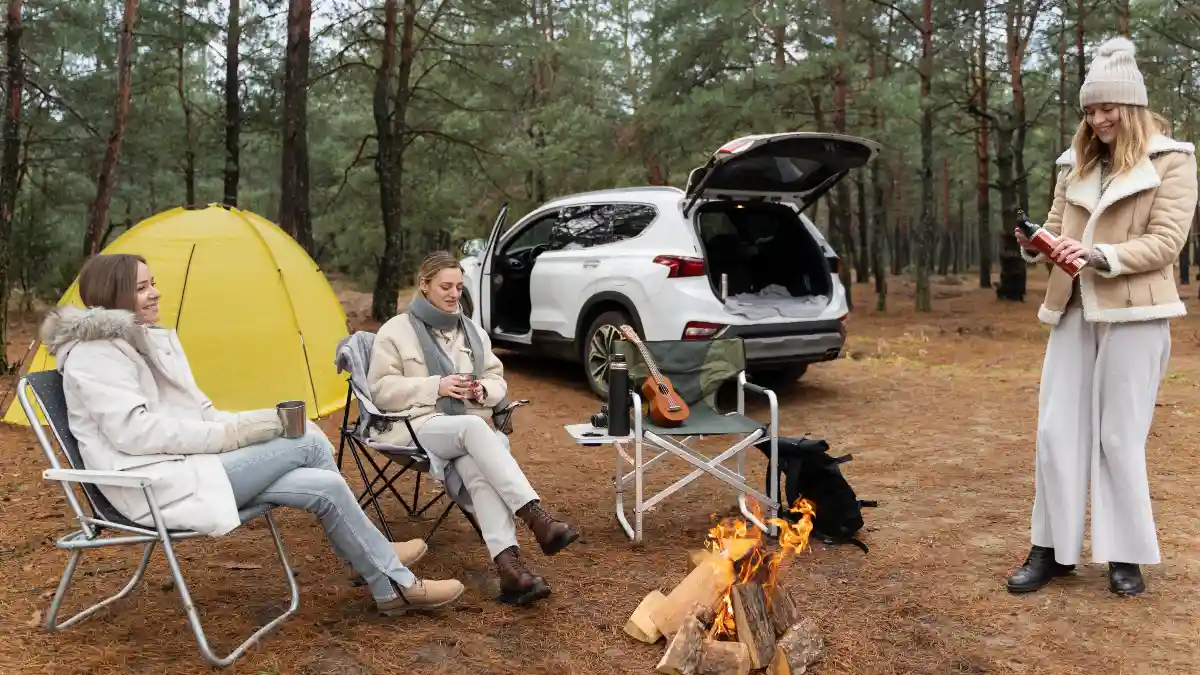
Frontcountry (Car Camping):
This is when you camp at a site you can drive to. You don’t have to worry about weight, so you can use heavy-duty gear.
These campgrounds might have metal food lockers. You’ll have to watch out for bears, but also smaller animals like raccoons, which are very good at opening coolers.
Backcountry (Backpacking):
This is when you hike into the wild with everything on your back. Every ounce matters, so your gear needs to be light and small. The rules in the backcountry are often much stricter because you’re farther from help.
This guide now splits into two parts. If you’re car camping, go to Section 4. If you’re backpacking, go to Section 5.
How to Make Your Car Camping Site a Fortress
When you’re car camping, you have access to tools that make food storage easy. But you have to use them correctly every time. Think of your campsite as a security system. If one part fails, the whole system can fail.
Tool 1: The Right Kind of Cooler
A normal plastic cooler is not a security device. Raccoons can open them, and bears can smash them.
If you’re camping in bear country, you need a cooler that is certified as bear-resistant by the Interagency Grizzly Bear Committee (IGBC). The IGBC tests coolers by filling them with food and giving them to captive grizzly bears.
To pass, the cooler has to survive the bear’s attempts to open it. These coolers are tough and have special locks.
Here’s how to get the most out of your cooler:
- Pre-chill it: Before you pack food, fill the cooler with ice for a few hours to cool it down. This will make your real ice last much longer.10
- Layer it right: Put block ice on the bottom (it melts slower), then your food, then cubed ice on top to fill in the gaps. Frozen food can also act as ice packs.10
- Keep it closed: Open the lid as little as possible. Pack things in an organized way so you can grab what you need quickly.10
Tool 2: Your Car Can Be a Locker
A locked car with the windows rolled up can be a good place to store food. But there’s a big catch: it’s not always allowed. In some places, like Yosemite National Park, bears have learned how to break into cars.
They can peel doors open or smash windows. In these areas, you are not allowed to store food in your car. Always check the rules for the campground or park you’re visiting. If you’re not sure, don’t do it.
Tool 3: Use the Campsite Bear Box
Many campgrounds in bear country have steel, bear-proof food lockers at each site. If your site has one, you must use it for all food and scented items.
This is the best way to store food when car camping. At night, or anytime you leave your campsite, put everything with a smell inside the locker and latch it. This includes your cooler, stove, trash bags, and toiletries.
Leaving even a bear-resistant cooler outside the box is a common mistake that can attract bears.
A Backpacker’s Guide to Food Protection
In the backcountry, keeping your food safe is all on you. You have to pick a method that balances weight, size, and the local rules. What’s okay in one park might be illegal in another.
This table gives you a quick look at your options for 2025.
| Method | Example Product | Avg. Weight | Approx. Cost (2025 USD) | IGBC Certified? | Pros | Cons | Best For |
| Hard-Sided Canister | BearVault BV500 | 2.5 lbs (1.1 kg) | $80 – $90 | Yes | Total protection from bears and crushing; doubles as a stool; required in many parks. | Heavy and bulky; doesn’t hold a lot. | Grizzly country; parks that require them (like Yosemite); areas with no trees; when you need 100% security. |
| Resistant Bag | Ursack AllMitey | ~8.8 oz (250 g) | $100 – $140 | Yes | Very light and easy to pack. | Won’t stop food from being crushed; needs a tree to tie to; not allowed everywhere canisters are required. | Hikers who need to save weight in areas where these bags are allowed. |
| PCT Bear Hang | DIY Kit | ~3 oz (85 g) | $30 – $40 | No | Super light and cheap. | Hard to do right; need a perfect tree; smart bears can beat it; not allowed in many areas. | Ultralight hikers in places with lots of good trees and no special rules; think of it as a last resort. |
Method 1: The Best Choice – Hard-Sided Bear Canisters
Hard-sided bear canisters are the most reliable way to protect your food. They are tough plastic or carbon fiber jars that bears can’t open.
They are the only method allowed in almost every backcountry area in North America, including parks with the strictest rules like Denali and Olympic. The best thing about them is they work anywhere. You don’t need a tree.
To use one, pack all your food and scented items inside. Then, place the canister on the ground at least 100-200 feet from your tent.
Don’t put it near a cliff or river, because a bear might roll it away. They are heavy and bulky, but they are the best tool for the job in many places. BearVault is a popular brand that is IGBC-certified.
Method 2: The Lighter Choice – Bear-Resistant Bags
If you need to save weight, IGBC-certified bear-resistant bags are a great option where they are allowed. The most famous brand is Ursack.
Their bags are made of a special fabric that is very hard to tear or cut. They are much lighter and easier to pack than canisters.
But they have two downsides. First, a bear can’t get your food, but it can crush everything inside into mush. You can buy an aluminum liner to help, but that adds weight.14 Second, not all parks allow them.
Many national parks that require canisters will not let you use a bear bag instead. To use one, you tie it tightly to a strong tree branch with a special knot. It doesn’t need to be high off the ground like a normal bear hang.
Method 3: The Old-School Skill – The Bear Hang
The bear hang is the original way to protect food. It’s the lightest and cheapest option, but it’s also the hardest to do right and the least reliable.
It only works if you can find the right kind of tree, which can be very hard or even impossible in some places. Also, bears in popular areas have learned how to get to hanging bags.
To work, your bag needs to be at least 10 to 15 feet off the ground and 4 to 6 feet away from the tree trunk. The best way to do this is called the PCT Method. It’s much safer than just tying a rope to a tree.
Here’s how to do the PCT Method:
- Find a Branch: Find a strong, live branch that is at least 15 feet high. The spot where the rope will go should be at least 6 feet from the trunk.
- Throw Your Rope: Tie a small weight (like a rock in a small bag) to the end of a 50-foot rope. Throw it over the branch. This might take a few tries.
- Attach Your Food Bag: Once the rope is over, take the weight off and clip your food bag to the rope with a carabiner.
- Pull the Bag Up: Pull the free end of the rope to lift the bag all the way up to the branch.
- Add a Stick: While holding the rope tight, find a small stick (about the size of a pencil). Tie the rope around the middle of the stick with a clove hitch knot. The knot should be as high up as you can reach.
- Let it Hang: Slowly lower the rope. The food bag will come down, but the stick will travel up and jam against the carabiner, stopping the bag. Your bag should now be hanging several feet below the branch, far from the trunk.
Pro Tips to Cut Risk and Save Space
Smart food storage starts at home. The best campers know that being prepared before they leave makes their trip safer and easier. These small tricks can make a big difference in cutting down weight, bulk, and smells.
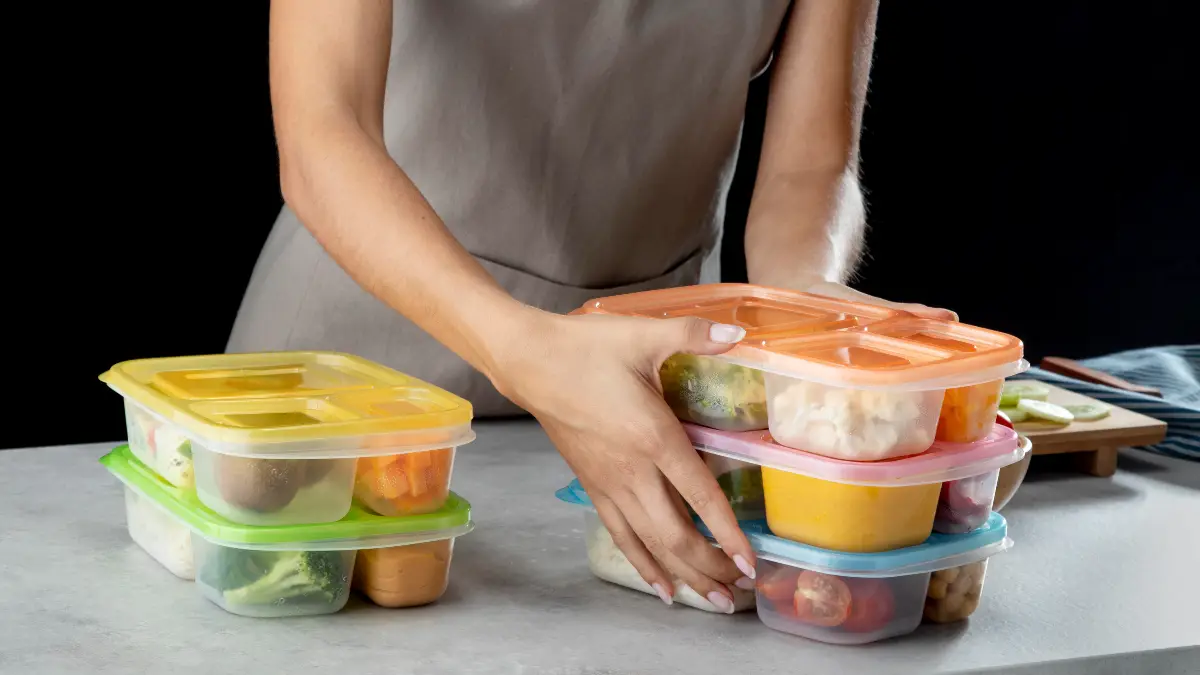
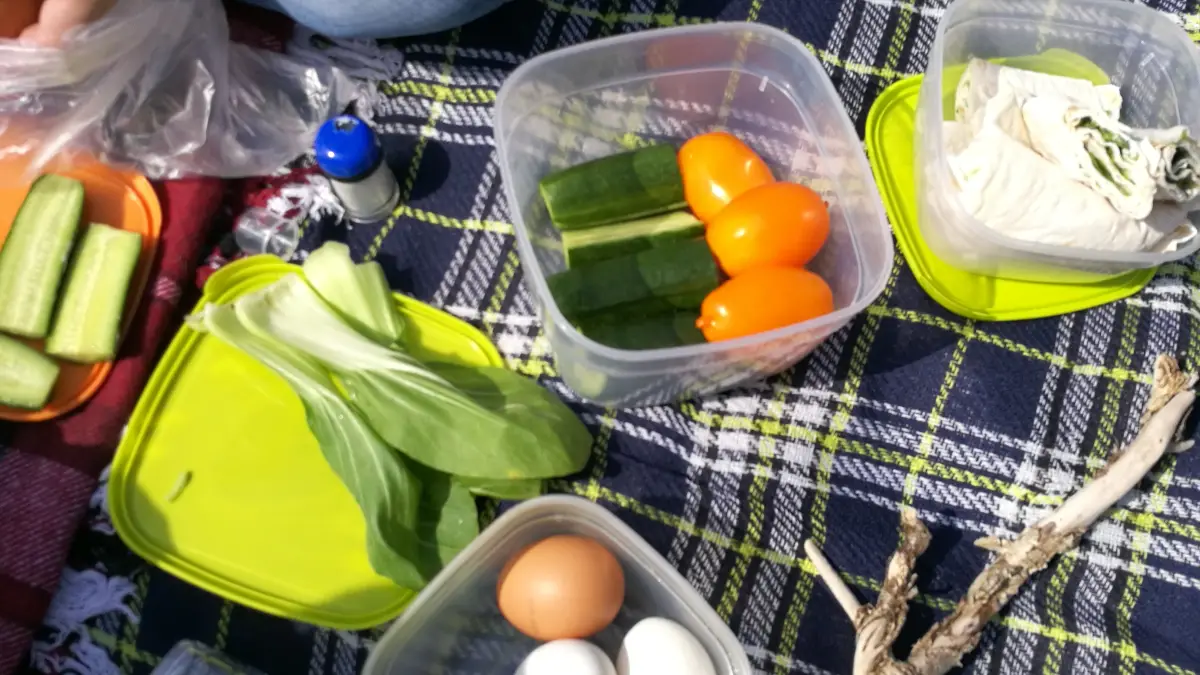
- Hack 1: Ditch the Original Packaging: Store-bought packaging is bulky and wasteful. Before your trip, take food out of its box and put it in zip-top bags. This will save a lot of space in your pack or cooler and reduce your trash.
- Hack 2: Prep Your Food at Home: Your campsite isn’t a kitchen. Do as much prep work as you can at home to cut down on smells. Chop veggies, slice meat, and measure out dry ingredients for each meal into separate bags. This makes cooking faster and cleaner.
- Hack 3: Use Dehydrated and Freeze-Dried Meals: These meals are light, small, and don’t smell much until you add hot water. They are a great choice for any backcountry trip and make cleanup easy.
- Hack 4: Use Odor-Proof Bags: For extra safety, especially with smelly things like bacon, tuna, or your trash, use special odor-proof bags. You can use them as liners inside your bear canister or food bag to block smells.
- Hack 5: Pack Spices in a Pill Case: Instead of carrying a bunch of spice jars, use a pill organizer to carry small amounts of salt, pepper, and other seasonings.
- Hack 6: Freeze Food to Use as Ice Packs: For car camping or the first day of a backpacking trip, freeze things like water bottles or bags of marinaded meat. They’ll help keep your other food cold and will be ready to eat later.