Freezers are convenient, but what happens when the power goes out or you’re off-grid? For thousands of years, humans kept meat safe without electricity. These traditional methods don’t just preserve meat—they create delicious flavors impossible to get any other way.
From salt curing ham to smoking brisket, making beef jerky, fermenting salami, or preserving duck in its own fat, each technique has unique benefits. Some methods are quick and beginner-friendly, while others take time but reward you with gourmet results.
Whether you’re a homesteader, prepper, or food enthusiast looking to try something new, these five time-tested techniques will help you preserve meat safely.
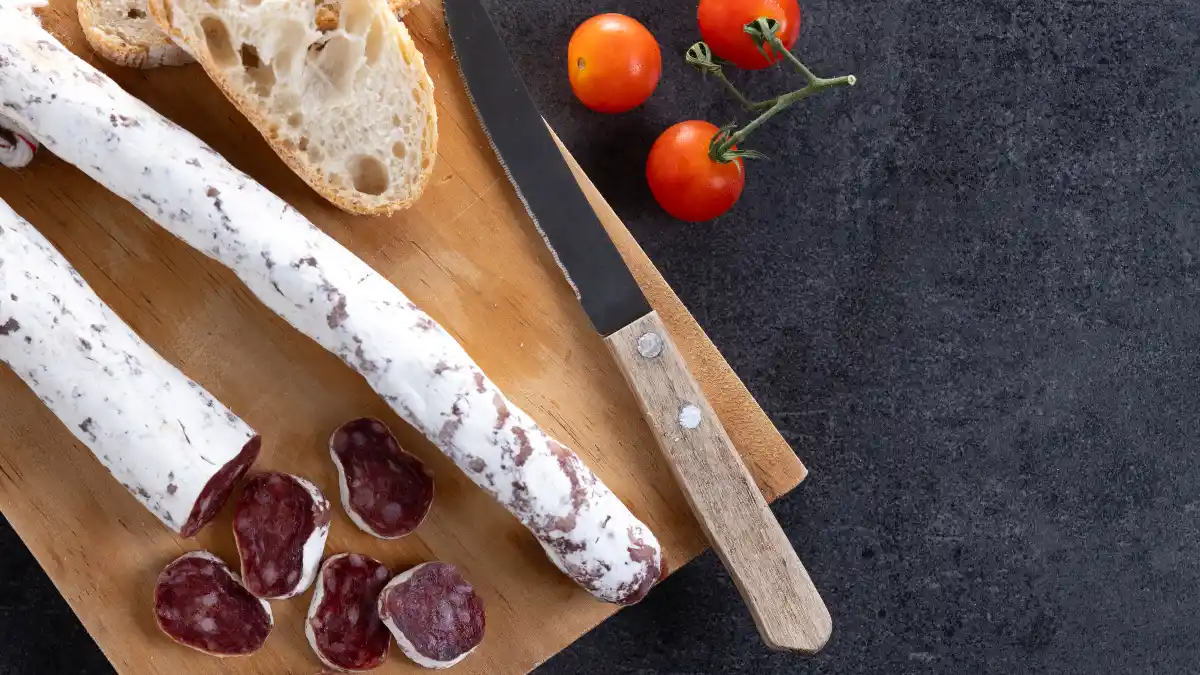
1. Salt Curing
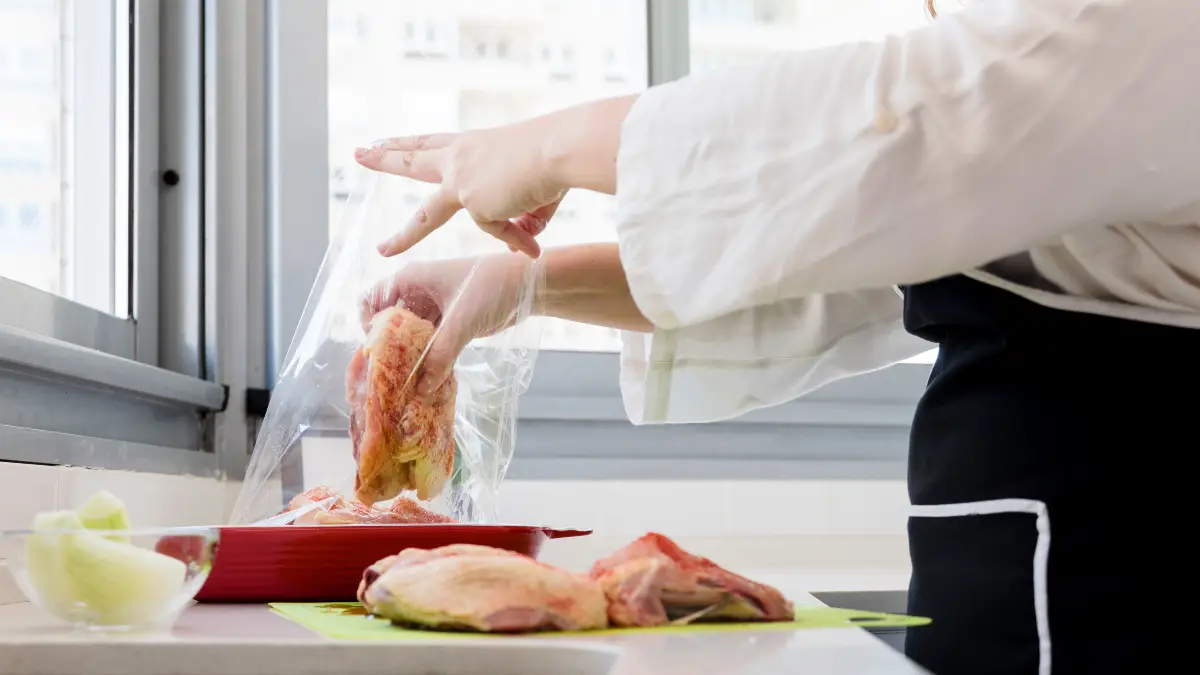
Salt curing is an ancient preservation method, dating back thousands of years, that allows meat to be stored without refrigeration. The process works through osmosis: salt draws moisture out of the meat cells while simultaneously moving into the meat.
This reduction in water activity creates an environment where harmful bacteria cannot grow. For safety, especially against botulism, most curing processes use nitrites (often found in “pink salt”), which also give cured meats like bacon, ham, prosciutto, country ham, and pastrami their distinctive color and flavor.
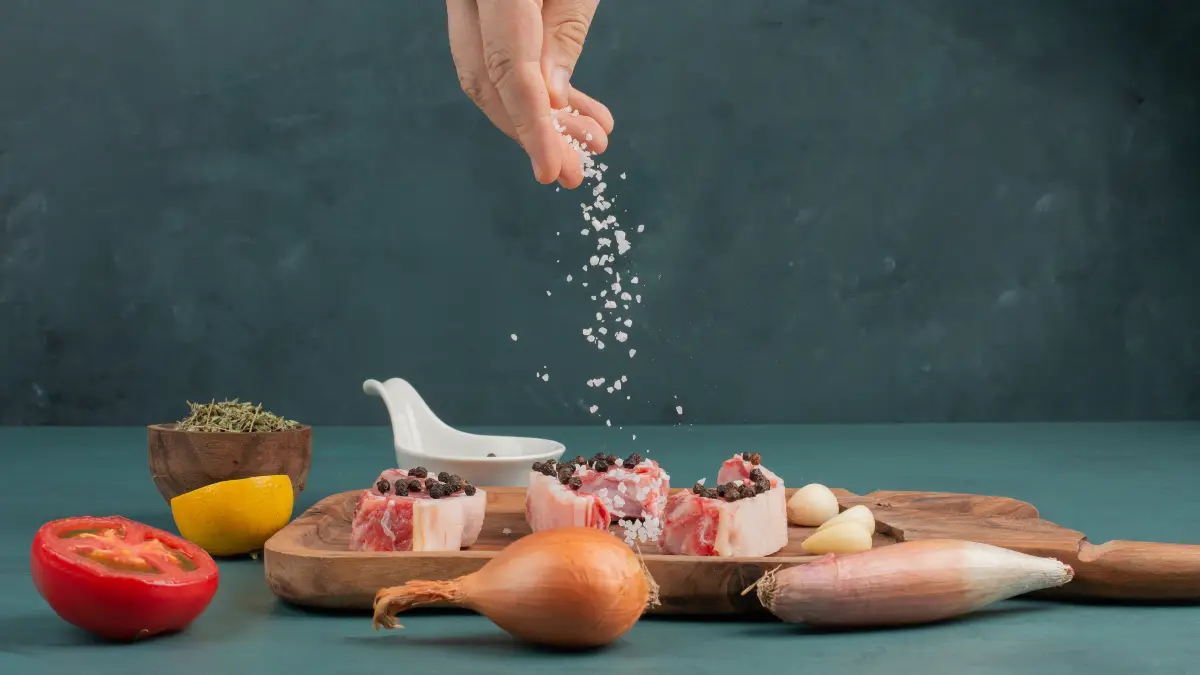
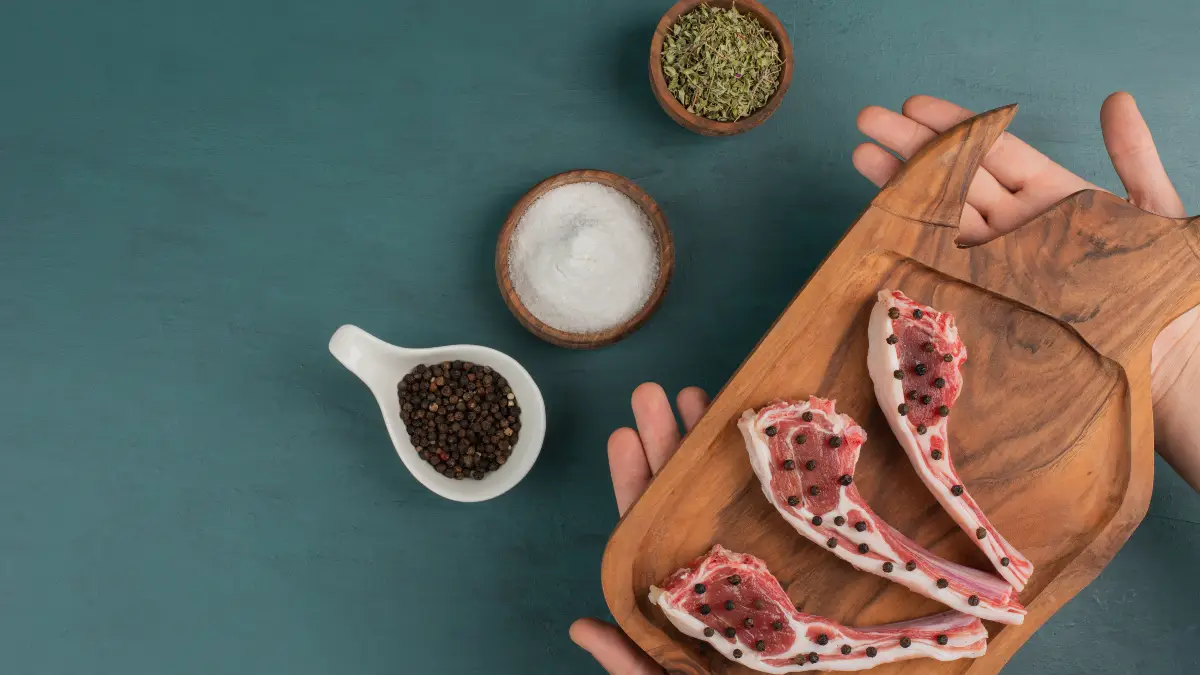
To begin salt curing, you’ll need some essential equipment. This includes pure salt (not iodized), Prague Powder #1 or #2 (the nitrite source), a digital scale for accurate measurements, and a non-corrosive container like plastic or glass.
You’ll also need a refrigerator or a consistently cool space (50-60°F), butcher’s twine, and cheesecloth.
Recommended items that improve the process include a digital thermometer/hygrometer and a vacuum sealer. The total startup cost for this equipment generally falls between $100 and $300.
There are two main approaches to curing. Dry curing is the traditional method where a salt mixture (often 3% of the meat’s weight) is packed around the meat. It’s cured at 32-40°F for about seven days per inch of thickness, then rinsed and dried.
For products like prosciutto or country ham, it’s then hung to dry until it loses 30-40% of its weight. Wet curing, or brining, involves submerging the meat in a salt solution (10-20% concentration) and refrigerating it.
This method is faster, results in more even salt distribution, and is often considered more forgiving for beginners, making it ideal for corned beef, ham, and bacon.
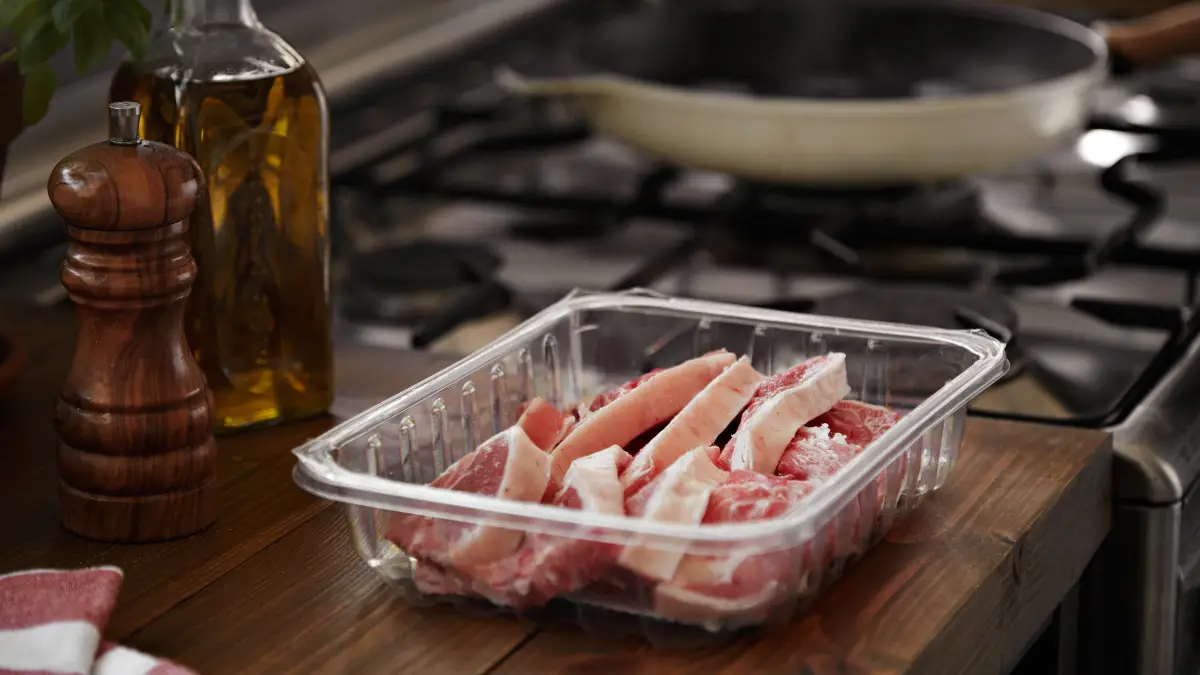
The best meats for curing include various cuts of pork like ham, shoulder, belly (for bacon), jowl, and loin.
For beef, brisket, round cuts, and chuck work well. Lean cuts of game like venison are also suitable, as are fish such as salmon and cod. Generally, meats with good fat distribution are preferred, but excessive fat should be avoided.
A popular modern technique is the equilibrium method, which offers precise control over salt concentration. First, trim any excess fat from the meat. Weigh the meat and calculate 2-3% of its weight in salt and 0.25% in Prague Powder #1.
Rub this mixture thoroughly over the entire surface. Then, vacuum seal the meat or place it in a container, turning it daily. Refrigerate the meat for at least 5-7 days. After this initial cure, rinse it thoroughly and pat it dry. For dried products, it must then be air-dried at 50-60°F with 70% humidity until it achieves a 30-40% weight loss.
Properly stored, cured meats have a long shelf life. Refrigerated items like bacon or ham can last up to three months, while whole, dry-cured muscles can last 6-12 months at 50-60°F (even longer if refrigerated).
Once sliced, cured meats should be refrigerated and used within a week. The ideal storage location is cool (50-60°F), dark, and has low humidity. Vacuum sealing can significantly extend the shelf life of all cured products.
The primary pros of salt curing are the traditional flavor it develops, the long shelf life it provides, and the relative simplicity of the process.
It is very time-intensive (weeks to months), requires careful temperature and humidity control, necessitates the use of nitrites for safety, and needs space for hanging and drying.
Common mistakes to avoid include using iodized table salt (its additives interfere with curing), rushing the process (a safety risk), allowing temperatures to rise above 40°F during the initial cure, not monitoring weight loss, and “case hardening,” where the exterior dries too quickly, trapping moisture inside.
As of 2025, there is a growing interest in traditional preservation methods, partly due to past supply chain disruptions. In commercial operations, the USDA emphasizes the use of validated processes.
Equilibrium curing is gaining popularity for its consistent and predictable results, and some producers are using celery powder as a “natural” alternative source of nitrites.
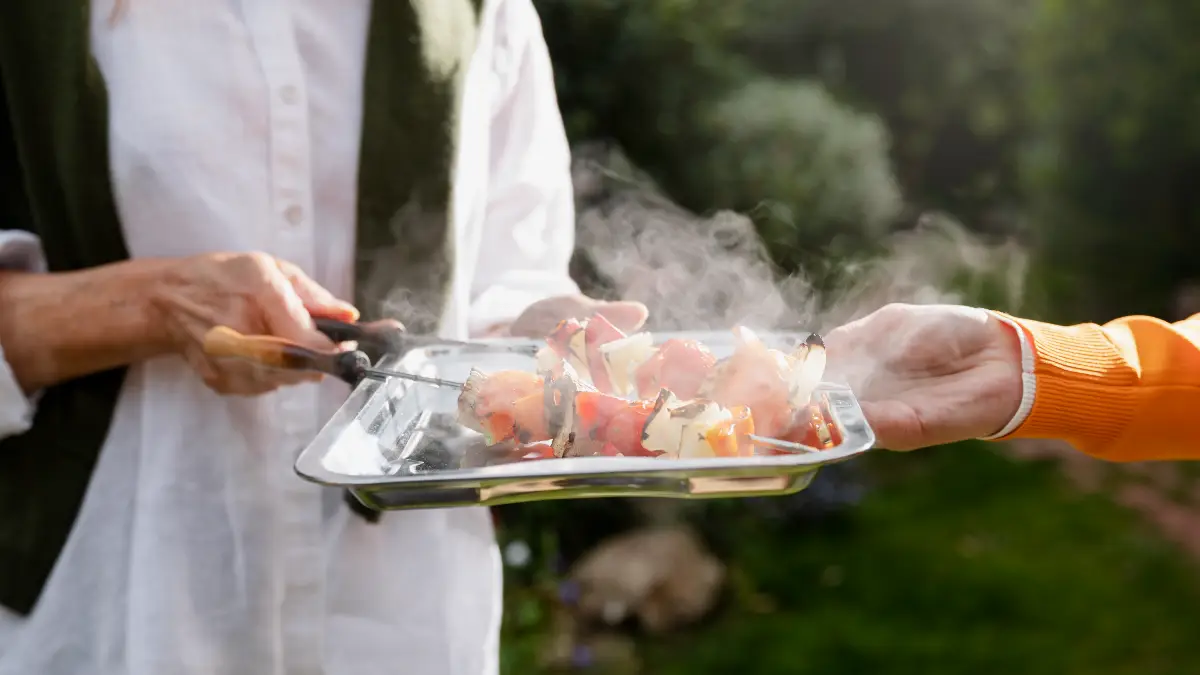
2. Smoking
Smoking preserves meat using heat, chemical compounds from wood smoke, and surface drying. This method must be combined with either curing (for cold smoking) or cooking (for hot smoking) to be safe.
Hot smoking (over 220°F) fully cooks the meat, making it ready to eat. Cold smoking (under 100°F) leaves the meat raw and requires it to be fully cured first for safety.
Equipment ranges from simple DIY cold-smoking setups ($50-$150) to dedicated hot smokers ($200-$500+). Wood choice is critical: hardwoods like hickory, apple, and oak add flavor, while resinous softwoods like pine and cedar are toxic and must never be used.
A typical process involves curing the meat, rinsing it, and air-drying it to form a pellicle, a tacky surface that helps the smoke adhere. Hot smoking then proceeds in stages of drying, applying smoke, and cooking to a safe internal temperature (e.g., 160°F for pork).
Fattier cuts like brisket, bacon, and salmon are ideal. Storage life varies; hot-smoked meat lasts 1-2 weeks refrigerated, while properly cold-smoked and dried items can last for months. While smoking adds great flavor, it requires specialized equipment and careful temperature control.
Common mistakes include failing to cure before cold smoking, using the wrong wood, and skipping the pellicle step. Modern electric and pellet smokers help by providing consistent, controllable heat.
3. Drying/Dehydration (Jerky)
Drying preserves meat by removing moisture to inhibit bacterial growth, creating products like jerky. The most critical safety step in modern jerky making is the USDA requirement to heat meat to 160°F (165°F for poultry) before the dehydration process begins.
This step, often done by briefly boiling the meat in its marinade or baking it, is necessary because low-temperature dehydration alone can make bacteria like Salmonella heat-resistant before they are killed.
The process is affordable and accessible, requiring a food dehydrator or a low-temperature oven. You must use very lean meat, as any fat will quickly turn rancid. Slice the meat thin (about 1/4 inch) when partially frozen for easier cutting.
After the mandatory 160°F heating step, dry the strips in a single layer at 140-150°F for 5-6 hours. The jerky is done when it cracks but does not break when bent.
Lean beef cuts, venison, elk, and turkey breast are ideal. A special rule for wild game is that it must be frozen at 0°F for at least 30 days before use to kill potential parasites. Once cooled, store the jerky in an airtight or vacuum-sealed container.
It lasts 1-2 months at room temperature or up to 6 months if refrigerated. The most common mistakes are skipping the 160°F pre-heating step and leaving fat on the meat, both of which compromise safety and shelf life.
4. Fermentation (Salami & Dry-Cured Sausages)
What It Is and How It Works
Fermentation is the most complex and highest-risk method of meat preservation, used to make products like salami, pepperoni, and chorizo.
It relies on beneficial starter cultures (lactic acid bacteria) to convert sugars into lactic acid, which lowers the meat’s pH to a safe, acidic level (below 5.3). This acidity, combined with salt and a long drying period, inhibits the growth of deadly pathogens like Salmonella and E. coli.
Recent (2023-2024) Salmonella outbreaks linked to charcuterie have highlighted the dangers of improper fermentation, leading to stricter USDA-FSIS guidelines.
This method requires specialized equipment, including a meat grinder, sausage stuffer, Curing Salt #2, the starter culture itself, and a pH meter, which is essential for safety. You cannot safely ferment meat without verifying the pH drop.
The process involves grinding cold meat (often a pork/beef blend with 20-30% fat), mixing it with the culture and cure, and stuffing it into casings. It must then be held in a warm, high-humidity environment (e.g., 80-110°F) for 24-48 hours.
During this time, the pH drop must be monitored with the meter. Once the target pH is reached, the sausage is moved to a cool, humid drying chamber (50-60°F) for weeks or months until it loses 30-40% of its weight.
The most critical mistakes are failing to use a starter culture and failing to monitor the pH drop, both of which can lead to a dangerously unsafe product.
5. Confit (Fat Preservation)
Confit is an old French preservation technique where meat is first salt-cured, then slowly cooked submerged in fat at a low temperature (180-200°F). The process works in three parts: the salt cure draws out moisture, the slow cooking tenderizes the meat, and the fat creates an airtight seal that blocks oxygen and bacteria during storage.
To make confit, meat (traditionally duck or goose legs, but pork and chicken also work) is salted for 12-24 hours in the refrigerator. After rinsing and drying, it is placed in a pot and completely covered with fat, such as duck fat or lard.
It’s then cooked gently at 180-200°F for 2-4 hours until fork-tender. The meat is placed in a clean container, and the strained cooking fat is poured over it to cover it completely.
While traditionally stored in cool cellars for months, modern safety standards strongly recommend refrigeration, where it will last 1-3 months as long as the fat seal is unbroken.
The main benefit is incredibly tender, richly flavored meat. The primary drawbacks are the large quantity of expensive fat required and the need for refrigeration. Today, confit is used more as a cooking method than for long-term preservation, with sous vide being a popular modern alternative that uses less fat.