You’re three hours from the trailhead. Someone falls. Blood everywhere. Broken bone sticking out. Or worse—they’re not breathing. Most people freeze. They know basic first aid works in cities where ambulances arrive in minutes.
But the backcountry is different. Help might be hours or days away. The skills you need are different too.26% of wilderness injuries are fractures. 15% are serious cuts. Falls cause nearly half of all backcountry accidents.
And the decisions you make in the first 60 seconds can mean the difference between a rescue story and a tragedy.
These 10 skills are what every major wilderness medicine organization—NOLS, WMS, Red Cross—agrees you need to know. Master them, and you’ll be ready when everything goes wrong.
1. Patient Assessment System: The Foundation of All Wilderness Care
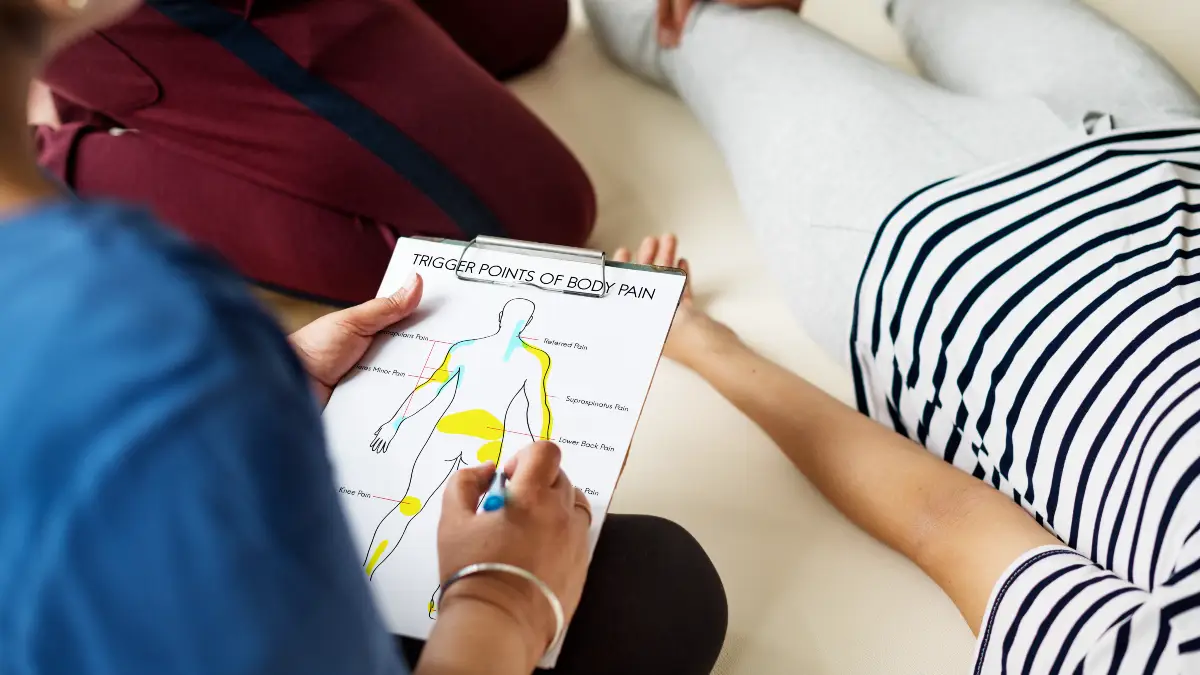
You’re miles from help. Someone’s hurt. What do you do first?
This is where most people freeze. But every major wilderness medicine organization—NOLS, WMS, Red Cross, WMA, and SOLO—agrees on one thing. Patient assessment is the #1 skill you need.
Why? Because it works for virtually 100% of wilderness emergencies. A broken ankle needs different care than severe bleeding. You can’t treat what you haven’t properly assessed.
The Primary Survey: Your First 60 Seconds
Is it safe for you to help? A second victim doesn’t help anyone.
Get consent if the person is awake. Then check responsiveness. Are they alert? Do they respond to your voice or touch?
Next, check the ABCs. Airway first—is it open and clear? Breathing—are they breathing normally? Circulation—check for severe bleeding and pulses.
Take vital signs right away. Count respirations for 30 seconds and double it. Check pulse rate. Feel skin temperature and moisture. Look at their mental status. Are they confused or alert?
Write everything down. You’ll need this information later.
The Secondary Survey: The Details Matter
Once life threats are handled, do a head-to-toe exam. Check every body part systematically. Start at the head and work down to the toes.
Ask about medical history using SAMPLE:
- Signs and symptoms
- Allergies
- Medications
- Past medical history
- Last food and drink
- Events leading to injury
Understand the mechanism of injury. Did they fall 20 feet or trip on a root? This tells you what injuries to expect.
Document Everything
Use SOAP notes. That’s Subjective (what they tell you), Objective (what you observe), Assessment (what you think is wrong), and Plan (what you’ll do about it).
Check vital signs every 15 minutes if they’re unstable. Every 30 minutes if they’re stable.
Making the Big Decision
Your assessment guides everything. Should you evacuate? How fast? Can they walk out, or do you need a rescue?
Good assessment means good decisions. And good decisions save lives when you’re far from help.
2. Stop Severe Bleeding and Manage Wounds in the Backcountry
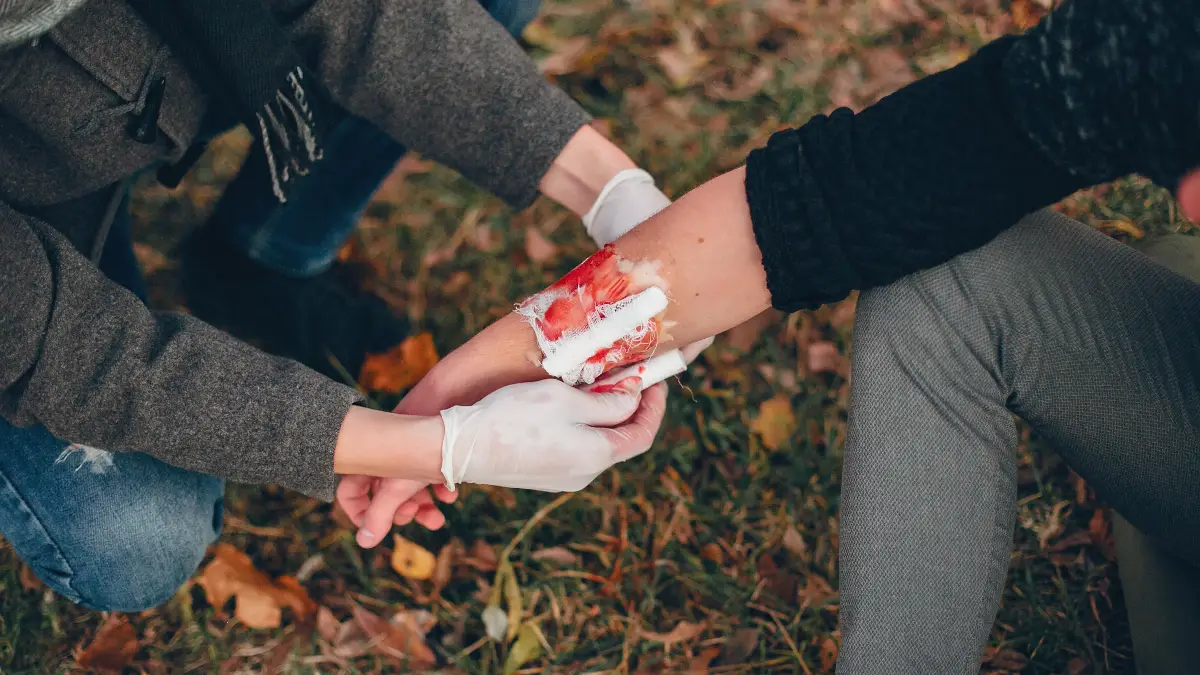
Blood pumping from a wound gets your attention fast.
Soft tissue injuries are among the most common problems in the wilderness. About 15% of all wilderness injuries are lacerations. And when you’re hours or days from a hospital, what you do in the first minutes matters.
Stop the Bleeding First
The 2024 WMS guidelines are clear. Direct pressure is your first priority. Always.
Put your gloved hand (or a clean cloth) directly on the wound. Push hard. Don’t peek to see if it’s working—just keep pressure on it for at least 10 minutes.
If blood soaks through, add more material on top. Don’t remove what’s already there.
For severe bleeding that won’t stop with pressure, consider a hemostatic agent. These are special bandages that help blood clot faster. But they’re only for wounds where direct pressure isn’t enough.
Regular bandaging works fine for most cuts.
Clean It Later—But Do It Right
Once bleeding is controlled, you need to prevent infection. This is critical when evacuation takes hours or days.
Irrigate the wound with clean water. Use lots of it—at least half a liter for small wounds, more for larger ones. The water pressure matters. Squeeze a water bottle or use a syringe to create a forceful stream.
Scrub out any dirt or debris. Yes, it hurts. But infection hurts worse.
Don’t use alcohol or hydrogen peroxide on wounds. They damage tissue and slow healing. Clean water works better.
Close It the Right Way
Butterfly closures work well for clean, straight cuts. Pull the edges together gently and tape across.
Never attempt field suturing. You’re not equipped to handle the infections it can cause.
For wounds that need stitches, just close them temporarily and get the person out. Most wounds can wait 12-24 hours for proper closure.
Watch for Infection
Check the wound twice daily. Red streaks spreading from it? Pus? Fever? Those are signs of infection.
Keep it clean and covered. Change bandages daily or when they get wet or dirty.
Remember: you stopped the bleeding and cleaned the wound. That’s what prevents most problems when help is far away.
3. Splinting Fractures with Improvised Materials
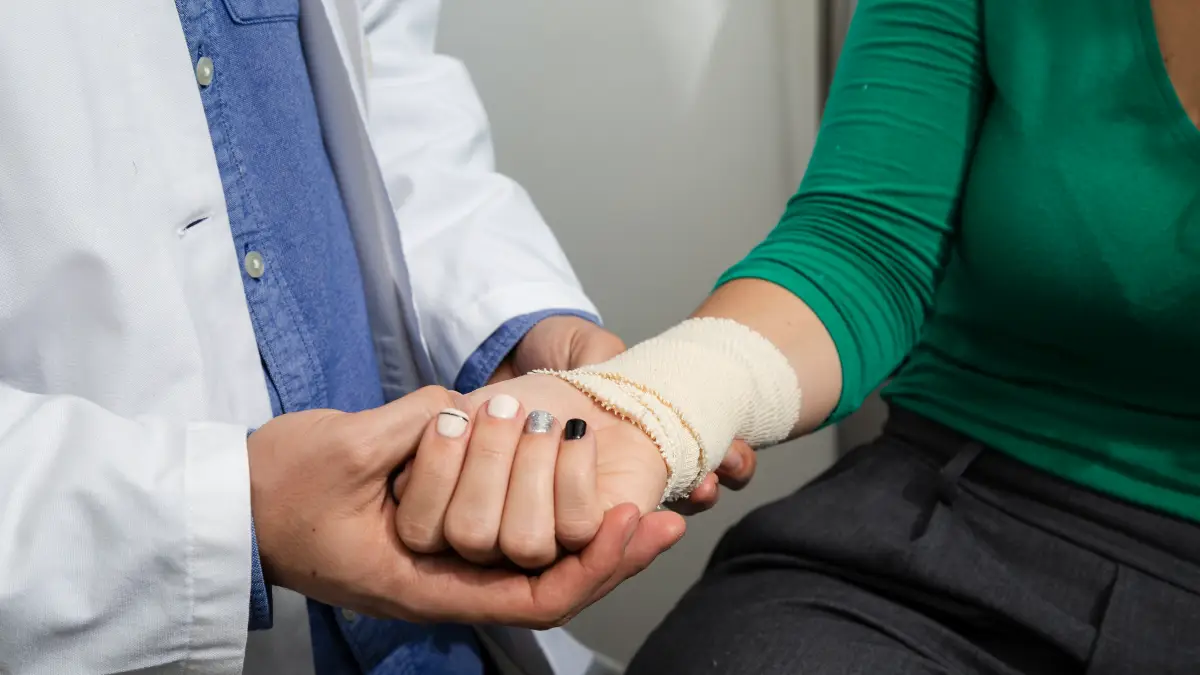
26% of wilderness injuries are fractures or dislocations.
Even more striking? Musculoskeletal injuries are the #1 reason people need evacuation from the backcountry. Lower limb injuries alone account for 38% of all wilderness injuries. And ankle injuries? They cause 42.4% of hiking fall injuries.
You’ll probably see a broken bone before you see anything else.
The Golden Rule of Splinting
Immobilize the joints above and below the injury. Break your forearm? Splint from your hand to your upper arm. This keeps the broken bone from moving.
But here’s the critical mistake people make. They turn someone who can walk into someone who can’t.
Don’t over-immobilize. A stable ankle sprain might just need buddy-taping and a hiking pole. That person can walk out. Put them in a rigid splint and carry them? Now you need six people and a stretcher.
What You Actually Have With You
Forget fancy medical supplies. You’ll use what’s in your pack.
Trekking poles make excellent splints. So do tent poles. Sleeping pads fold around limbs perfectly. Sticks work if they’re straight and long enough.
Clothing provides padding. Roll up a fleece for cushioning between the splint and skin.
A SAM splint changes everything if you carry one. This thin foam and aluminum tool molds to any body part. It weighs almost nothing and fits in a side pocket.
How to Actually Splint
Check circulation and sensation before you start. Can they feel their toes? Wiggle them? Is skin color normal?
Pad the splint where it touches bony areas.
Support the injury while someone else applies the splint. Don’t let the limb move.
Secure it with whatever you have. Bandanas, duct tape, strips of clothing—all work.
Check circulation again after splinting. Fingers or toes turning blue or going numb? Loosen it immediately.
The Walk-Out Decision
Can they bear weight? Even with pain, some fractures let people walk. Use trekking poles for support.
Can’t walk? Now you’re planning a carry-out or calling for rescue. That’s when a good splint really matters. You might be moving them for hours.
Good splinting lets injured people travel safely. Bad splinting creates bigger problems.
4. Assess Spinal Injuries Without Unnecessary Immobilization

Falls cause nearly 50% of wilderness injuries.
So you’d think spinal immobilization would be standard practice, right?
Wrong. The 2024-2025 protocols changed this. Universal immobilization can actually be harmful in wilderness settings.
The Problem With Old Protocols
Backboards and rigid immobilization make sense when an ambulance is 10 minutes away. But in the wilderness? You might face a six-hour carry-out on rough terrain.
Immobilizing everyone who falls makes rescue harder. It puts rescuers at risk. And it might hurt patients who don’t actually have spinal injuries.
Most people who fall don’t break their spine.
Selective Spinal Assessment
The WMS uses evidence-based criteria now. You’re looking for specific warning signs.
Check the mechanism of injury first. High-speed collision? Fall from significant height? Diving into shallow water? These mechanisms can cause spine injuries.
But tripping and falling on flat ground? Probably not.
What to Look For
Ask these questions:
- Where does it hurt? Spine pain is a red flag.
- Can they feel everything normally? Check arms and legs.
- Can they move all fingers and toes?
- Are they alert and making sense?
Do a physical exam. Press gently along the spine from neck to tailbone. Does anything hurt?
Check neurological signs. Tingling? Numbness? Weakness? These matter.
When Precautions Are Actually Needed
If you find warning signs, use motion restriction. That doesn’t mean rigid immobilization with a backboard.
Keep the head and neck stable. Support the spine during any movement. Move the patient as little as possible.
But if someone has no spine pain, normal sensation, full movement, and a low-risk mechanism? They probably don’t need spinal precautions.
The Modified NEXUS Criteria
Medical systems use decision rules. In the wilderness, you need simple criteria:
- Normal mental status?
- No spine tenderness?
- No neurological problems?
- No other painful injuries distracting them?
- No high-risk mechanism?
If all answers are “yes,” spinal injury is very unlikely.
Smart assessment prevents unnecessary immobilization. That makes rescue safer for everyone.
5. Modified CPR Techniques for Wilderness Emergencies
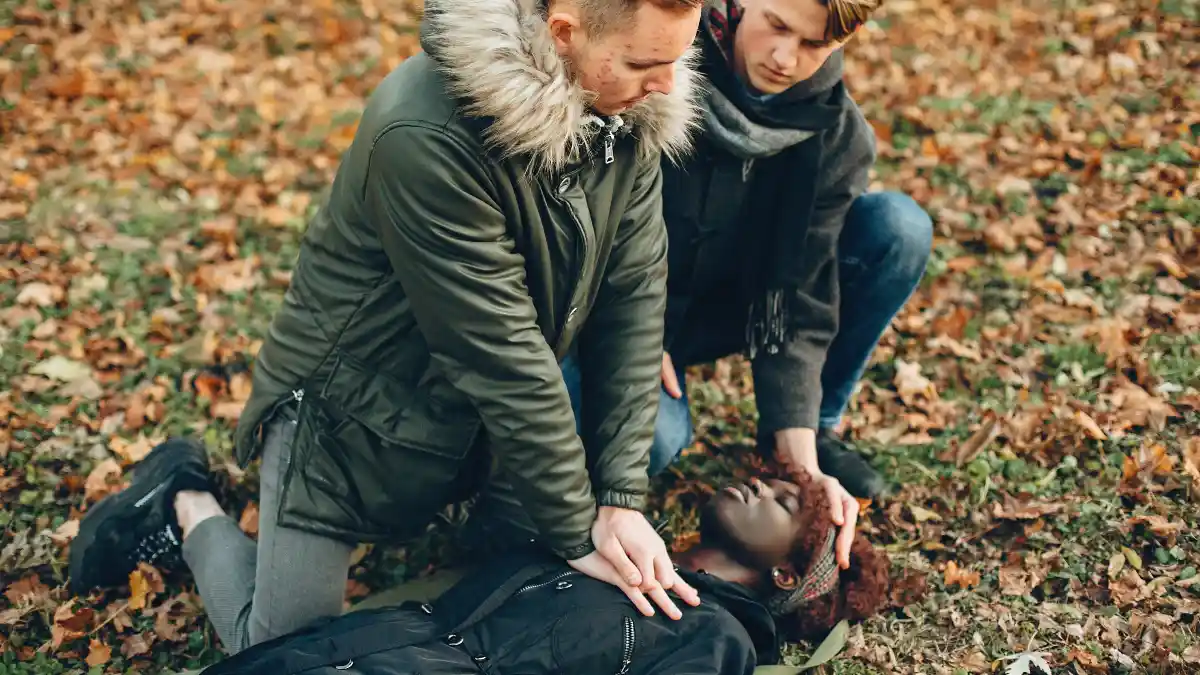
Drowning is the second leading cause of death in national parks.
Only 40.2% of cardiac arrest victims get CPR from bystanders. That’s a problem. Because CPR can double or triple someone’s survival chance when you start immediately.
Overall survival from out-of-hospital cardiac arrest? Just 9.1%. But that number jumps significantly when bystanders start CPR right away.
In the wilderness, you’re the bystander. And the rules are different.
When to Start CPR
In a hospital, doctors make this call. In the wilderness, you do.
Start CPR if someone has no pulse and isn’t breathing. But consider the situation. Are they safe to reach? Can you actually help?
The Drowning Exception
Standard CPR starts with chest compressions. But drowning victims need the ABC approach—Airway, Breathing first, then Compressions.
Why? They died from lack of oxygen, not a heart problem. Get air into them fast. Give five rescue breaths before you start compressions.
This is different from the compression-first approach taught in basic CPR. Drowning changes the rules.
The Hypothermia Exception
“Not dead until warm and dead.”
This saying has saved lives. Extremely cold people can look dead—no pulse, not breathing, rigid muscles. But their cold body protects their brain.
If someone might be hypothermic, start CPR and keep going. Extended resuscitation in these cases has brought people back after an hour or more.
Don’t give up fast on cold patients.
When to Stop
This is the hard part. In urban settings, you continue until paramedics arrive. In the wilderness, that might never happen.
WMS guidelines say you can stop when:
- You’ve done CPR for 30 minutes with no response
- The scene becomes unsafe for rescuers
- You’re too exhausted to continue
Hypothermia patients. Continue as long as physically possible.
Resource Management
CPR is exhausting. Switch rescuers every two minutes if you have multiple people. This keeps compressions effective.
If you’re alone and hours from help, you face a terrible choice. Can you maintain effective CPR and still call for rescue? Sometimes saving yourself becomes the priority.
These aren’t decisions anyone wants to make. But wilderness care sometimes forces impossible choices.
6. Recognize and Treat Hypothermia Before It Becomes Critical
Hypothermia happens in 50°F weather.
That surprises most people. They think you need freezing temperatures. But add wind, rain, and exhaustion? You can become hypothermic on a summer evening.
Environmental injuries are threats you don’t face in cities. And NOLS data shows they’re a significant cause of wilderness emergencies. The good news? Most cases are preventable.
The Stages You Need to Recognize
Mild hypothermia starts with shivering. The person might seem confused or clumsy. They’re cold but still responsive.
Moderate hypothermia looks different. Shivering stops. They lose coordination—can’t zip their jacket or walk straight. They might make irrational decisions, like taking off their clothes.
This stage is dangerous. Their brain isn’t working right, but they think they’re fine.
Severe hypothermia means unconsciousness. Muscles go rigid. Breathing and pulse slow way down. They look dead.
Passive vs. Active Rewarming
Mild cases need passive rewarming. Get them dry. Add insulation. Let their body warm itself up.
Give them warm drinks if they’re alert enough to swallow safely. Calories help—their body needs fuel to produce heat. But don’t give them alcohol. It makes things worse.
For moderate to severe cases, you need active rewarming. Apply heat sources carefully. Use chemical heat packs or warm water bottles. Put them on the neck, armpits, and groin—where major blood vessels are close to the surface.
The Afterdrop Danger
Here’s what kills people during rewarming. Cold blood from their arms and legs rushes back to the heart. Core temperature drops even more. This is called afterdrop.
Keep severely hypothermic patients flat and still. Don’t rub their arms and legs. Don’t let them move around. This can trigger afterdrop and cause cardiac arrest.
When to Insulate vs. Actively Rewarm
The 2024 WMS guidelines are specific. Mild hypothermia? Insulate and let them rewarm on their own.
Moderate to severe? You need active warming, but do it carefully. And get them evacuated. They need hospital care.
Prevention Beats Treatment
Stay dry. Wet clothing destroys insulation. Carry rain gear and extra layers.
Eat regularly. Your body burns calories to stay warm.
Watch your group. Someone getting quiet and clumsy? Check them for hypothermia before it gets worse.
Recognizing early signs is the skill that matters most. By the time someone is severely hypothermic, you’re fighting for their life.
7. Prevent and Treat Dehydration in Remote Settings
You haven’t peed all day. Your head pounds. You’ve been sweating hard.
These are warning signs most people ignore. But in the backcountry, dehydration becomes a serious emergency fast. And here’s the problem: in a stressful situation, drinking water drops down your priority list—even though it shouldn’t.
Why Dehydration Hits Harder in the Wilderness
Your body loses water constantly. Sweating, breathing, urinating—it all adds up. In hot weather or at altitude, you can lose over a liter per hour without realizing it.
The challenge in remote areas? You might not have enough safe drinking water. Or you’re so focused on an emergency that you forget to drink. By the time you feel thirsty, you’re already behind.
Spotting Dehydration Early
Check urine color. Dark yellow or amber? You’re dehydrated. Pale yellow means you’re hydrated properly.
Other signs show up quickly. Headache. Dizziness when you stand up. Dry mouth. Feeling tired for no reason.
Moderate dehydration gets more obvious. Little to no urination. Rapid heartbeat. Confusion. Skin that doesn’t bounce back when you pinch it.
Severe dehydration is a medical emergency. Unconsciousness. Sunken eyes. Rapid, weak pulse. This person needs evacuation immediately.
Treatment Starts With Prevention
Drink before you’re thirsty. Set a timer if you need to. Every 15-20 minutes, take several swallows.
In hot conditions or during hard activity, you need electrolytes too. Water alone isn’t enough when you’re sweating heavily. Add electrolyte tablets or powder to your water.
Eat salty snacks. Your body needs sodium to hold onto water.
Oral Rehydration When Someone’s Dehydrated
For mild to moderate dehydration, oral rehydration works well—if the person can drink.
Small, frequent sips beat chugging large amounts. Drinking too much too fast can cause vomiting, which makes dehydration worse.
Make oral rehydration solution if you have the ingredients. Mix one liter of clean water with six teaspoons of sugar and half a teaspoon of salt. This helps the body absorb water better than plain water alone.
When Drinking Isn’t Possible
If someone can’t drink because they’re vomiting, have mouth or throat injuries, or are unconscious, you face a critical decision.
Stop any non-essential activity. Focus on evacuation immediately. This person needs advanced medical care with IV fluids.
Keep them cool if it’s hot. Shade them. Wet their clothing to help cooling through evaporation. But don’t give fluids to an unconscious person—they can choke.
The Supply Problem
Running low on water creates tough choices. Ration what you have. Prioritize drinking over washing.
Know how to find and purify water. Moving water is safer than stagnant pools. But all wilderness water needs treatment—filtering, chemical treatment, or boiling.
In true emergency situations where safe water isn’t available, untreated water is still better than severe dehydration. But only as a last resort.
Signs You Need Evacuation
Someone who can’t keep fluids down for more than a few hours needs medical help. Same for anyone showing signs of moderate to severe dehydration who isn’t improving with oral rehydration.
Altered mental status from dehydration is serious. Confusion, combativeness, or unconsciousness means evacuate now.
The best approach? Prevent dehydration before it starts. Drink consistently. Watch your group. And treat early signs before they become emergencies.
8. Manage Penetrating Chest Injuries to Prevent Lung Collapse

A hunting accident. A fall onto a sharp branch. A puncture from equipment.
Chest injuries with open wounds create one of the most dangerous situations in the backcountry. Even if the wound misses the heart and major blood vessels, the victim can still die from a collapsed lung.
Why Open Chest Wounds Are Different
Your lungs work on pressure differences. When you breathe in, your chest expands and creates negative pressure that pulls air into your lungs.
But a hole in the chest wall destroys this system. Air rushes in through the wound with each breath. It gets trapped between the lung and chest wall. This pocket of air grows and squeezes the lung from the outside.
The medical term is pneumothorax. The simple explanation? The lung can’t expand. The person suffocates even though their airway is clear.
You’ll hear a sucking sound from the wound as they breathe. That’s air moving in and out through the hole. It’s a critical sign.
Seal It Immediately
Stop air from entering through the chest wall. Make the wound airtight.
Chest seals are designed exactly for this. They’re specialized bandages with adhesive that sticks to skin even when it’s wet or bloody. Most have a one-way valve that lets air escape but not enter.
Wipe blood away quickly. Peel the backing off the chest seal. Press it firmly over the wound. Make sure all edges stick down completely.
Entry and Exit Wounds
Penetrating objects often create two holes—where it went in and where it came out. You need to seal both.
Check the back. Roll the person carefully to look for an exit wound. Seal it the same way.
Carry at least two chest seals in your wilderness medical kit for exactly this reason.
The Improvised Solution
No chest seals? Improvise with what you have.
Plastic works. A piece of plastic bag, plastic wrap, or even the wrapper from a bandage. Tape it down on three sides only—leave one side open. This creates a flutter valve. Air can escape but not enter.
Duct tape can secure the plastic. Or use medical tape if you have it.
Petroleum jelly gauze creates an airtight seal too. Some wilderness kits include this for burn treatment, but it works for chest wounds.
What Happens Next
This person needs a hospital immediately. Start evacuation procedures while treating the wound.
Monitor their breathing constantly. Are they getting worse? Breathing faster? Lips turning blue?
If breathing gets dramatically worse after you seal the wound, you might need to briefly lift one edge to release trapped air. Then reseal it. But only do this if they’re clearly deteriorating.
Position Matters
Keep them sitting up or propped at an angle if possible. This helps the uninjured lung work better.
Never lay someone with a chest injury flat unless you have to for CPR or spinal precautions.
Penetrating chest injuries require immediate action and fast evacuation. Sealing the wound buys time. It prevents a bad situation from becoming fatal.
But it’s only a temporary fix. This is one injury where “get to a hospital” isn’t just advice—it’s the only real treatment.
Carry chest seals. Know how to use them. And hope you never need to.
9. Communicate Your Location So Rescuers Can Find You
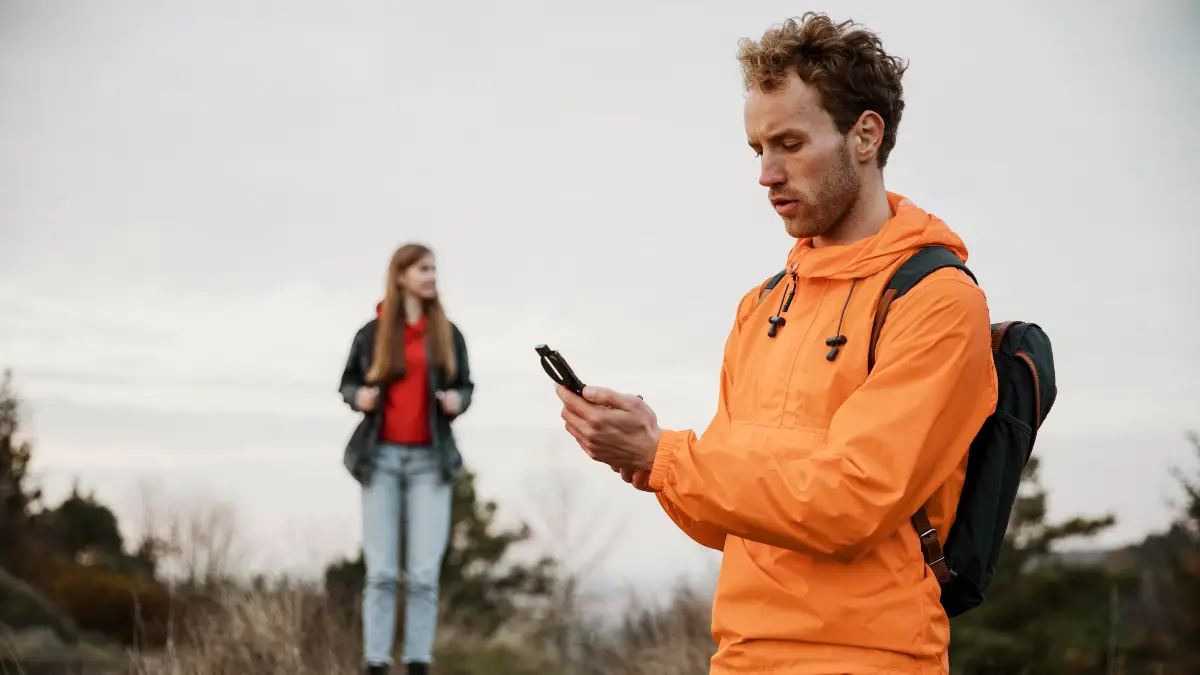
Someone is badly hurt. They can’t walk. Your group splits up—some stay with the injured person, others go for help.
This isn’t a medical skill. But it might be the most important thing you do in an emergency. Because if rescuers can’t find your location, nothing else matters.
Get Precise Coordinates Now
Pull out your phone or GPS device while you’re still at the injury site. Record the exact coordinates.
Write them down on paper. Don’t just save them in your device—batteries die. Phones get damaged. Paper doesn’t fail.
Take multiple readings if possible. GPS can be off by 30 feet or more under tree cover. Average several readings for better accuracy.
Text or email these coordinates to yourself and others if you have any signal. Even a brief signal can send a text when a call won’t go through.
Gather Critical Details
Rescuers need more than coordinates. They need to know what they’re dealing with.
Count how many people are at the site. Write down the injured person’s condition. “Suspected broken femur, alert, stable vital signs” helps more than “leg injury.”
Note the terrain. Can a helicopter land? Is there water nearby? How far from the nearest trail?
Estimate how long it took you to reach this spot from your starting point. This gives rescuers a reality check on distance.
Create Visible Markers
People staying with the injured person should make the location obvious from above.
Bright clothing laid out in an X or SOS pattern. Space blankets reflect light and show up well from aircraft. Smoke from a signal fire during daylight.
At night, use headlamps or flashlights. Point them straight up. Sweep them in circles if you hear aircraft.
Mark Your Route Out
As you leave to get help, create a trail others can follow.
Tie bright flagging tape to branches at eye level. Space markers close enough that you can see the next one from each previous one.
Stack rocks in obvious cairns at decision points. Make them big—three feet tall if you can.
Break branches to point the direction you went. But make it obvious. Subtle markings don’t help.
What to Tell Dispatch
When you reach help and make that call, have your information ready.
State the coordinates first. Then the number of patients and their conditions. Then your current location and how you got there.
Describe landmarks. “North of Eagle Lake, east side, about 200 yards up from the shoreline near a large granite outcrop.”
Tell them what resources they’ll need. Ground team? Helicopter? Technical rescue equipment?
Give them your phone number and the phone number of anyone staying at the scene if they have signal.
The Landmark Strategy
If you have no GPS and poor navigation skills, landmarks become critical.
Move the patient to an unmistakable location if you can do it safely. A trail junction. A lake shore. The base of a distinctive cliff.
“Unmistakable” is the key word. “Near a big tree” doesn’t work. “Where Rock Creek flows into Mirror Lake” does.
Common Mistakes That Waste Time
Vague descriptions slow everything down. “About five miles up the trail” could mean anywhere.
Forgetting to mention hazards. Rescuers need to know about cliffs, river crossings, or unstable slopes.
Assuming someone else wrote down the coordinates. Everyone should have them.
The Dark and Weather Factor
Your marker system needs to work at night and in fog or rain.
Reflective materials show up in flashlight beams. Glow sticks mark locations for hours.
Sound signals help too. Whistles carry farther than voices. Three blasts is the universal distress signal.
Getting help only works if help can find you. Make that part foolproof.
10. Apply a Tourniquet When Seconds Decide Life or Death
Someone cuts their leg badly. Blood pumps out with each heartbeat. You press hard, but it soaks through every bandage.
This is when you need a tourniquet. And here’s the brutal truth: you have less than a minute before they lose consciousness. Maybe two minutes before they die. No time for improvising.
The Improvised Tourniquet Myth
Survival books love to tell you how to make a tourniquet from a belt, rope, or bandana with a stick for twisting.
Forget it. This advice kills people.
The kind of bleeding that needs a tourniquet is catastrophic. We’re talking severed arteries. Partially amputated limbs. Blood loss measured in cups per minute.
By the time you find materials, tie them on, and figure out how to make them tight enough? The person has already bled out.
Improvised tourniquets also fail more often. They slip. They don’t get tight enough. They cause additional tissue damage.
Carry Commercial Tourniquets
A real tourniquet costs about $30. The CAT (Combat Application Tourniquet) is the standard. It’s what the military uses. What trauma doctors recommend.
Keep it accessible. Not buried at the bottom of your pack. Put it in an outside pocket or the very top of your medical kit.
Carry more than one if you’re in a group. Serious accidents can injure multiple people. And some injuries need two tourniquets on the same limb.
Speed Is Everything
You need to apply a tourniquet in 15 seconds or less. That sounds impossible until you practice.
Why so fast? Because arterial bleeding drains blood volume shockingly quick. A healthy adult has about five liters of blood. Lose two liters and you go into shock. Lose three and you’re dying.
A severed femoral artery? Someone can bleed out that much blood in under two minutes.
Every second you waste looking for materials or figuring out how it works, they’re losing blood they can’t afford to lose.
Train Before You Need It
Buy a practice tourniquet or use your real one for training. You need muscle memory for this skill.
Practice on yourself. Put it on your own arm or leg. Tighten it until it’s uncomfortable. That’s how tight it needs to be to stop blood flow.
Practice on friends. Have them time you. Can you do it in 15 seconds blindfolded? In the dark? With cold hands? Practice one-handed application. If your dominant hand is injured, can you still put a tourniquet on that arm with your other hand?
How to Apply It Correctly
Place it 2-3 inches above the wound. Never put it directly over a joint. Pull the strap tight and secure it. Then twist the windlass rod. Keep twisting until bleeding completely stops.
Lock the rod in place using the clip. The tourniquet should be painfully tight. If it’s comfortable, it’s not working.
Write the time you applied it on the tourniquet or the person’s forehead. This information matters at the hospital.
Don’t Remove It
Once a tourniquet goes on, it stays on until medical professionals take it off. Don’t loosen it. Don’t check if bleeding has stopped by releasing pressure.
Removing a tourniquet in the field can cause sudden death. Blood trapped in the limb turns toxic. Releasing it floods the body with metabolic waste products and can stop the heart.
When Tourniquets Are Actually Needed
Not every bad cut needs a tourniquet. Use direct pressure first for almost all bleeding.
Tourniquets are for limb injuries where direct pressure fails. Severe cuts to arms or legs. Partial amputations. Multiple injuries where you can’t maintain pressure on all wounds.
You’ll know it’s tourniquet-level bleeding. It pumps or spurts with the heartbeat. It soaks through heavy pressure dressings in seconds.
The Cheap Knockoff Problem
Fake CAT tourniquets flood the market. They cost $10-15 instead of $30. They look almost identical. They also break under tension. The windlass rod snaps. The Velcro tears loose. The buckle fails.
When someone is bleeding to death, that failure is fatal. Buy from reputable suppliers. Check for authentication features on the package.
This is one piece of gear where going cheap is going deadly. Spend the money. Get the real one. And learn how to use it before you’re standing over someone who’s bleeding out.